It’s the Sunday after The Big Eat, aka Thanksgiving, and our fridges are probably still pretty full of leftovers. Yet, it’s Sunday, so what’s left might be things nobody likes all that much, or stuff we made way too much of – like mashed potatoes – by T Minus three days, there’s a good chance they’re out of favor. Fortunately, we have a delicious option for those – mashed potato pancakes.
Potatoes are a new world crop, and like tomatoes, took some time to catch on over the pond – once they did, they flourished, especially for breakfast. The mashed potato cake was and is quite popular in England, Ireland, and Scotland, and appeared in a late 19th century Lancashire newspaper recipe as the first known version of Bubble and Squeak to include potatoes. Wherever they stem from, mashed potato pancakes belong in your repertoire.

While the beauty of this dish lies in judicious use of leftovers, they’re unquestionably delicious. You can lean savory or sweet as you wish. If you prefer the former, diced veggies, herbs, and cheese are called for. If it’s the latter, the simple addition of eggs and sour cream topped with applesauce might be just the thing. It’s a simple, fast dish to prep and cook.
This recipe has no liquid dairy in it, deploying sour cream instead. Mexican Crema, crème fraîche, or chèvre will all work nicely. If you prefer milk, use whole and do so sparingly – this isn’t a batter that you want runny.
Fresh onion, pepper, and garlic want to be cooked through, so take the time to prep a nice, even mince cut on those veggies. A mince is, practically speaking, about as small as you can get, between 1/16” and 1/8” cubes. It doesn’t need to be perfect or pretty, just reasonably uniform – there ain’t no Michelin stars at risk at our places.

Urban’s Mashed Potato Pancakes
Makes about 6 large cakes, and 10-12 small ones

2 Cups cooked Mashed Potatoes
2 medium Eggs
1/2 Cup Sour Cream
1/4 Cup Cake Flour
1/4 Cup fine grated Extra Sharp Cheddar
2 Tablespoons Minced Sweet Onion
2 Tablespoons Minced Red Bell Pepper
1-2 Cloves Minced Garlic
5-6 twists Ground Pepper
2 Finger Pinch Salt
Avocado Oil for cooking
Peel, end trim and mince onion, pepper, and garlic.
Add a teaspoon of oil to a heavy skillet over medium-low heat.
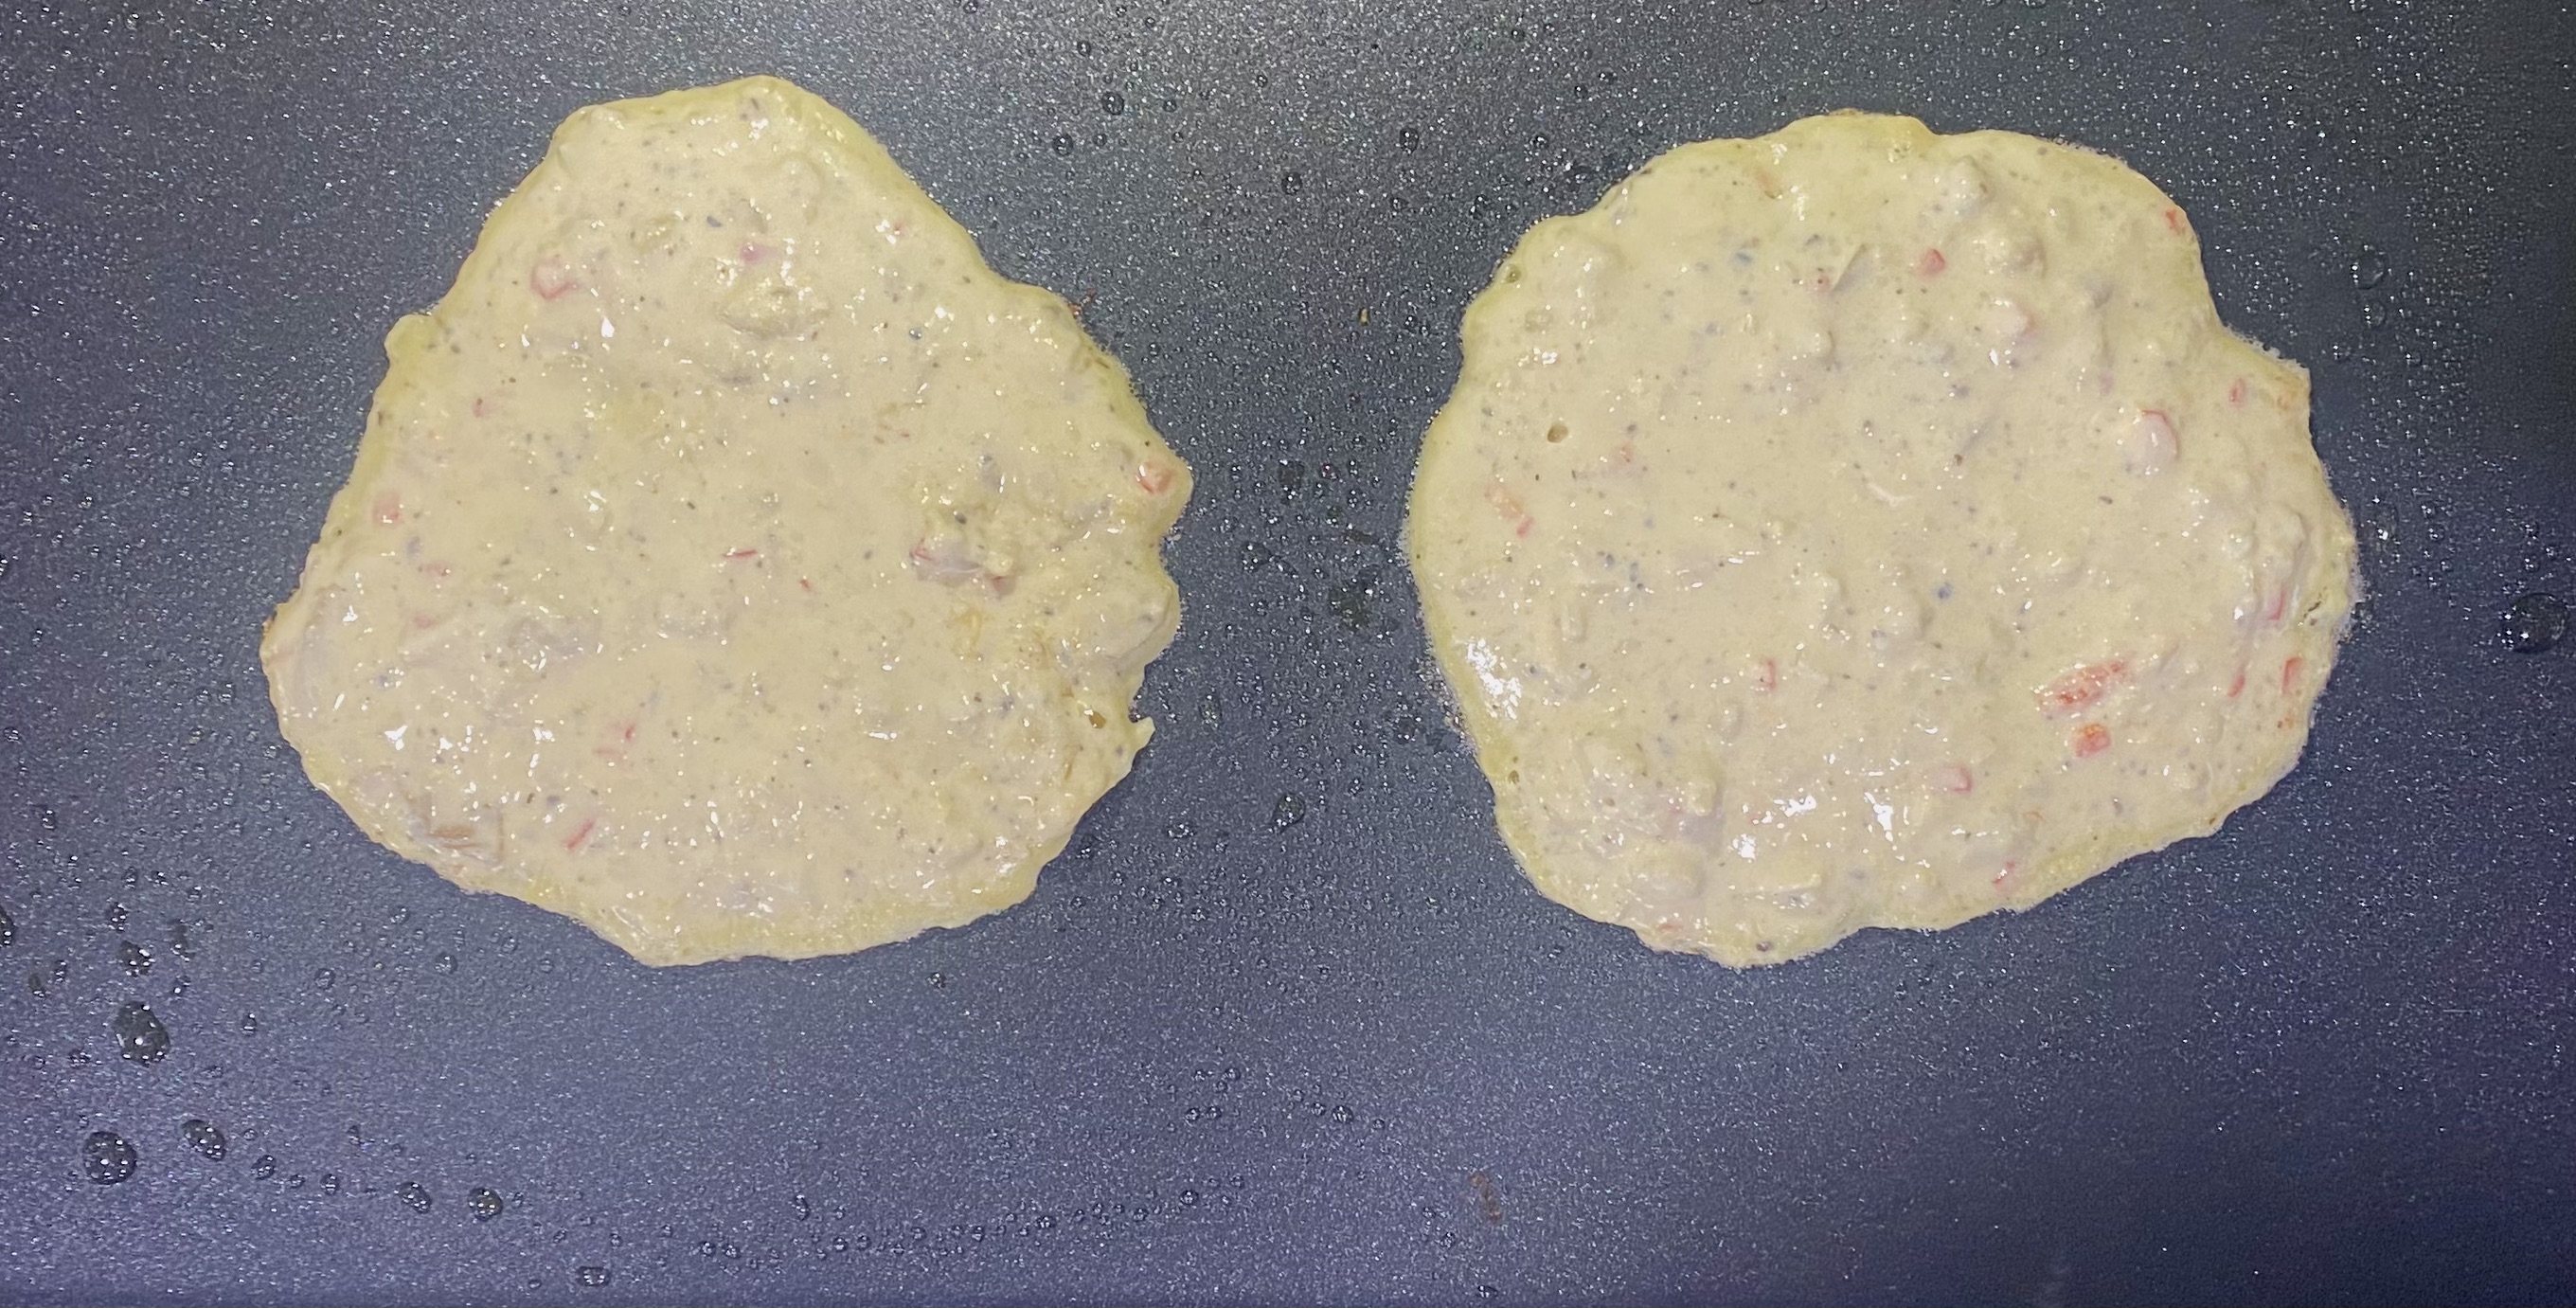
In a mixing bowl, combine all ingredients and whisk with a large spoon.
When the skillet is hot and the oil heated through, add a quarter cup of batter per cake and spread to roughly 1/2” thickness. If you like smaller cakes, use a couple of tablespoons per.
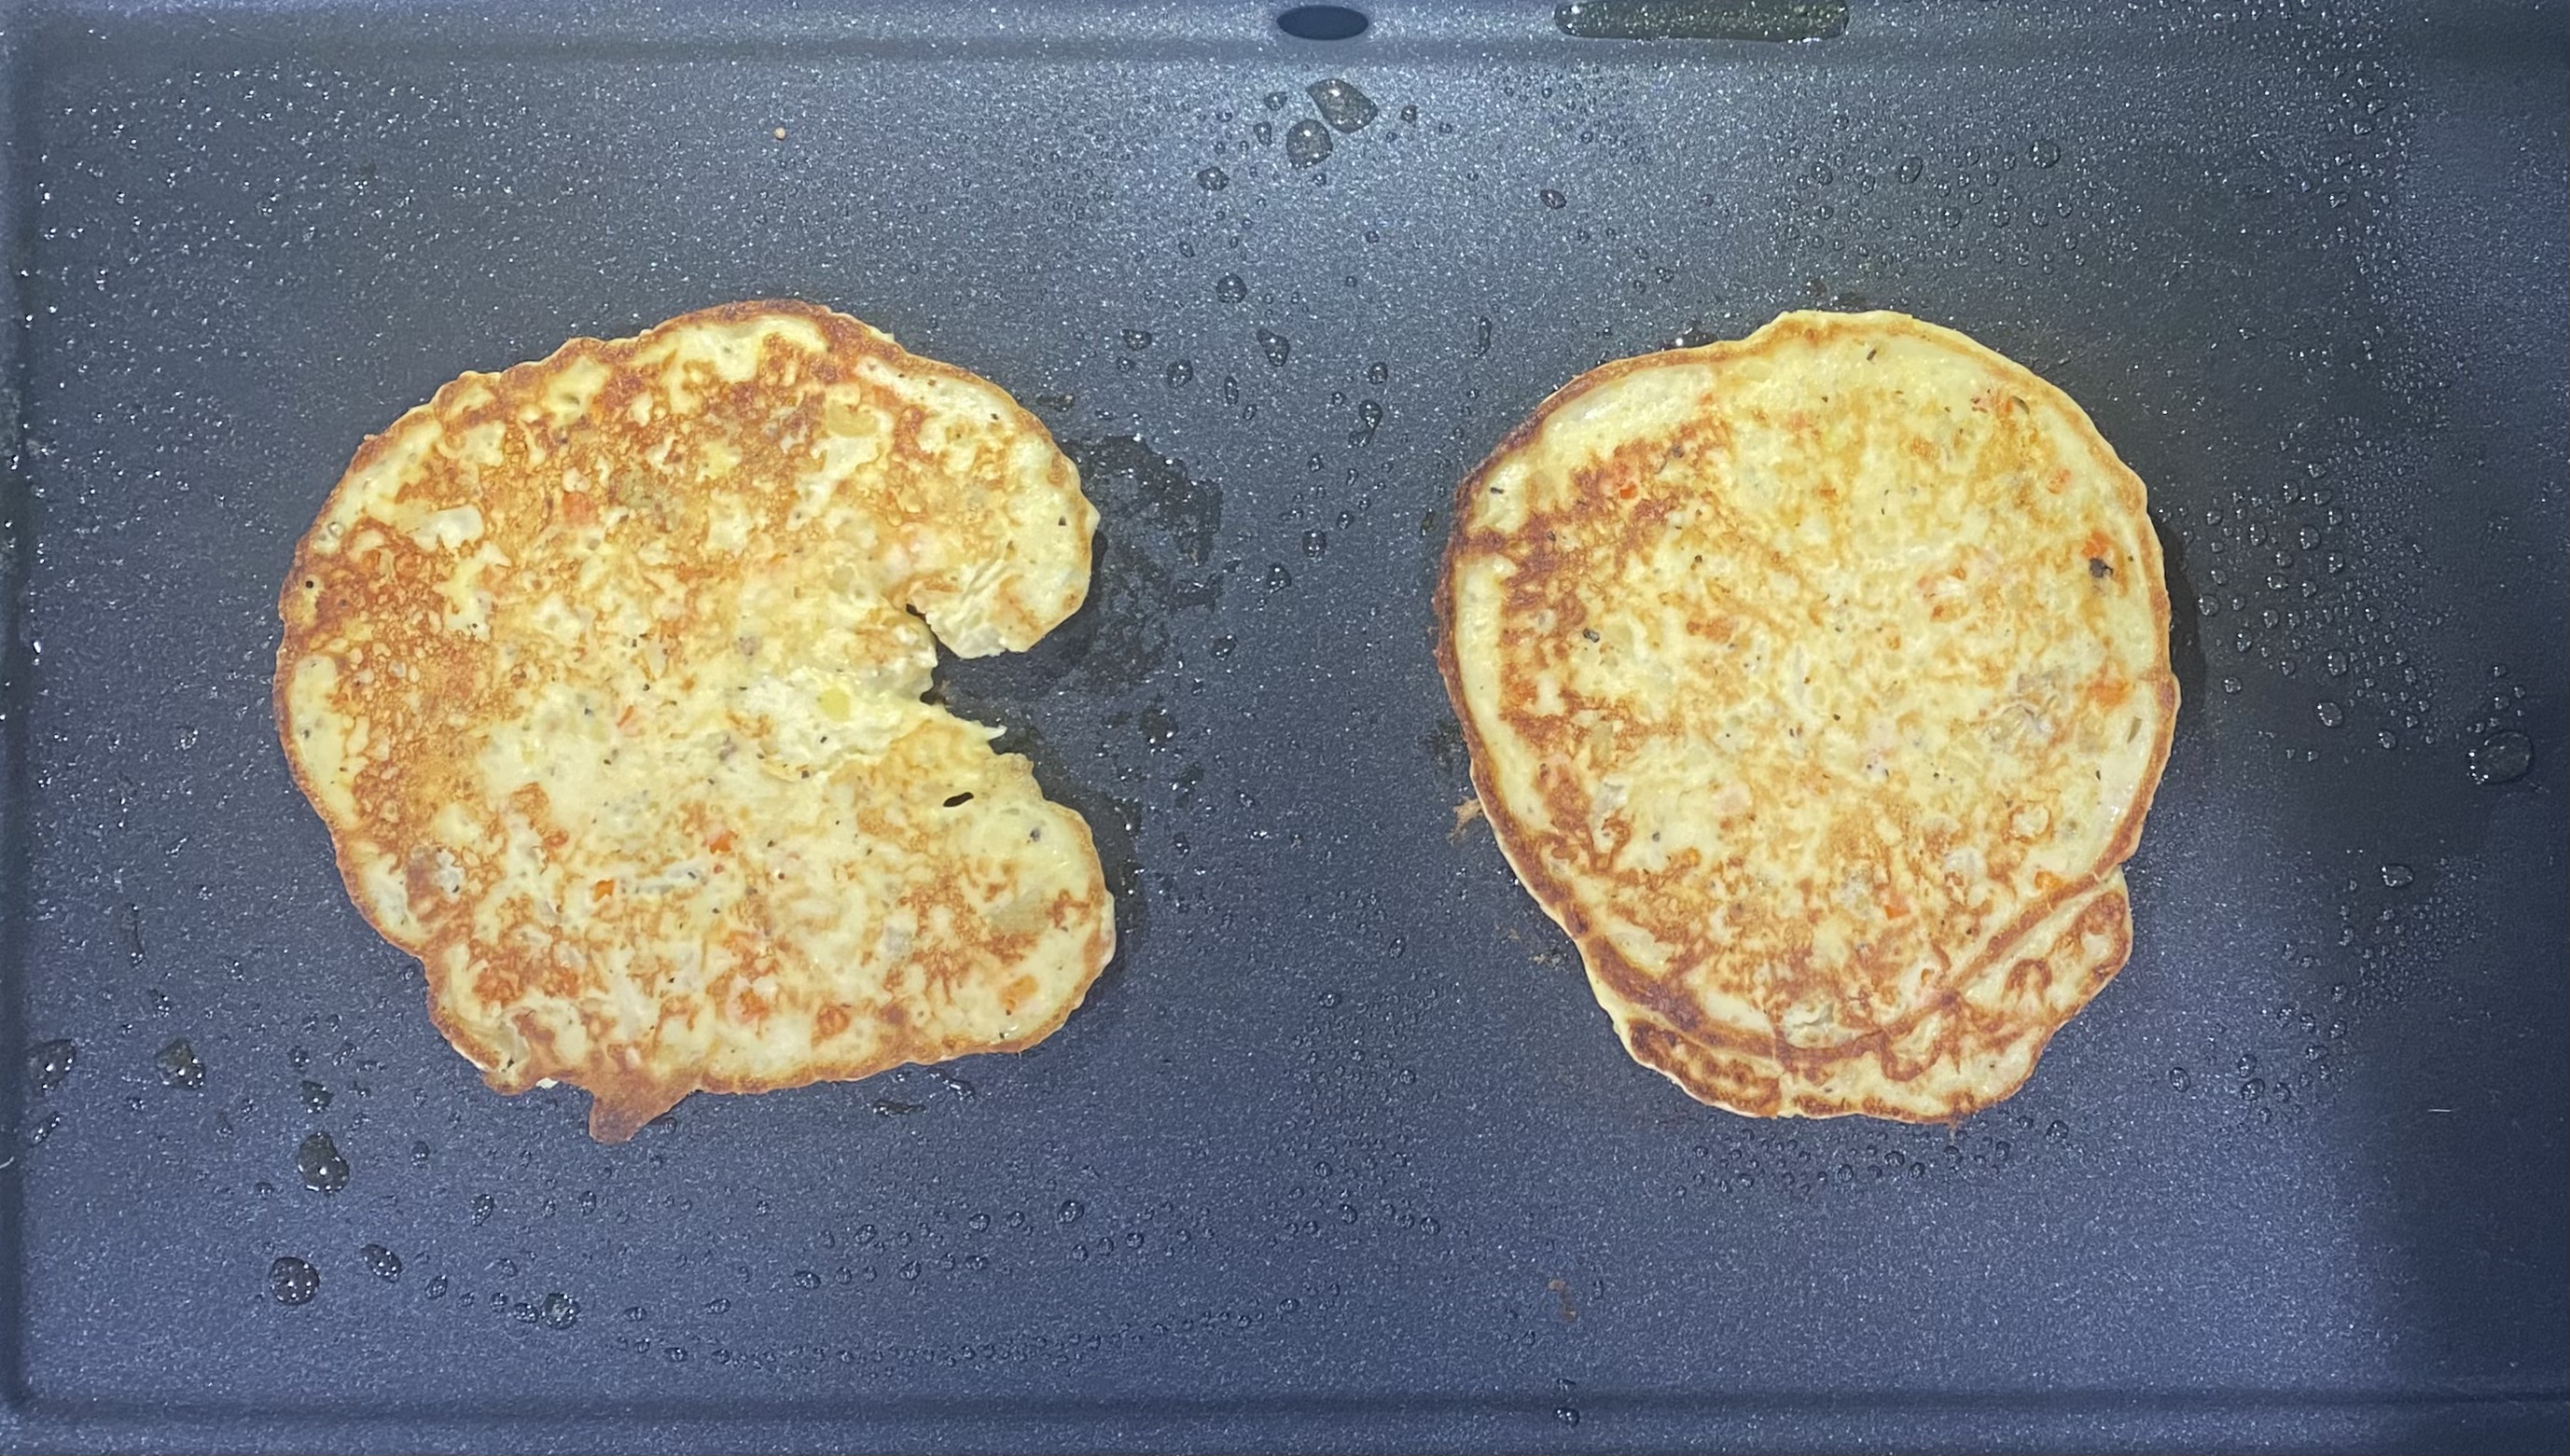
Fry for about 3-4 minutes, until cooked side is crisp edged and golden brown.
Flip cakes and fry the second side crisp edged and golden brown.
Hot hold in a warm oven, or serve immediately.
Top with eggs, cheese, or sour cream for savory.
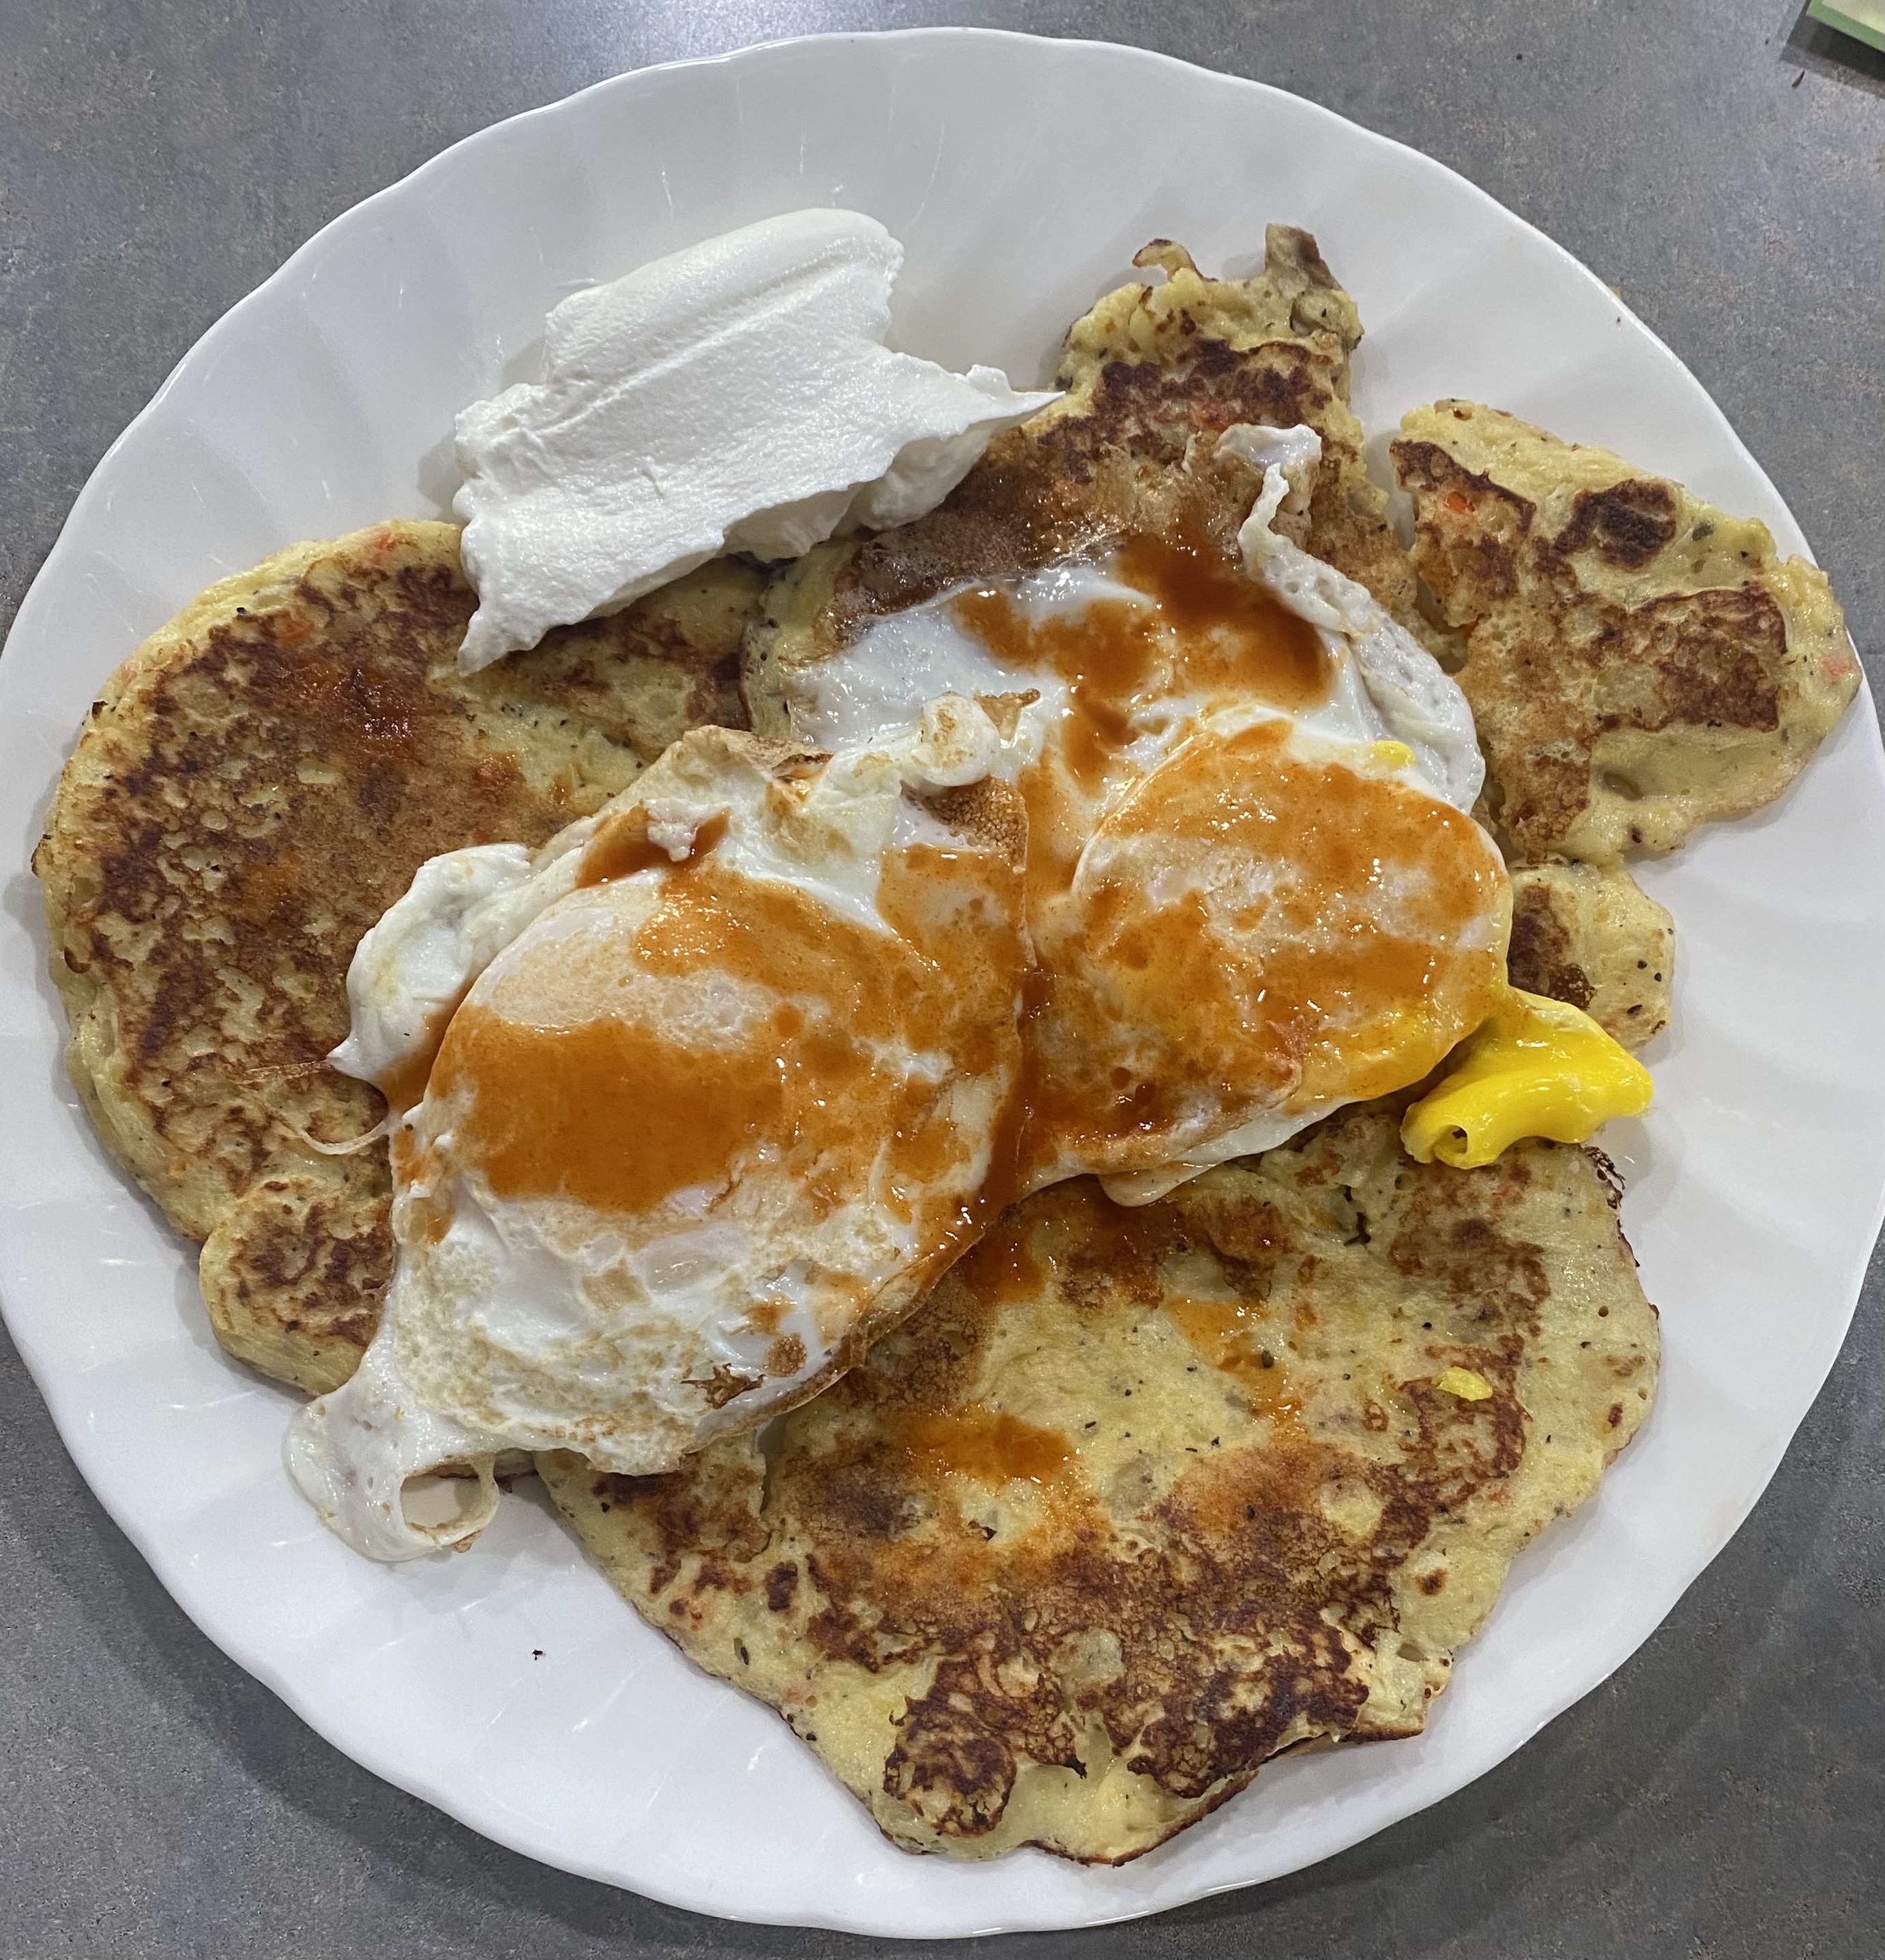
Try sour cream, crème fraîche, crema, applesauce, or chutney for a sweeter option.
Devour with abandon.