If you missed our original home ginger recipe, I can tell you it was a huge hit. That said, there’s always room for improvement. We tweaked this and that, and have tried many a batch since – this one has remained a consistent favorite. It’s easy to make, lasts well, and is perfect for the sultry days of summer, (assuming such days ever show up with any frequency here in the Great Pacific Northwet).
Specifically, what this recipe does is replace some kind of concentrated sugar with pineapple juice, and the results are spectacular; you get a delightful pineapple note on the front end, with a well-tempered ginger finish, a more natural sweetener, and a much more natural sweetener. We also increased the citrus, and added lemongrass and vanilla for some really lovely background notes.
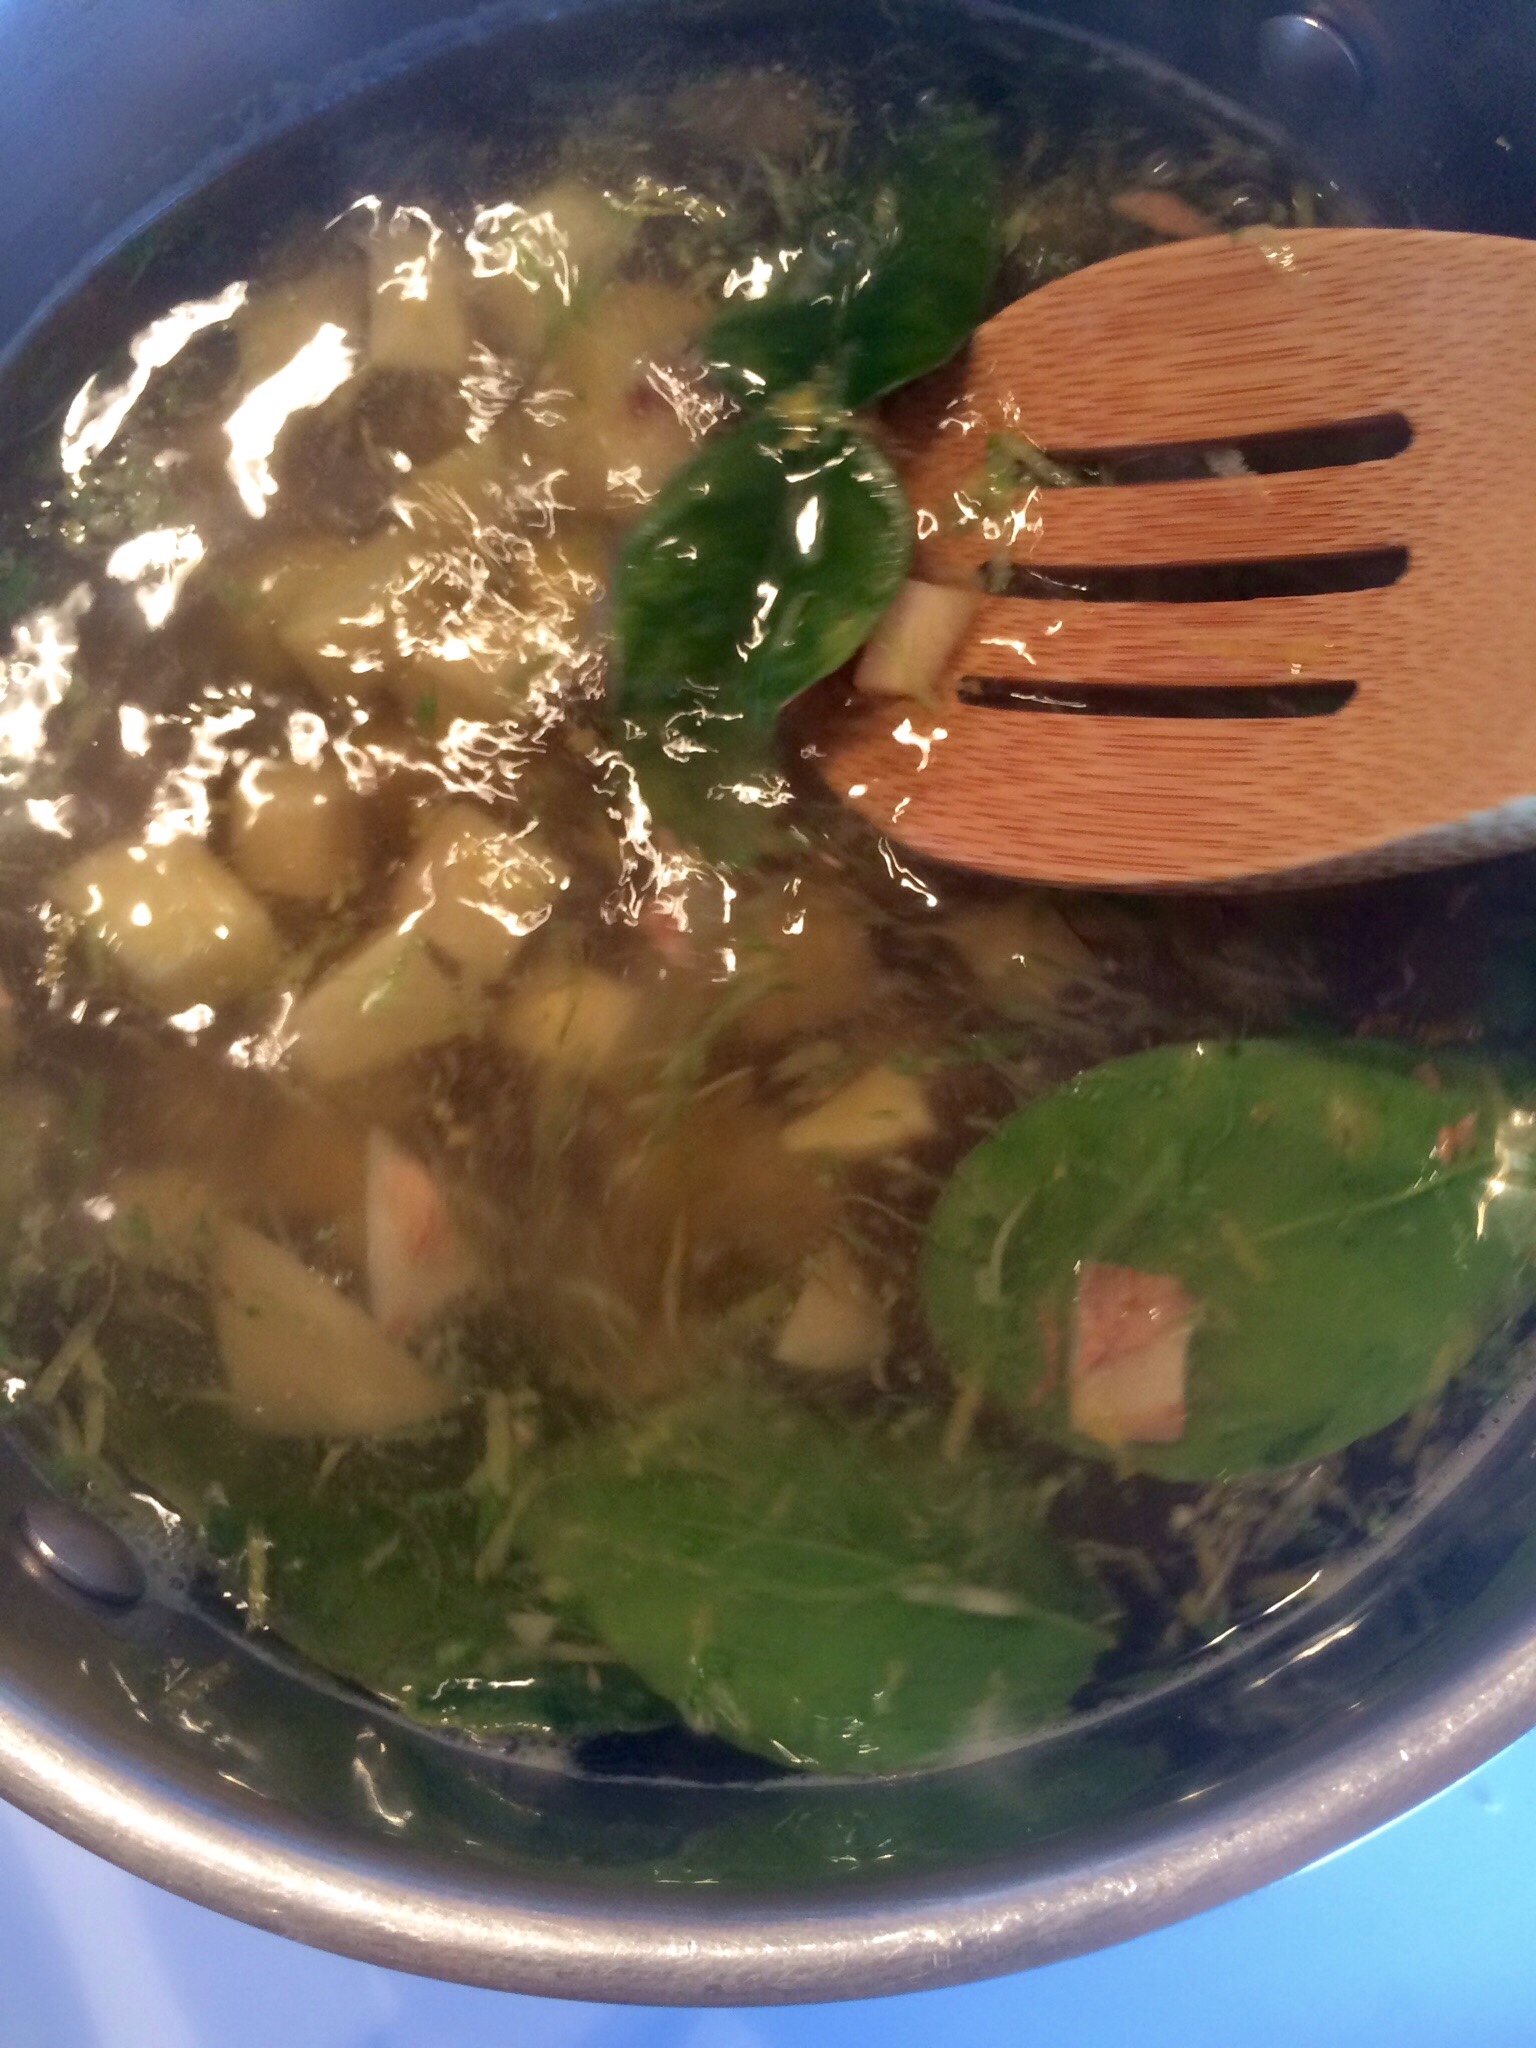
We have a fabulous juicer that we used to extract the pineapple, but you could effectively employ a blender or processor as well.
1 Pound fresh Ginger Root
6 Cups Water
2 Fresh Pineapples
2 small Limes
1 small Lemon
Roughly 12″ Lemongrass
8-10 Kaffir Lime Leaves (not absolutely necessary, but a very nice touch)
1 teaspoon Vanilla extract
Pinch Sea Salt
OPTION: If this isn’t sweet enough for you, you can adjust each glass as you see fit, but try this first!
Rinse and dice ginger root – No need to peel it – This saves time, and there’s no difference in flavor or extraction.
Wash, rinse, zest and juice lemon and one lime. Cut second lime into quarters. Rough chop lemongrass into 1/2″ chunks.
In a large sauce pan over medium high heat, bring water to a simmer. Add ginger, quartered lime, citrus zest, lemongrass, and kaffir leaves.
When water begins to bubble, reduce heat to low and simmer, covered, for 45 minutes.
Remove pan from heat and let the mixture steep, covered, for 30 minutes.
Rinse and trim pineapple. Blend, process, or press flesh to extract all the juice.
Run the steeped mixture through a single mesh strainer, then discard the root.
Return strained liquid to the pan over medium-low heat. Add pineapple juice, citrus juice, vanilla, and pinch of salt.
Stir gently and allow to fully incorporate and heat through. Taste and adjust sweet balance with a little honey or sugar if needed, (you probably won’t, but you do want to taste hefty ginger and distinct sweet – This is your concentrate, so it should taste fairly over the top).
Remove from heat and allow syrup to cool. Transfer to a glass bottle or jar and refrigerate for at least 4 hours.
Mix drinks in a tall glass with plenty of ice. Start with 1/4 cup syrup to 1 cup club soda; stir, taste and adjust blend to your liking. A fresh squeezed wedge of lime goes very nicely.
Refrigerated and sealed air tight, the syrup will last for a good two weeks, though it’s not likely to survive that long.
NOTE: Some folks prefer to mix fresh citrus in to the final blend, rather than incorporating it into the syrup.
It’s finally warmed up around here, and the garden has wasted no time in playing catch up. When M and I went out for a look and saw a bunch of gorgeous lettuce, she said ‘lettuce wraps,’ and I got busy.
Are you one who sneers at lettuce? If you’re of the opinion that lettuce, like celery, is a tasteless veggie, you’re not all that wrong – far too much of what we find in grocery stores is a pale shadow of the real deal. Like commercial apples not so long ago, what you find in stores is iceberg, romaine, and one or two varieties of leaf – they’re usually not local, and they’re not grown for taste – they’re made to travel and store well, and that’s why they generally suck. The image below underlines this trend. That’s a field of iceberg lettuce – Study that and ask yourself, when was the last time the iceberg you saw in the store looked like this?
Lettuce is a member of the daisy family – Asteraceae. It was first cultivated in Egypt around 3,500 years ago, grown for seeds that produce cooking oil, (and in some places still is). It was initially a plant 2 to 3 feet tall that looked like a mutant head of Romaine. Lettuce spread quickly, courtesy of the Greeks and Romans, and by the first century AD, had taken root across the known world. China leads world cultivation these days, by leaps and bounds in fact – And yes, it’s still grown in Egypt. There are six major cultivars – Leaf, Cos (Romaine), Crisphead (Iceberg), Butterhead (Boston or Bibb), Celtuce (Stem), and Oilseed. From those big branches stem hundreds of varieties, many of which are imbued with marvelous taste and texture – And you can grow many of them, so do – Make a salad from lettuces out your own garden, and you’ll know it’s wonderful stuff.
Lettuce, (and plenty of other leaves), have played a part in cooking and eating pretty much since us apes went bipedal – Food has been cooked in, plated on, served with, and wrapped in them – and still is. Little bites of meat, fish, poultry, or starchy vegetables wrapped in leaves, especially lettuce, is ubiquitous throughout Asian cuisines. I love such things, because you get a purer taste of what you’re eating than you would with something starchy, like bread, tortillas, pancakes, masa, or any of the other myriad sandwich wrappers employed – it’s also generally pretty darn healthy and remarkably tasty.
The challenge comes in finding lettuce strong and tasty enough to do the job. Romaine will work, but it usually tastes like cardboard. What you want is something from the Butterhead cultivar – a lovely head of Butter, Boston, or Bibb lettuce. These are robust enough to handle being stuffed, are far prettier than most other varieties, and taste great. They can be a bit pricier than simpler stuff, but if you get 12+ wrappable leaves out of a head, it costs about the same as dozen tortillas.
Chicken is a great protein for doing up an Asian inspired wrap dish, but so would fresh, firm tofu, fish, pork, or beef. If you use meat, it doesn’t have to be fancy – there’s a marinating step in this recipe, so even tougher cuts will get some time and help toward breaking down tougher tissues. A lot of the chicken lettuce wrap recipes out there advocate breast, but I do not – that is about the most expensive piece you can find, and the standard American white meat chicken breast hasn’t much flavor – yes, a marinade will help fix that, but why not use something that has some? Skin on, bone in thighs are the trick – Lots of flavor, cheap, and easy to prep – and a lot more authentic to boot.
As for that marinade – Rather than go for something point specific, I built a reasonably faithful mashup that holds true to regional cuisines and is a bit exotic to us Americans. Thai, Vietnamese, Japanese, Chinese, and Korean cuisines all use soy sauce, albeit they have specific variations they prefer – those are worth checking out, as they’re quite distinct. Hoisin sauce also crosses several borders, it’s often thought of as a generic Asian barbecue sauce. Rice wine and sesame oil are ubiquitous as well.
Notes –
1. Since this is a marinating recipe, you’ll need to allow time for that.
2. I pickled or dressed some of the veggie filling options, because we like that sort of thing- you don’t have to if it doesn’t float your boat – I included recipes just in case, as well as for peanut sauce.
Urban’s Asian Inspired Chicken Thighs
Chicken and Marinade:
1 1/2 to 2 Pound Chicken Thighs (Bone in, skin on – if you go boneless/skinless, a pound is plenty)
1/2 Cup Light Soy Sauce, (as in, light versus dark, not ‘lite’ as in abomination)
1/4 Cup Hoisin Sauce
2 Tablespoons Rice Vinegar
1 Tablespoon Sesame Oil
1 Tablespoon Agave Nectar
1-3 fresh Serrano Chiles
1” chunk fresh Ginger Root
2 fat cloves fresh Garlic
1/2 teaspoon Fish Sauce
Rinse, stem and dice chiles – you can field strip the membranes if you’re a heat weenie.
Peel and mince the garlic and ginger.
Combine everything but the chicken in a non-reactive mixing bowl, whisk to incorporate, and allow to marry at room temp while you prep the chicken.
Bone in, skin on chicken thighs – where the flavor is.
Remove skin and extra fat from thighs, then debone – the skin will pull off easily from one side, and the bones are mostly loose – a little careful paring will free them.
Toss your bones and skin into 6 cups of water with a little onion, celery, and carrot and you can simmer up some stock to have on hand for whatever – Most of the fat in chicken skin is unsaturated, BTW.
Cut the chicken into roughly 1/2” slices across the short side of each thigh.
Pack the sliced chicken into a bowl or storage container and pour the marinade over it – work it in so that everything is well coated. Marinate refrigerated for at least 2 hours, and 4 to 6 is even better.
Lettuce and Fillings –
10-12 leaves Butter Lettuce
1 Cup Mung Bean Sprouts
1 packed Cup Savoy or Napa Cabbage
1/2 Cup Carrot
1/2 Cup Sweet Onion
1 Cup cooked Thai cellophane noodles
1/2 Cup Roasted Peanuts, rough chopped
1/2 Cup Cilantro, rough chopped
Rinse and pat dry sprouts.
Slice cabbage into roughly 1/2” shreds. If you like this dressed, add 1 tablespoon of roasted sesame oil, and 2 teaspoons of rice vinegar, and toss to coat.
Slice carrot into roughly 2” matchsticks, and onion into 2” pieces
Pour boiling water over noodles in a mixing bowl and steep for a minute or so, until they’re al dente. Pour out hot water and rinse noodles with cold water, then drain. Place in a bowl with a teaspoon of avocado oil and mix by hand to coat the noodles.
Put the onions and carrots in a small non-reactive bowl, and add
1 Cup White vinegar
1/2 teaspoon Celery Seed
1/2 teaspoon Coriander
1/2 teaspoon Turmeric
Whisk with a fork to incorporate and let the mix marinate at room temperature
If you like peanut sauce, here’s my fave version –
1/2 Cup smooth natural, unsweetened Peanut Butter
2 Tablespoons Light Soy Sauce, (See above, not ‘lite’)
1 Tablespoon Rice Vinegar
1 Tablespoon Agave Nectar
1 Tablespoon fresh Lime Juice
1-2 teaspoons Sriracha Sauce
2-3 Cloves fresh Garlic
1 Tablespoon fresh lime juice
1/2” fresh Ginger Root
1-3 Tablespoons Warm Water
Peel, trim, and fine grate ginger and garlic.
Combine everything but the water and whisk with a fork to incorporate.
Add water, about a tablespoon at a shot, until you each the sauce consistency you like.
Allow to marry for 30 minutes prior to serving.
When you’re ready to eat, set all the fillings out in bowls so folks can load up at the table.
Separate lettuce leaves, then gently wash in cold water and pat dry with a clean towel. Arrange on a platter.
Pour out most of the marinade, but leave the chicken well coated, and some of the goodies too.
In a large skillet over medium high heat, sauté the chicken until fully cooked, stirring and flipping steadily, about 4-6 minutes. This is also a great thing to stir fry in a wok, if you’re of a mind.
Transfer chicken to a serving platter, top with a few chopped nuts and some cilantro, and dig in.
Annie Lovejoy is her name, and northwest gardening, sensible living, and life balance is her game. she writes a wonderful weekly blog that touches on a lot of that, and this week, my Parmigiano Stock got a nod. check it out, and if youre not subscribed to her blog, well – ya aughta be.
We’re still under construction, as you can see. i experienced a rather debilitating attack, which required changing hosts, recovering content, and basically rebuilding from scratch. I’m getting there, slowly but surely, so your patience is greatly appreciated! in the meantime, all my old content is here, so feel free to poke around.
along with a whole new look and layout, there’ll be lots of new posts coming soon.
On the morning after Christmas, with the temperature in single digits, 8” of snow on the ground, and a north wind howling away at 40 knots, I got a hankering for quiche. I’ve written about and done up hundreds of recipes over the years, so I was indeed surprised to find only my legendary Potato Crusted Quiche in my recipe files.
How could I have gone this long without writing about the first iteration of this dish to storm America, the Quiche Lorraine?
Quiche Lorraine
First, a bit of history is in order for quiche in general and the Lorraine version in particular. Bien sur, even though France broadly claims the dish, what we know as quiche came from Germany back in the sixteenth century, from the region that was called Lothringen and is now Lorraine. In all fairness, this region has changed sides more than a few times, so the French must be forgiven this most reasonable appropriation.
Lorraine Region of France
What is a quiche Lorraine, then? Go there, (and truth be told across much of France), and what you’ll get is a one short-crust pie filled with a rich, savory custard and smoky, local bacon or ham. The seasoning will be salt, pepper, and a hint of freshly grated nutmeg.
So where did the version that stormed America come from – the one with the bacon or ham, plus Gruyère cheese, sautéed onions, and the same seasonings? The short answer is, right there, over time.
See, the region in question has also been called Alsace-Lorraine, even if France wants to call them Lorraine and Alsace-Moselle nowadays. Add onions to a quiche Lorraine, you get a quiche Alsacienne, me comprenez-vous?
The cheese came later, but also from the same region. Even though we’re told that Gruyère or Swiss are the proper cheese options for a Lorraine, right there they make Comté, also known as Gruyère de Comté. What this means is, you’ve got options.
Gruyère de Compté
For this and any quiche, there are steps you need to take to consistently produce a non-watery pie with a perfect, custardy filling – they’re outlined below, in detail. Also, just between us? You can also just buy a damn pre-made crust – truth be told, it ain’t like anybody’s gonna know, right?
Quiche Lorraine
For the Crust –
2 Cups Pastry Flour
1/2 Cup cold Butter, diced
1/4 teaspoon Sea Salt
6 – 8 Tablespoons Ice Cold Water
Crust Prep –
Remember; great pie dough is simple and minimally handled.
In a mixing bowl, combine the flour and salt.
Add the butter and work it into the dry ingredients by hand or with a pastry knife until it resembles rough corn meal in texture.
Add the water a tablespoon at a time and stir the dough with a fork.
When the dough holds together as a ball, but isn’t wet or sticky, stop messing with it, cover it in a mixing bowl refrigerate for 1/2 hour.
Pull your dough and hand form it into a disk about 3/4″ thick, then roll it out on a lightly floured surface, into a 12” circle roughly 1/8″ thick.
Lift an edge and carefully peel the dough free, then drape it onto a dry 9″ pie pan.
Trim the dough with a paring knife, leaving it about 1″ over the edge, then tuck the overhanging dough underneath itself to form a thick edge on the pan, and treat it as you see fit, (I like the classic thumb print myself).
Preheat your oven to 400° F, and position racks in the center position. Put a piece of parchment paper or foil over the pie dough and fill with dried beans or pie weights.
Blind bake the crust on the center rack for 15 minutes, then remove to the stove top.
Remove pie weights and parchment from crust and set aside to cool. Reduce oven temp to 350° F.
For the Filling –
1 1/2 Cups Whole Milk
1/2 Cup Crème Fraîche, Mexican Crema, Buttermilk, or Sour Cream
4 fresh Eggs
4 Ounces Smoked Bacon or Ham, (European style is best)
1 Cup Gruyère, Comté, or Swiss Cheese
1/2 Cup Onion
1/2 teaspoon Sea Salt
1/4 teaspoon freshly grated Nutmeg
6-8 twists freshly ground Black Pepper
5-6 shakes Tabasco sauce
Prepare your mise en place.
Portion milk and whatever sour cream variant you use and bring eggs out of the fridge as well – let them sit at room temp while you work on everything else.
Dice bacon or ham and cheese into roughly 1/4” squares.
Fine dice or thinly slice onion, as you prefer.
In a heavy sauté pan over medium heat, add the ham or bacon and fry until you have nice, crispy lardons, about 3 to 5 minutes.
Transfer meat back to mixing bowl.
Reserve about a tablespoon of fat from the fried pork and add the onions to the sauté pan – cook until they are lightly browned, about 3 minutes.
Scatter cheese, bacon or ham, and onions evenly across the par baked crust.
In a mixing bowl, combine milk, sour cream, eggs, salt, pepper, nutmeg, and Tabasco. Pulse with a stick blender until fully incorporated, about 1 minute.
Pour the custard carefully over the cheese, meat, and onions.
Carefully slide the quiche into a middle rack spot and bake at 350° F until the top has puffed up and is golden brown, about 35-40 minutes.
Remove quiche from oven and allow a 5 to 10 minute rest before devouring.
It’s great for dinner with a nice green salad and glass of wine, too, by the way.
Kaye Harris is a Facebook Friend. Kay is one of those people that I genuinely consider a friend, even though we live far from each other and haven’t yet met face-to-face. If you look her up, you’ll see her short self-description as ‘Leftist, Feminist Patriot, Graduate of Satan’s Reform School, Advanced Degree in Verbosity from STFU.’ That’s probably in a nutshell why I dig her so much.
I know that she’s smart, funny, deeply caring, widely talented, a great cook, and a wonderful friend, mother, and grandmother. She’s from the Gulf Coast – grew up in Mobile and lives in Biloxi. She’s the epitome of why M and I love the south so much – that sleepy, hot, muggy air that encourages, nay, demands that you to settle the fuck down. The amazing people who invite you to swipe an ice cold beer bottle across your forehead, put your feet up on the porch rail, and set a spell – supper’ll be along…
Kaye and I have shared affinities across a bunch of things, but cooking great food may well be foremost among them. When January 1st rolls around, I know she’ll be making something with black eyed peas, as will I. It also comes as no surprise that she’s got great recipes for stuff other than field peas with ham hock and collard greens. If you truly dig black eyed peas, you’ll have options in your quiver – because anything so good deserves to be celebrated in a bunch of ways.
Here is Kaye’s Black Eyed Pea Hummus, which she promises is fabulous. She’d be right about that. Y’all enjoy, and come see me now, hear?
Kaye Harris’ Black Eyed Pea Hummus
2 1/2 Cups cooked Black Eyed Peas
1/4 Cup Extra Virgin Olive Oil
3 Tablespoons Tahini
2 cloves fresh Garlic
2 Tablespoons fresh Lemon Juice
1 teaspoon Smoked Paprika
3/4 teaspoon Kosher Salt
1/2 teaspoon Black Pepper
For Topping –
More EVOO, Paprika, Red Pepper Flakes, Maldon Sea Salt (or any swanky finishing salt you dig), Fresh ground Black Pepper
Drain black eyed peas well.
End trim, smash, and peel garlic.
In a food processor, add the garlic and pulse until minced.
Add BEPs, tahini, lemon juice, smoked paprika, salt and pepper – pulse until all ingredients are well integrated, and forming a thick paste.
Turn processor on and add the olive oil in a slow drizzle, until you’ve attained a smooth, creamy consistency.
Transfer to a serving bowl, and top with more EVOO, paprika, red pepper flakes, finishing salt, and fresh ground black pepper.