M and I have transitioned from hosting major holidays to a supporting role. I can’t say as we’re particularly bummed about that either… Anywho, we do bring dishes with us of course, so when M said she needed ‘about 50 Brussels sprouts’ for Thanksgiving, I raised an eyebrow and did as I was told. Sure as shootin’ we ended up with a bunch we didn’t bring to the big shindig – And there you have it, another leftover that could use a little help. What I came up with to make proper use of them sprouts was absolutely delicious – in the immortal words of Jackie Chan, ‘no bullshit.’

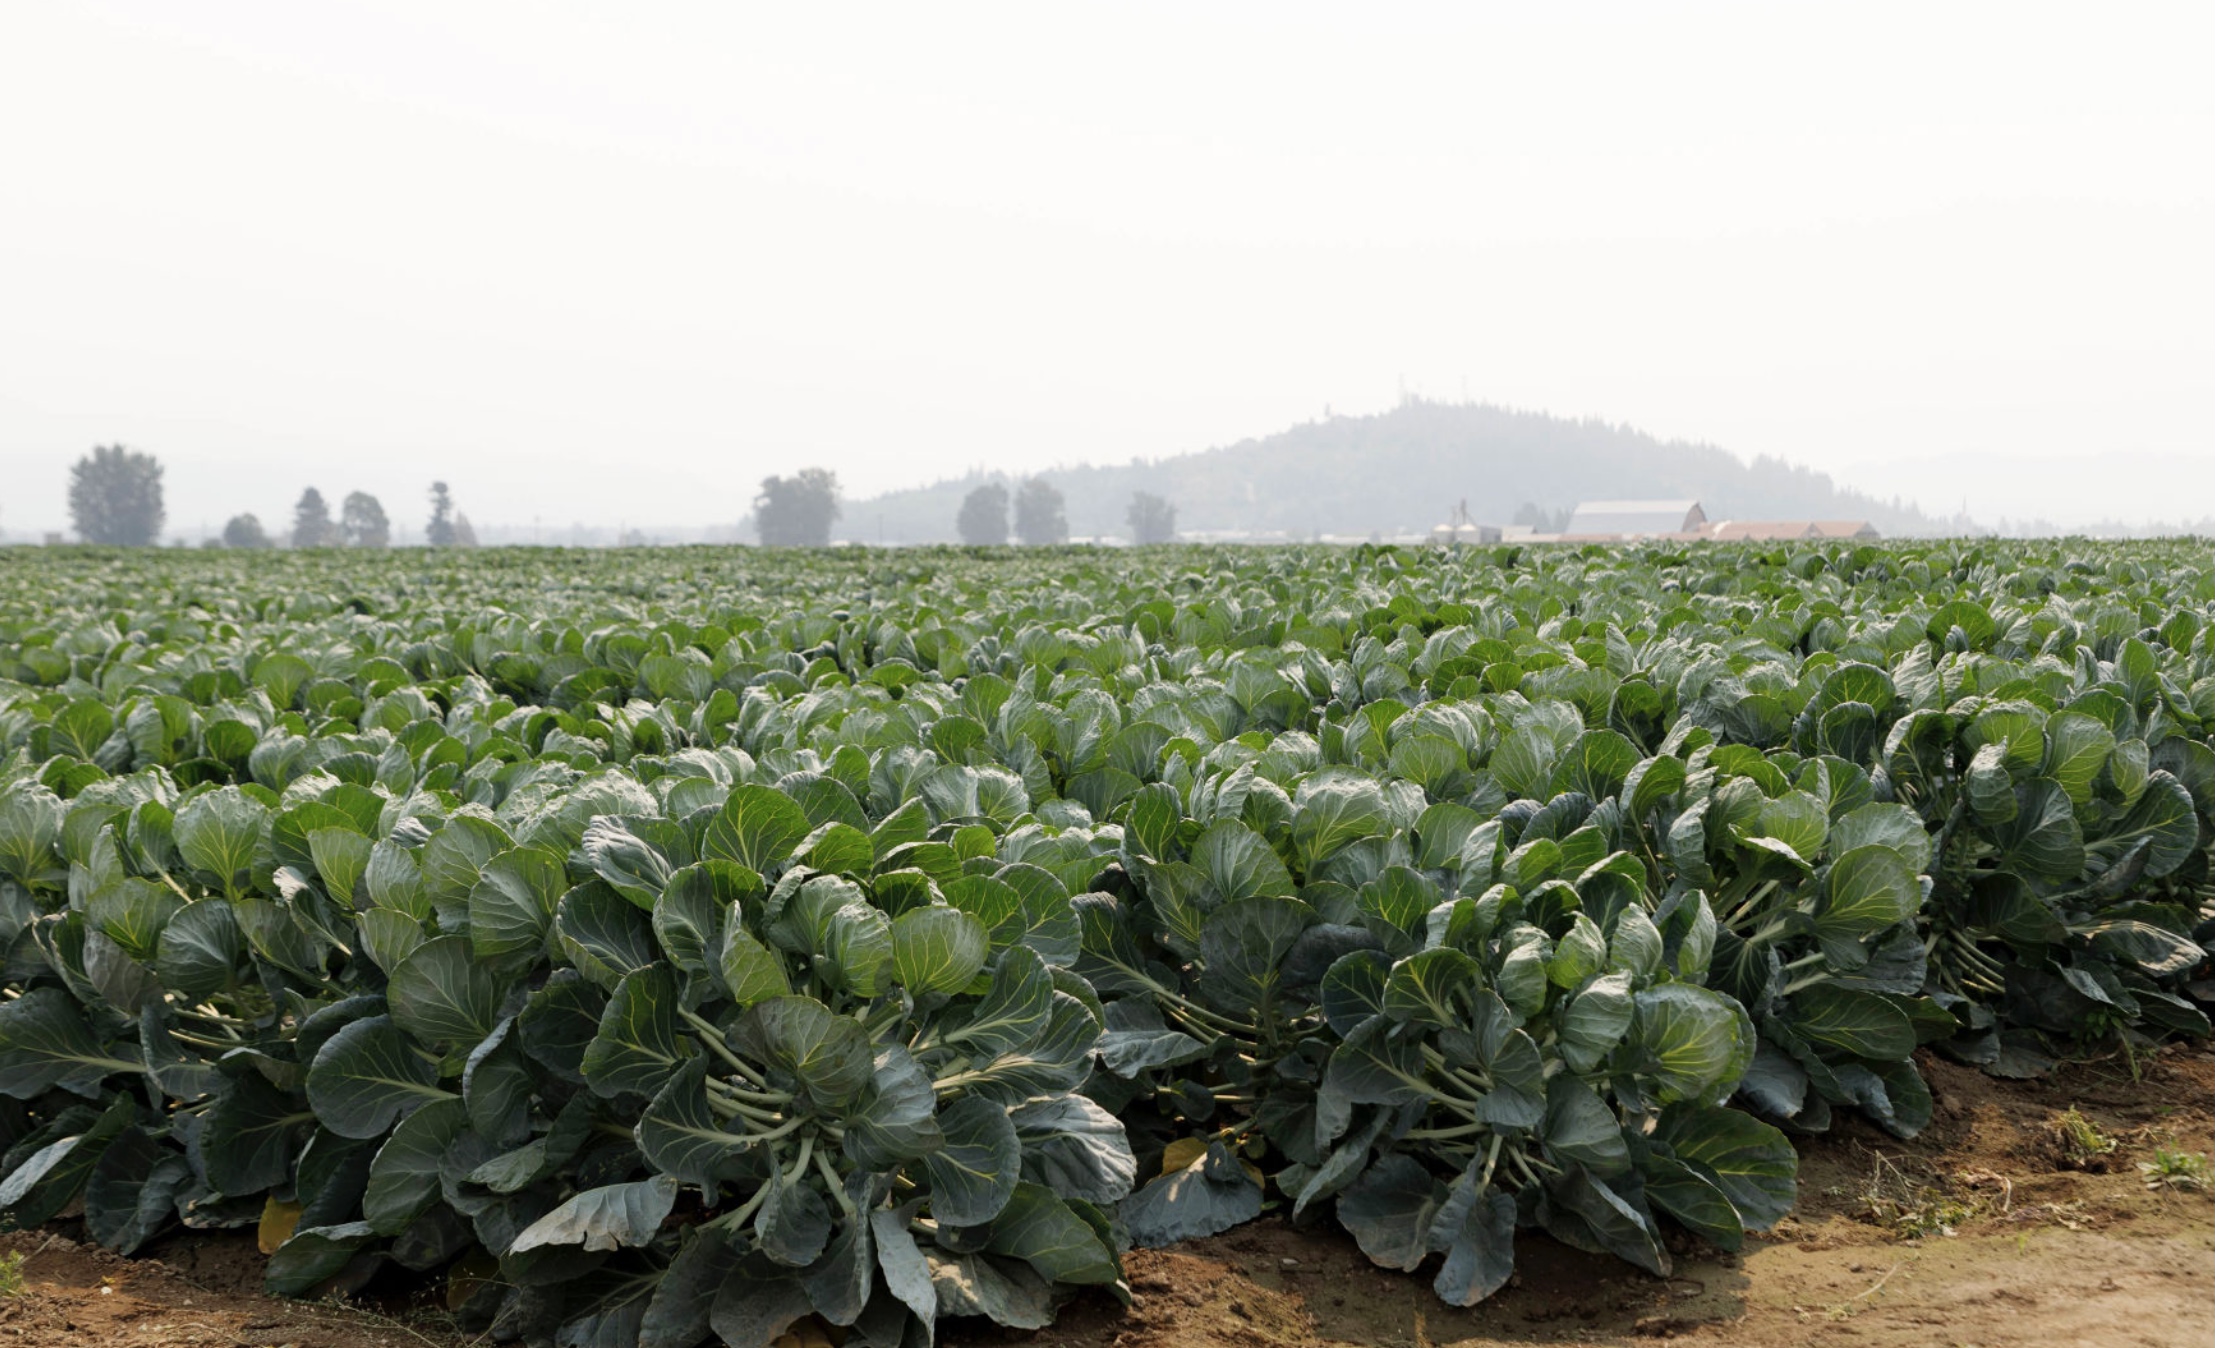
Brussels sprouts are a cabbage family member, Brassica oleracae. Native to the Mediterranean, they hit Europe in the 5th century and became wildly popular in Belgium, specifically around Brussels, (and they still are). They’re a slow growing crop that likes cooler, moister weather – planted in spring, they get harvested in late fall. Just south of us in the Skagit river valley, farmers grow thousands of acres of these little gems. You’ll see them on the west side of I-5 when you motor along down there.
Sprouts get a bad rap as boring or down right gross – and that’s wildly unfair. If you like the cabbage family, you should love Brussels sprouts. If you don’t it’s probably for one of two reasons – either you got fed less-than-fresh sprouts, or the recipe really was boring.
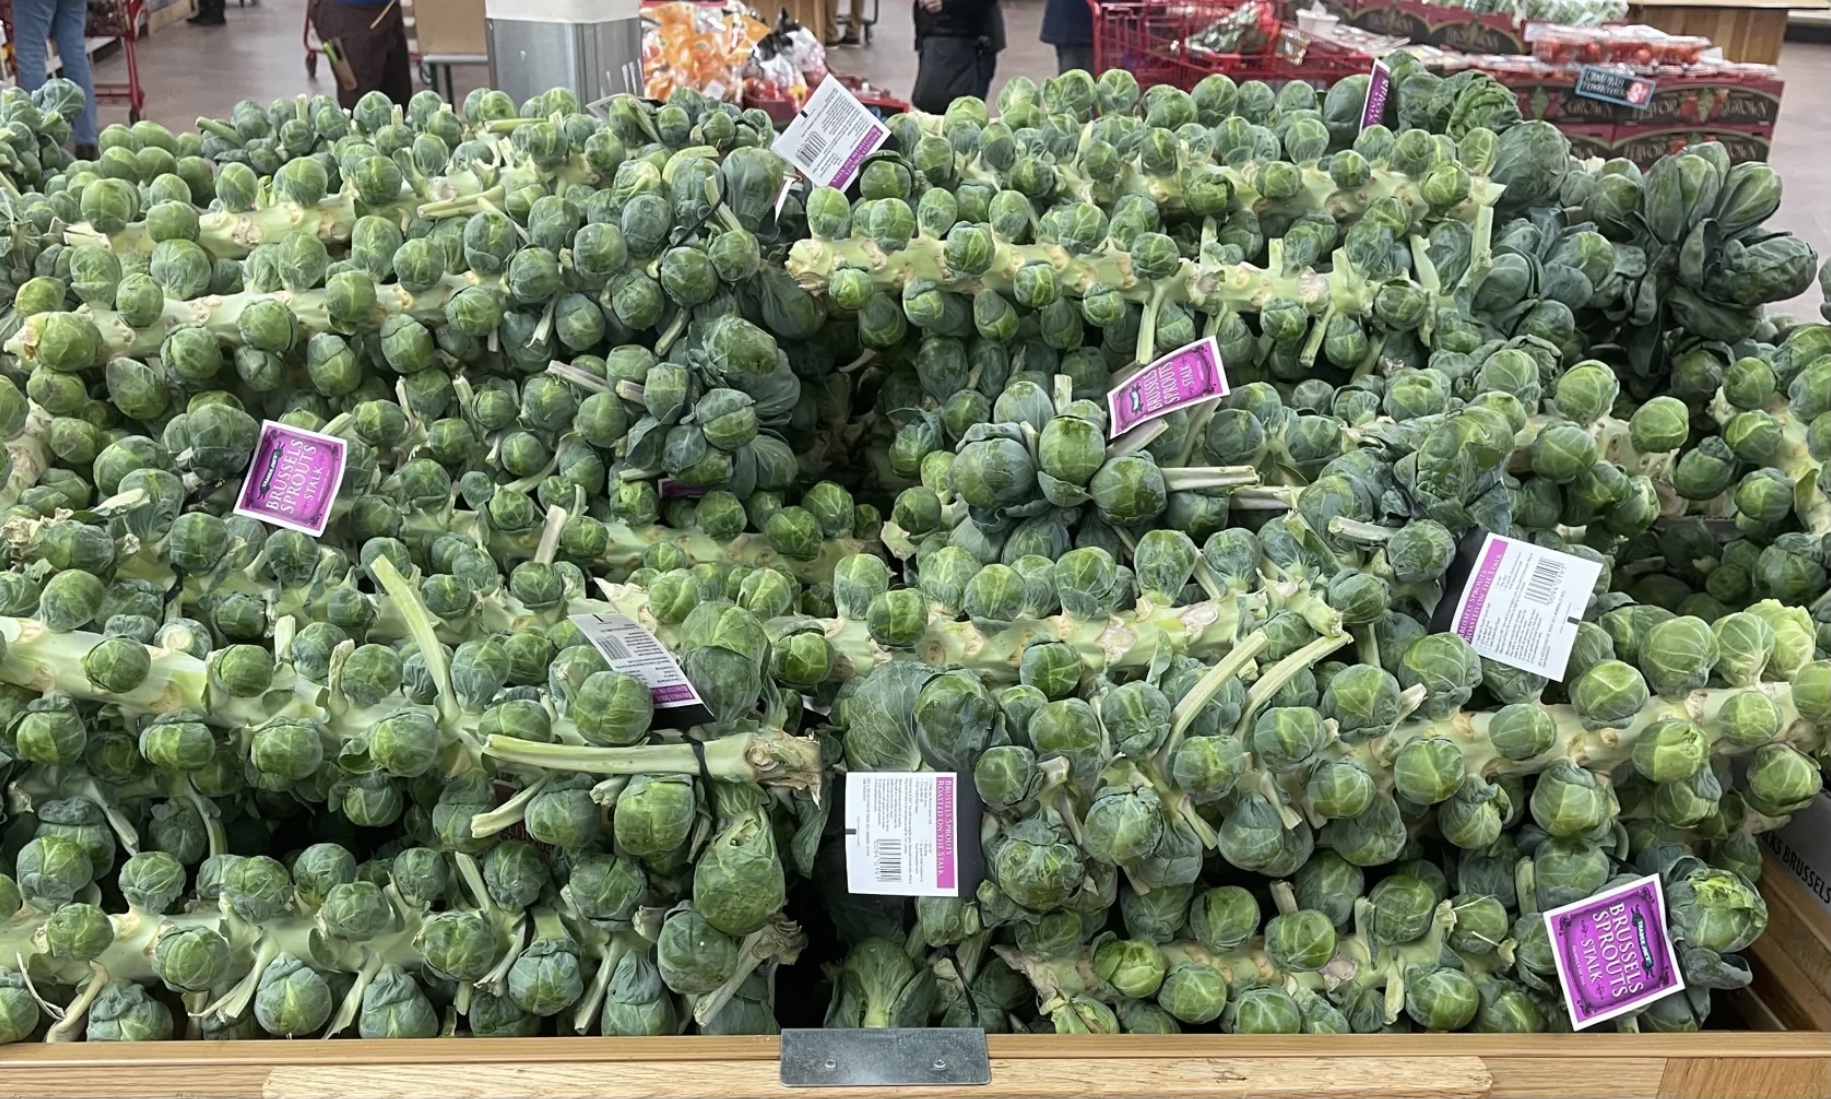
Besides being delicious, sprouts are packed with vitamins and minerals, and low in calories and carbs to boot. How do we pick nice fresh ones? Opt for ‘em on the stalk if they’re offered. Look for nice, tightly packed, bright green ones, and avoid stuff with yellowed or browned leaves. Fresh sprouts should feel heavier than you’d expect them to be, and size-wise, smaller means sweeter.
There’s a bunch of great options for enjoying these little apprentice cabbages, but I won’t recommend boiling them. More often than not, that’s gonna yield soggy, mushy sprouts. While you might not relish chawing on a whole raw sprout, they’re wonderful thinly sliced in salads. They’re great in soups or stews. If you dig sauerkraut, pickled sprouts are gonna float your boat for sure. Thinly sliced quick-pickled raw sprouts are fabulous on tacos.
After a simple, quick presentation? Gently steam sprouts for 5 to 7 minutes, and test with a fork – they should be firm, not overly soft. They’ll continue to cook a bit after you remove them from the heat – add herbs, oil, etc as you like at that point. You can also sauté halved sprouts with great results – again, test with a fork to make sure you don’t overdo it.
For M2¢W, roasting the little buggers is the way to go. That’s what I did last night, paired with chicken cordon bleu and Yukon gold spuds. Many roasted recipes you’ll find add a lot of other stuff – cranberries, nuts, sweet potatoes, and such. All of that is yummy, but for my mind, we should honor sprouts, not hide them. My recipe keeps it super simple, with ingredients picked solely to make the sprouts the star of the show. M declared them ‘the best ever’ and I agree – we’ll be keeping this one in our quiver for sure.

Urban’s Roasted Brussels sprouts
This recipe was for two folks – you can scale up or down as needed
16 small, fresh Brussels Sprouts
2 Tablespoons Avocado Oil (Olive is fine too)
1 fat clove fresh Garlic
1/2 small fresh Lemon
1 teaspoon Pineapple Vinegar (apple cider is fine)
1 teaspoon Greek Oregano
4-5 twists fresh Pepper
2 finger pinch Kosher Salt
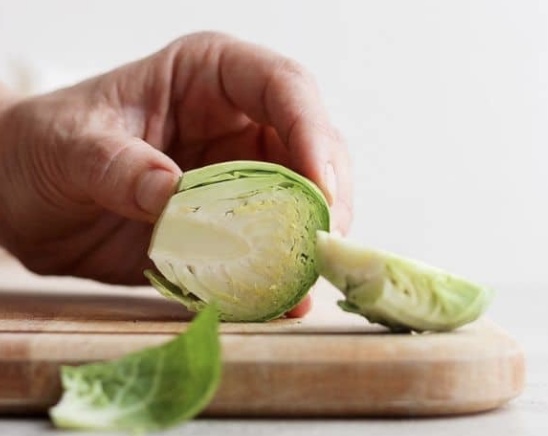
Rinse and end trim sprouts, then cut in half lengthwise, (from top through base). Usually, you’d remove the exterior leaves at this point, but leave ‘em on here – they’re gonna make delightfully little crunchy wrappers for you.
End trim, smash, peel and mince garlic.
Zest and juice the half lemon.
In a small non-reactive mixing bowl, combine all ingredients and toss with a soup spoon to incorporate and coat the sprouts.
Let everything sit and marry for about 15 minutes. If you pair these with potatoes, now’s the time to pop the spuds in the oven – they’ll need about 15 minutes more than the sprouts.
Preheat oven to Roast 375° F – If your oven doesn’t have a roast setting, crank it up to 400° F and position a rack one slot above center.
In a small cast iron or heavy skillet, add all ingredients and give a couple more stirs with the spoon to re-coat everything.
Roast for 25-30 minutes. At 25 minutes, check your sprouts, they should be firm but tender, and look fantastic as you see here.
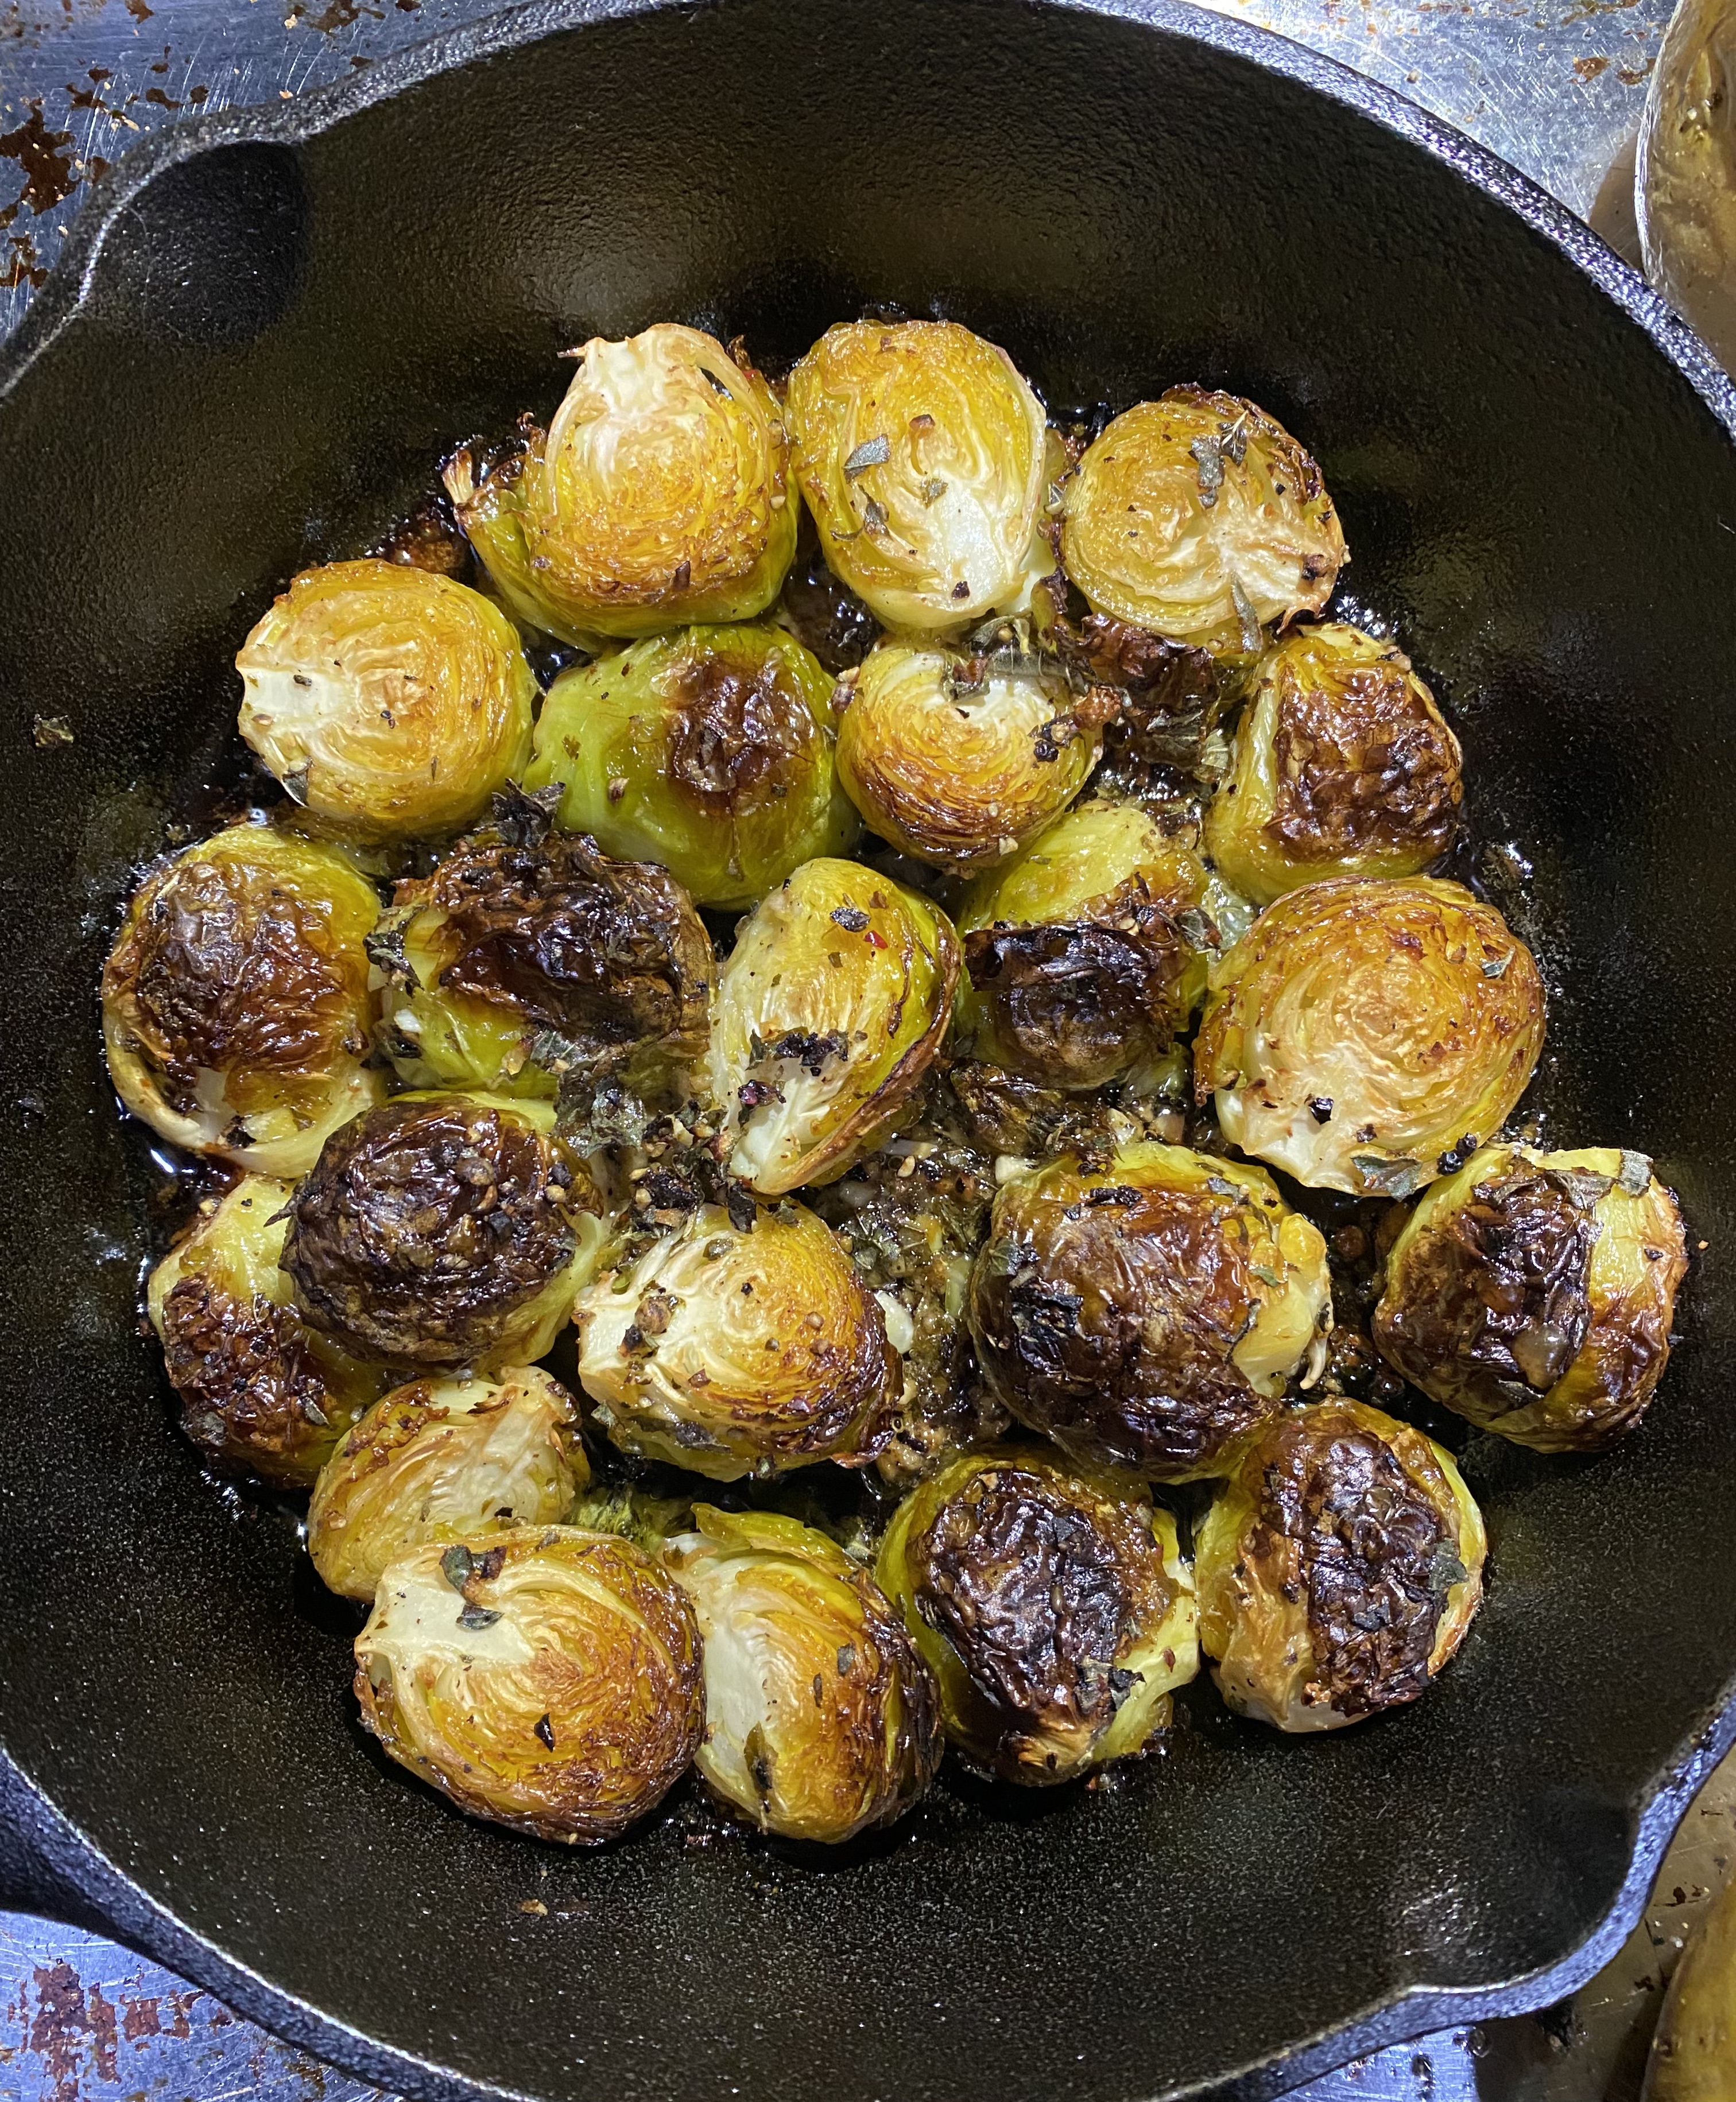
Remove from oven and serve right away – just put a kitchen towel around the grip of that skillet, a hot pad beneath, and dig right in.