We’re enjoying wonderful salmon runs here in the northwest, which is heartening, to say the least. Goes to show that all the fishing restrictions, dam removals and other environmental mitigation steps do seem to have a positive impact.
Since we do get to catch some, it’s a great time to think about preserving for the cold months ahead.
Friends who like to smoke fish and meat asked for my take on brines, so here goes.
Before we tackle brining, we need to chat about salt a bit. Salts now come in many varieties and from many sources. This reinforces the need for a few basic consideration when using it.
The first and foremost variable is weight. Weighing different salts quickly reveals the fact that they differ widely, so using a spoon or cup as a measure can yield very inconsistent results. weighing is what you really want to do to get an accurate ratio, as that is the key to not only brine, but many other recipes using salt. In other words, while tossing in a pinch is fine for every day cooking, if you want consistent, accurate results in recipes and processes that really matter, you measure by weight, (as bakers well know).
Next comes source; fancy salts are great for finishing, but expensive and unnecessary for salt-intensive processes like curing. You’ll also want to avoid table salt which often has iodine and anti-caking agents in it that can discolor or add off-putting flavor notes.
Then there’s crystal size; larger crystals will dissolve faster in water, but take longer to do so when sprinkled on meats, so choose according to your primary need. And yeah, you are gonna end up with a bunch of salts in your pantry and that’s a good thing. As you’ve read here before, I like plain Kosher salt for brining, and I use flaked salt for pickling and corning.
Alright, on to brine!
Your basic brine ratio is 1 cup salt to 1 gallon of water.
Trust me when I tell y’all that, weighed out, that’ll be 10 ounces of salt for each gallon of nice, clean water. If you’re gonna use the kosher salts you’re likely to find at your local store, I’ll save you some time:
Morton Kosher salt = 7 ounces per cup
Diamond Kosher salt = 5 ounces per cup
Anything else you find or use, weigh it out and go from there.
And that is all you need to brine something for smoking, grilling, or barbecuing. Really, just that. Everything else, the sugar and spice and everything nice, is optional. The best southern barbecue I’ve ever had was treated with that basic brine and nothing else. Good meat, the right heat, maybe some smoke, bingo – perfection. That is a classic example of why to brine; it makes for juicy, tender, and flavorful food. Now lets look at some basics for the process itself.
Brining 101 Rules
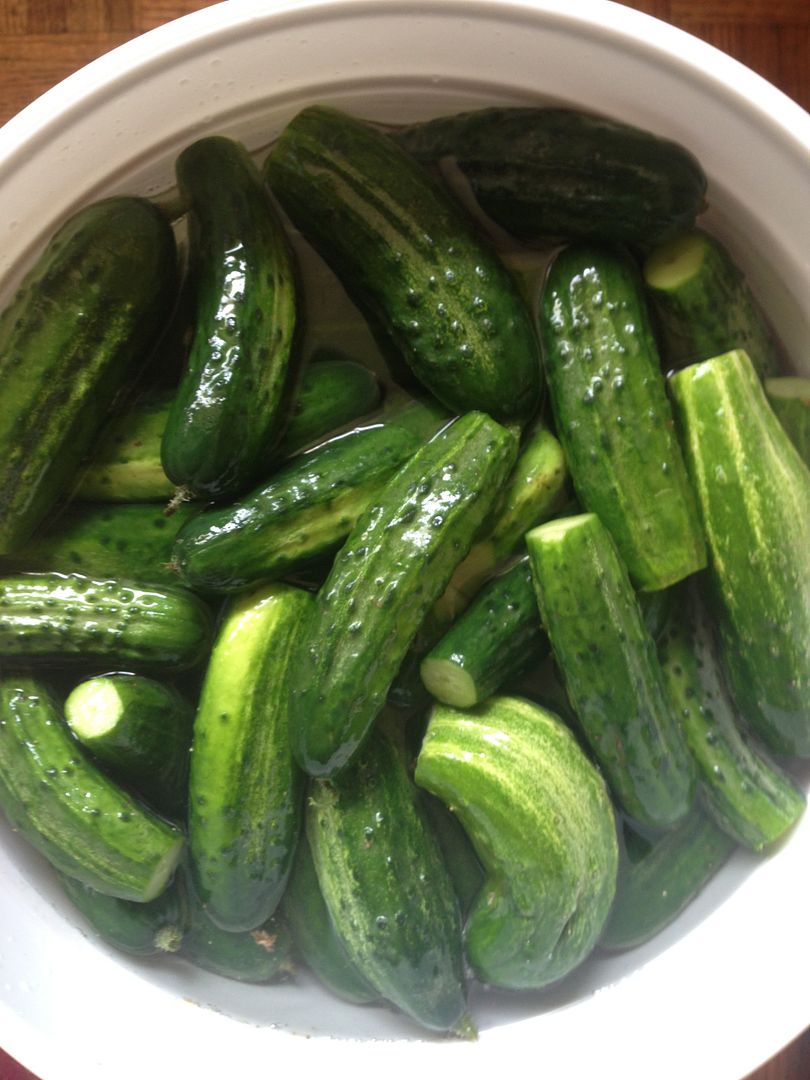
1. Whatever you’re brining needs to be completely covered.
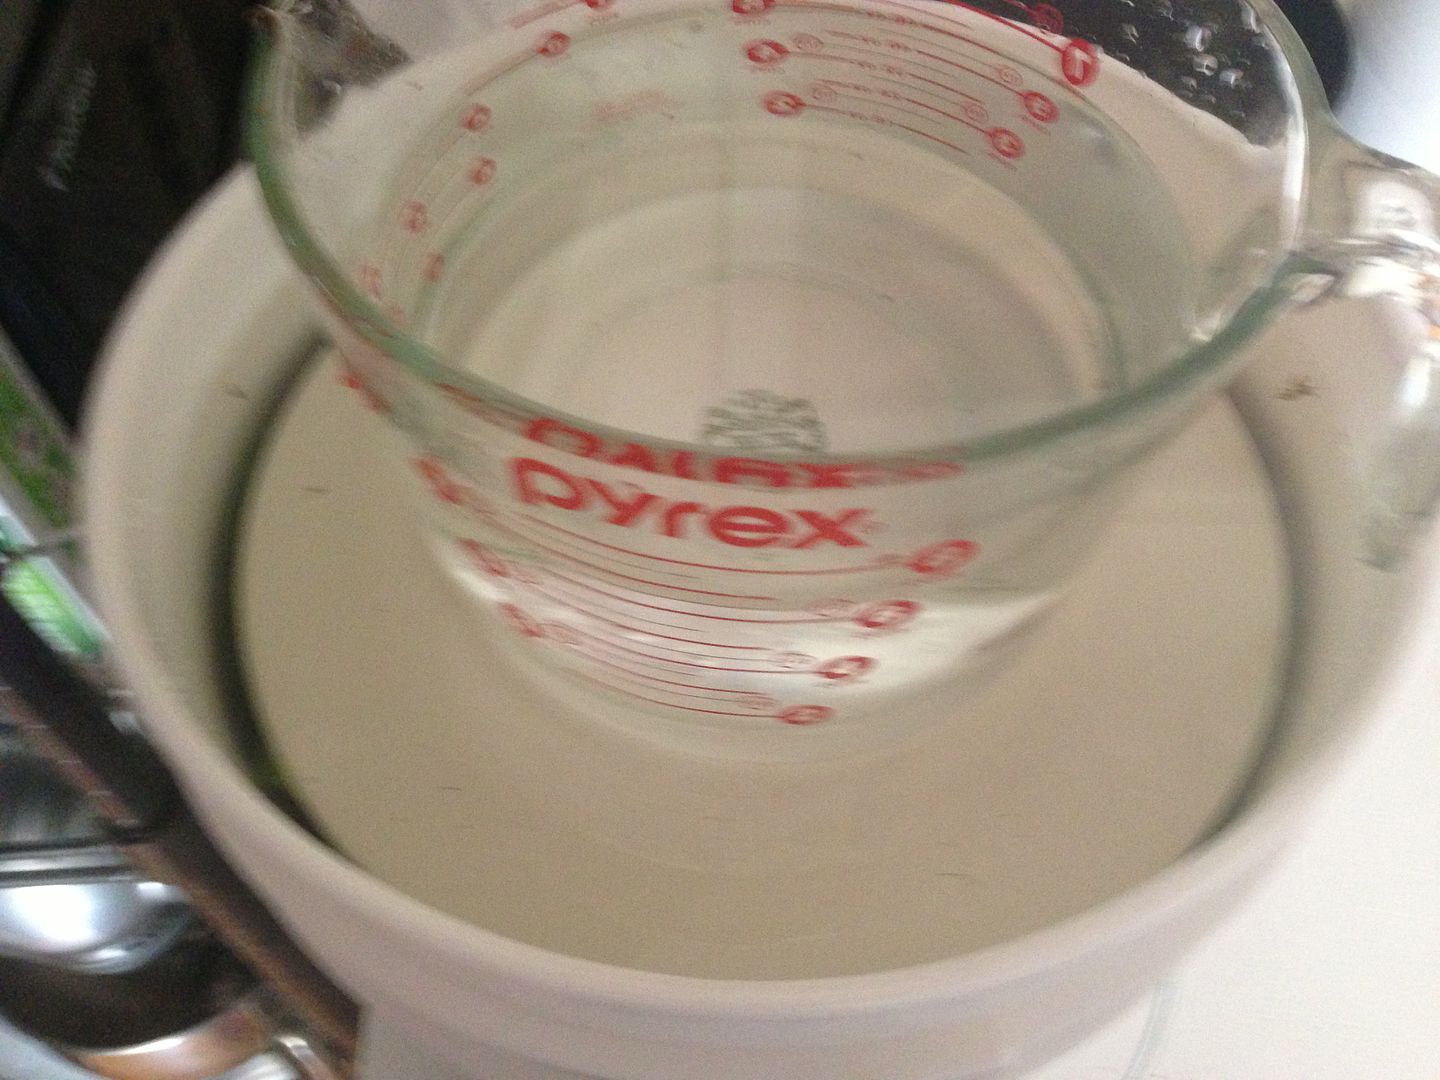
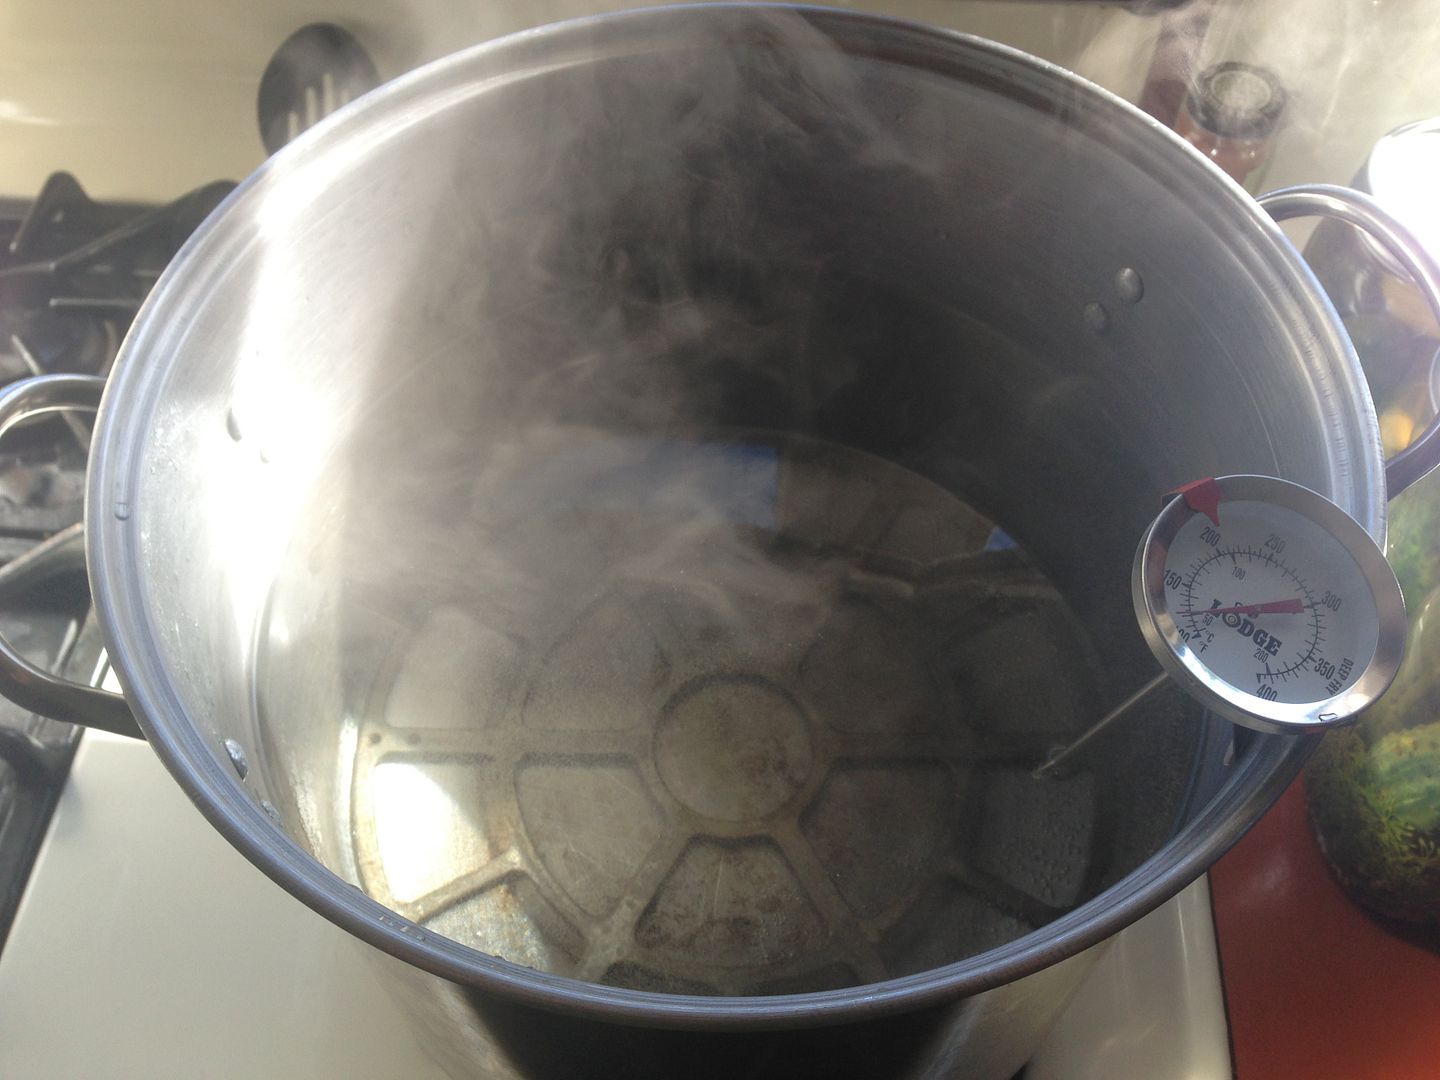
2. Brine in a non-reactive vessel; glass is always best.
3. Boil your water, add salt, herbs and spices, and allow the salt to dissolve completely.
4. Cool the brine completely before you use it, (don’t cook in the brine).
5. Always brine cold, in the fridge is best, of course.
6. The general timing rule of thumb is 1 hour per pound of product.
7. You don’t need to rinse brined foods unless you did an exceptionally heavy ratio, (Like corned beef, for instance), or if you see an obvious salt residue on your food. The exception to this rule is poultry; for a perfect bird, quickly rinse after brining, then wrap or place in a sealed container, in the fridge, for at least. 12 hours and as long as a day. You’ll be rewarded with glorious crispy skin and melt in your mouth bird.
8. Finally, water is optional; you can brine in any liquid you like, and you should definitely experiment. Just keep in mind that acidic liquids like vinegars or fruit juices can make for mushy flesh; nobody likes that, so plan and execute accordingly, (like much shorter brining time or appropriate ratios of acids to non, for instance).
Now lets cover some more specific brines.
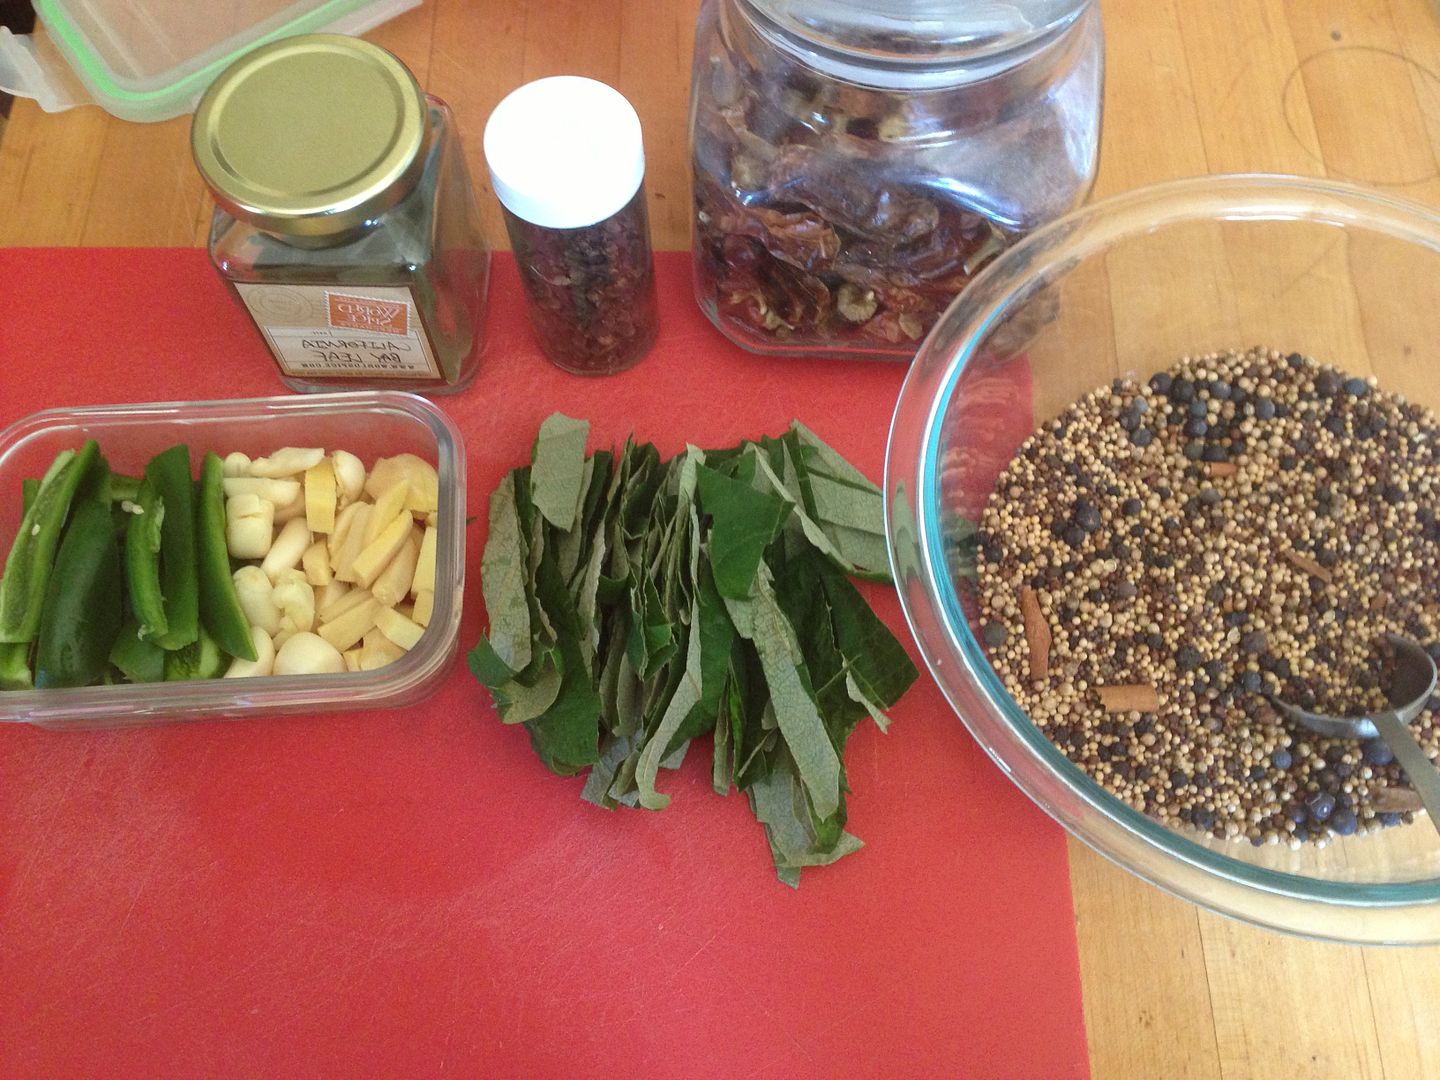
For all of these recipes, the additional ingredients can be tossed right into the boiling water and salt.
Reduce heat to a simmer and allow everything to incorporate for 10 minutes; remove from heat and cool completely prior to brining.
Beef Brine
To the basic brine, add
1 teaspoon whole Pepper Corns
1/2 teaspoon whole Mustard Seed
Pork Brine
To the basic brine, add
1/4 Cup Brown Sugar
1 teaspoon whole Pepper Corns
1 teaspoon whole Mustard Seed
1/2 teaspoon whole Coriander Seed
1 – 2 cloves Garlic, rough chopped
Poultry Brine
To the basic brine, add
1/2 cup Apple Cider Vinegar
1 teaspoon whole Pepper Corns (Try Tasmanian Pepperberry!)
1/2 teaspoon Mexican Oregano
1/4 teaspoon Sage
1 – 2 cloves Garlic, rough chopped
3 – 4 Juniper berries
1 Bay Leaf, crumbled
Fish Brine
To the basic brine, add
1/4 Cup Brown Sugar
Juice and Zest of 1 Lemon
Juice and Zest of 1 Lime
Juice and Zest of 1 Orange
1/4 Cup fresh Cilantro, rough chopped
1 small Shallot, rough chopped
1 teaspoon whole Pepper Corns (Try Tasmanian Pepperberry!)
3 – 4 Juniper berries
1 Bay Leaf, crushed
Shot of Tabasco
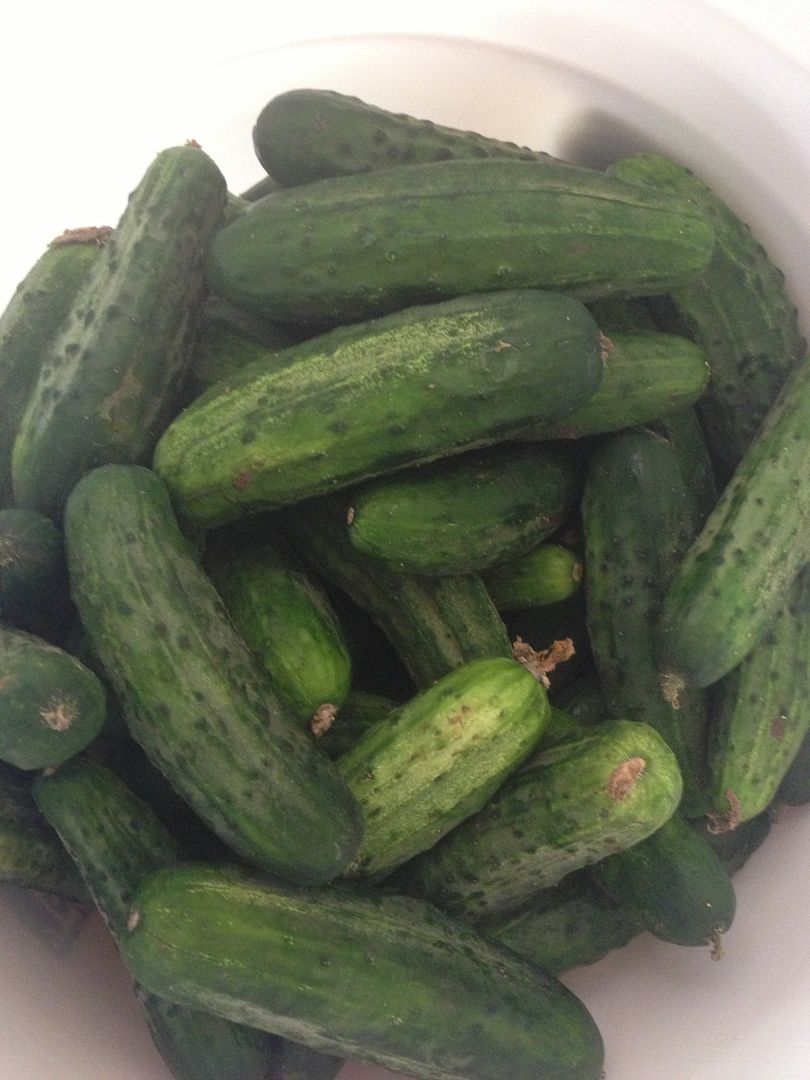
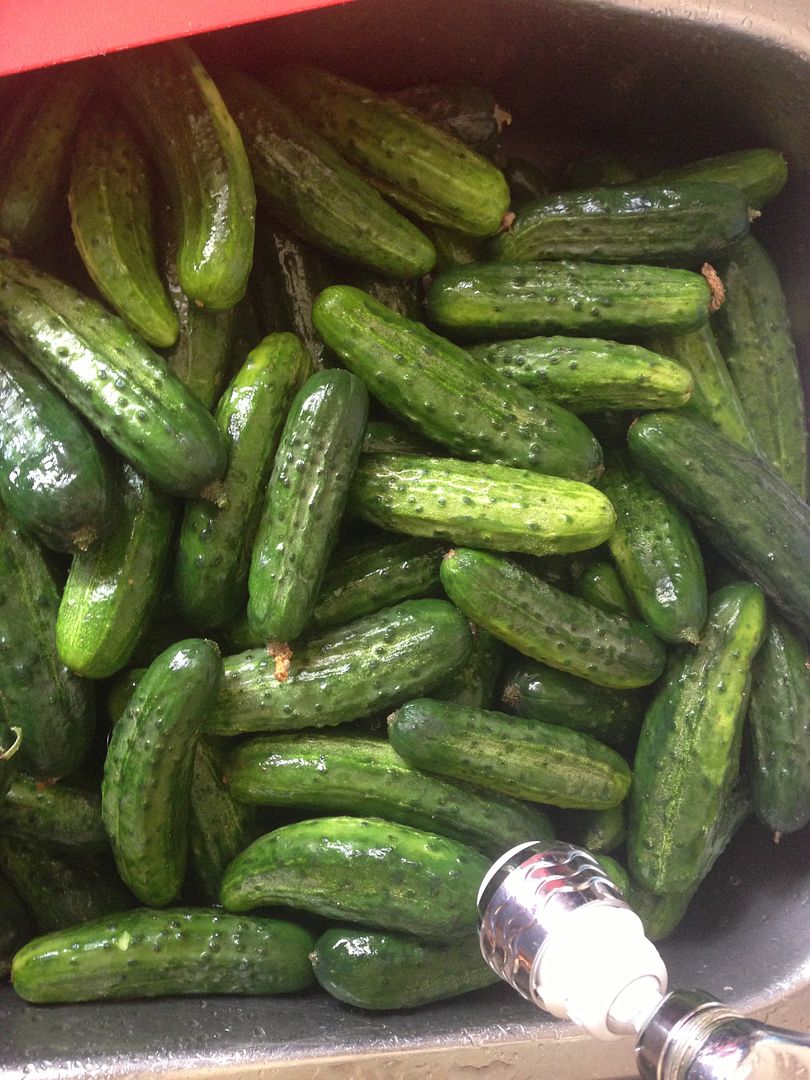
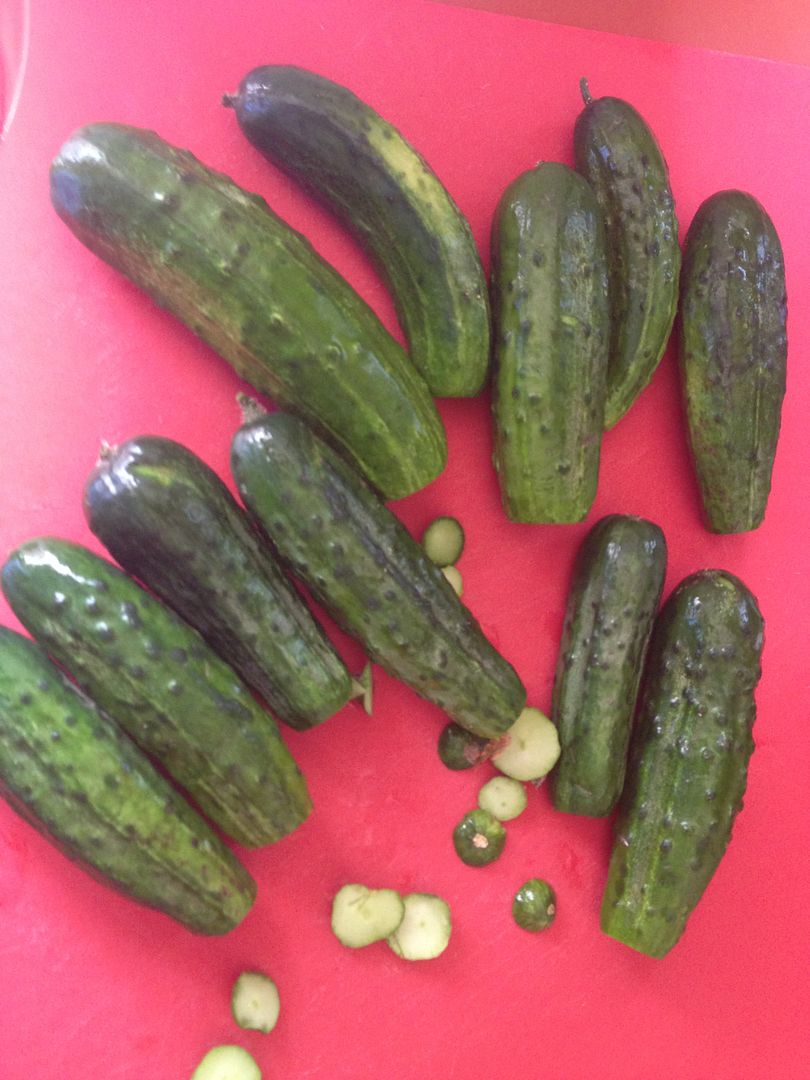
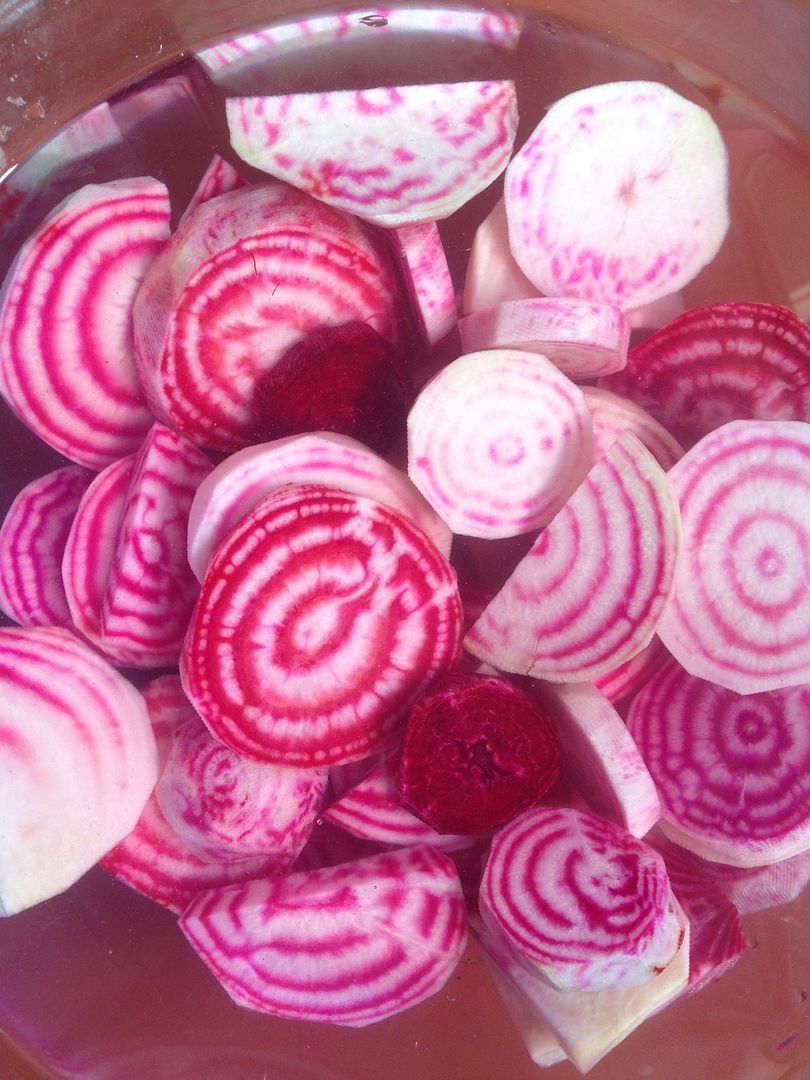
Veggie Brine
To the basic brine, add
2 Tablespoons White Balsamic Vinegar
1 teaspoon whole Pepper corns
Juice and zest of 1/2 Lemon
Shot of Tabasco
So there ya go – Happy brining, and as always, if you’ve got good ones, y’all share!