It's that time again, that paean to comfort food indulgence that is Thanksgiving. We have some favorites that make their way to the groaning board every year, and here the are. Try them all, or just one or two, but try them. Trust me when I say there are years of love woven into these recipes.
First comes turkey, of course. It's such a lovely protein, you simply can't pass up the opportunity to cook one. Chose a fresh, local bird, organic if you can find it. The differences between that and the mass produced stuff are notable and with the price. Take the time to brine your turkey and you'll be rewarded with intense flavor and a tender, juicy bird. Brined meats end up 6% to 8% heavier, proof positive that they do indeed gain moisture from the process. Brining also dissolves some proteins in muscle fibers, turning them from solid to liquid, yielding a tenderer bird.
Determining brining time is a function of both brine strength and the weight of the flesh being brined. The mnemonic is one hour per pound of whole turkey; most of us will therefore brine for somewhere between 12 and 18 hours.
The ratio of salt to water in brine is critical to the success of the process. As such, you should weigh the salt you use to assure accuracy. A standard brine ratio is 10 ounces of salt to 1 gallon of liquid. Keep in mind that different brands and types of salts have different weights. If you don't have a kitchen scales, you may safely assume that Morton Kosher salt weighs in at 7 ounces per cup, and Diamond Kosher salt is 5 ounces per cup. Pickling salt or plain sea salt is also fine for brining, albeit somewhat more expensive than kosher. Make sure your salt is not iodized, as that will generate undesirable colors and flavors to your brine.
For this bird, we replace water with apple cider, which contributes a delightful sweet, tart background note. The brine recipe per gallon is as follows:
1 Gallon Apple Cider
10 Ounces Kosher Salt
1 Tablespoon fresh ground Black Pepper
3-5 dashes Tabasco
For a 15 to 18 pound turkey, plan on 2 gallons of brining cider. The process is best done in a stainless steel stock pot, but a food grade, plastic bucket will work fine as well.
Plan ahead for brining. You will need brining time, plus an additional 6 hours or so before cooking to air dry the turkey; more on this in a bit.
Start out by prepping your brine. Combine all brine ingredients and stir thoroughly until all your salt has dissolved. You may heat the cider to facilitate the integration of the salt; make sure your brine is thorough cooled to room temperature if you do.
Unwrap, unpack, and rinse your bird. Make sure you find any little packets of giblets, neck, etc, (Don't be the cook that misses those for some unlucky soul to discover on the festive day…)
Slide your turkey into the pot or bucket and gently pour in the brine. Make sure that the bird is fully submerged; weigh it down with a plate or two if needed, (Take care that whatever you use is sanitized first). Place your brine bucket in a clean, cool, dark corner.
Pay attention to the food safety temperature range during brining, without fail. Your brine and bird must remain under 40° F at all times; if you need to add a little ice, do so. If you need to add a lot, compensate with a bit more salt.
When your brining period is done, pour out the brine, (NEVER reuse brine.), gently rinse the bird in clean, cold water, then pat dry with clean paper towels and transfer to a roasting pan.
Let the bird sit in the refrigerator, uncovered, for 4 to 6 hours after brining. Air drying allows moisture to evaporate from the skin, and lets the meat reabsorb some moisture as well. The results are a crisp, golden brown skin, the hallmark of a perfectly cooked turkey.
Preheat your oven to 350° F.
Cook your bread stuffing in a casserole dish, and stuff the turkey with a nice juicy cavity filler; this helps regulate internal temperatures as the bird cooks.
1-2 Oranges
1/2 Sweet Onion
1 stalk Celery
Tablespoon Canola Oil
1/2 teaspoon Sage
1/2 teaspoon Sea Salt
1/2 teaspoon ground Black Pepper
Rough chop the orange, onion, and celery, (if you have celery leaves, use those). Toss those ingredients in a large mixing bowl, then add oil, sage, salt and pepper, then combine and stuff the bird's cavities thoroughly.
Place the bird on a rack in a roasting pan, and add 2 cups of water to the pan. Insert an internal reading thermometer to the thickest part of the breast.

Roasting time for a stuffed turkey, at 350° F, is 20 minutes per pound; again, the best and safest method to determine when the bird is done is to measure internal temperature; for poultry, we want 165° F; the bird will continue to cook during a post-roast rest, with the internal temperature peaking at between 170° and 175° F.
Begin roasting with the bird uncovered, then cover loosely with foil for the last hour. Basting isn't necessary, but it certainly doesn't hurt.
When the bird is done, remove it from the oven and let it rest for 20 minutes prior to carving; resist the temptation to cut into it prematurely.
Carve, admire, enjoy, and get ready for the crown prince of leftovers, a lovely roast turkey sandwich.

If you love cranberries, or even if you don't, try this citrus infused version for a refreshing change. I've been making it for decades, and it's still requested.
1 12-ounce bag fresh Cranberries
3/4 Cup Water
1/2 Cup Agave Nectar (You may sub Honey, Maple Syrup, or light brown Sugar)
1 large Navel Orange
1 Lemon
1 lime
1/4 teaspoon cinnamon
1/4 teaspoon Nutmeg
Shake of Sea Salt
Grate zest from all citrus; get all the nice bright orange, yellow and green, (Stop before you get to the bitter white part.)

Juice lemon and lime. Peel orange thoroughly and rough chop the meat from that; set aside.
Bring water to a boil in a saucepan over medium high heat.
When water is boiling, add cranberries and return to a boil.
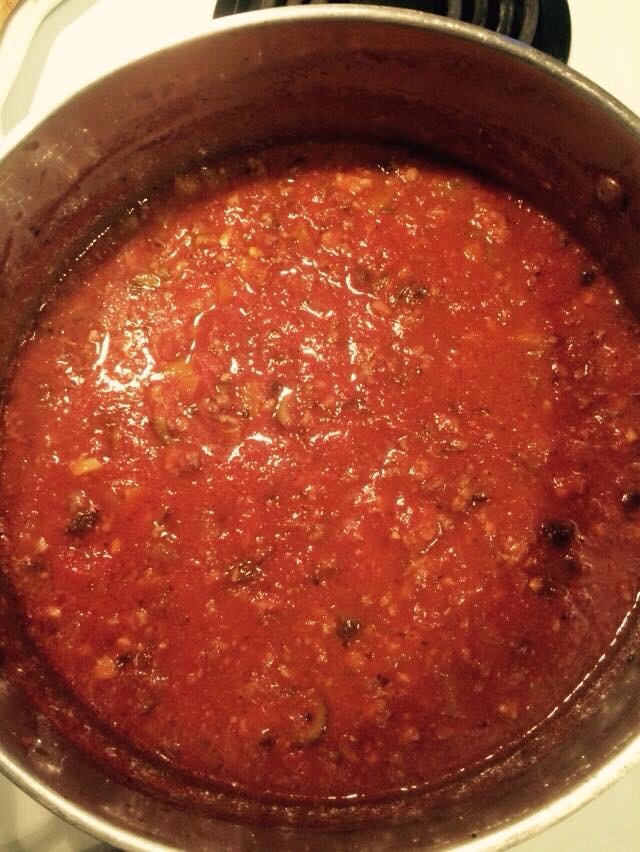
Reduce heat to medium and add citrus zest, orange, and juice.
Allow sauce to continue to boil, stirring occasionally until about 3/4 of the cranberries have popped.

Add cinnamon, nut get and salt, stir in thoroughly.
Remove from heat and transfer to a glass or ceramic bowl.
Allow to cool completely at room temperature.

Cover and refrigerate until serving time. Will last in the fridge for about a week.
Since this is a meal designed for pulling out all the stops, try these twice baked potatoes instead of mashed. They're easier to portion, which can help cut down on excess leftovers.

Russet Potatoes, 1/2 to 1 each depending on size and appetites; the rest of these ingredient amounts are based on a 4 large potato bake, so scale accordingly.
1 Cup heavy Cream
1/2 Cup Sour Cream
1 Cup Extra Sharp Cheddar Cheese
4 ounces unsalted Butter
2 strips thick cut Bacon
4 Green Onions
Sea Salt
Fresh ground White Pepper
Extra Virgin Olive Oil
Dash of Tabasco
Preheat oven to 325° F
Rinse your spuds and pat dry with a clean towel.
Coat whole spuds with olive oil by hand, place in a glass baking dish. Season the skins evenly with salt and pepper.
Slide the spuds into the oven and bake for about an hour, until the spuds are fork tender.
Fry bacon, dry on paper towels and fine dice.
Rinse, strip roots from green onions, and fine dice.
Grate cheddar cheese.
When the spuds are ready, pull them out of the oven and let them cool just long enough to handle with a clean towel, (in other words, still quite hot).
Reduce oven heat to 250° F.
Cut the spuds into lengthwise halves, then carefully scoop the guts into a mixing bowl, keeping the skins intact.
Add cream, sour cream, half the cheese, bacon, onions and butter to spuds and blend thoroughly. Add salt and pepper to taste.
Refill the skins with the spud mixture, top with the remaining cheese, then slide them back into the oven; bake for an additional 15 to 20 minutes.
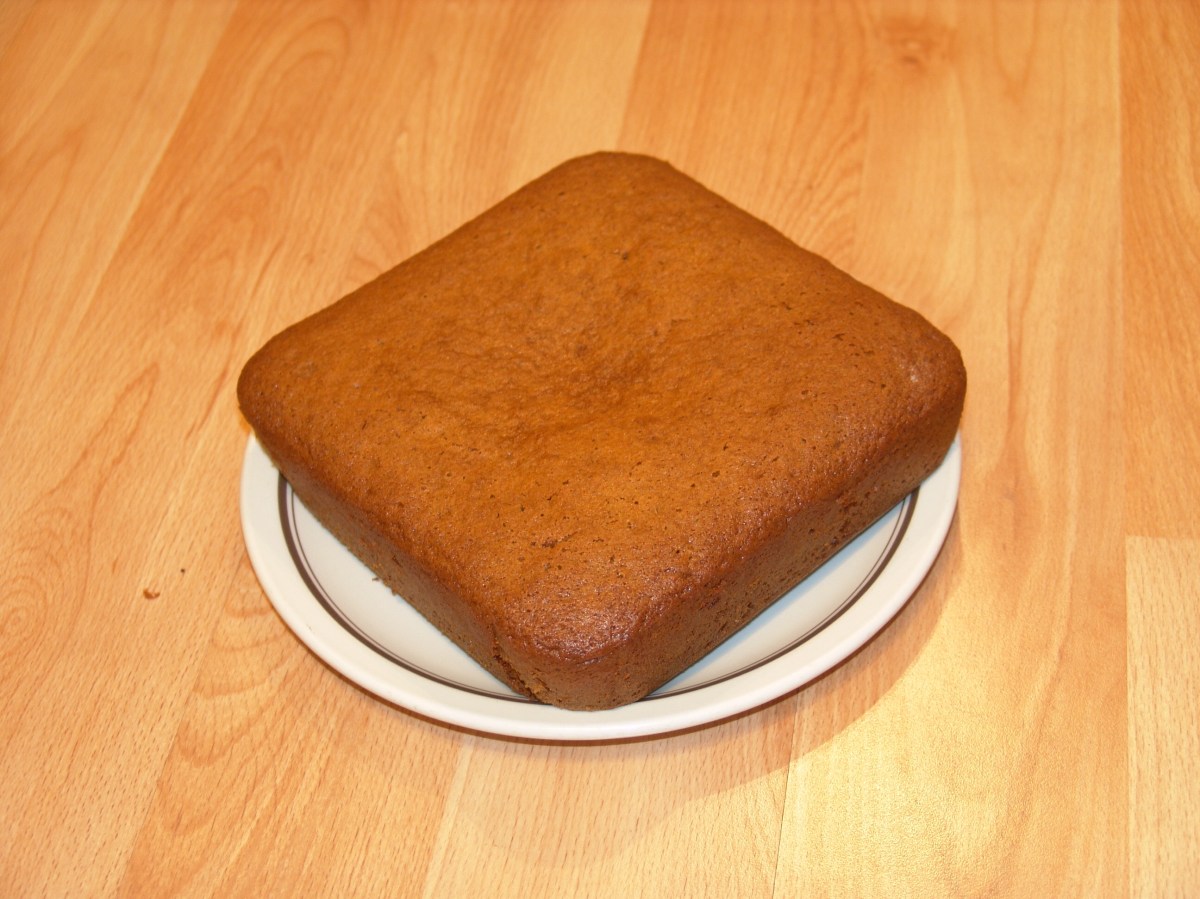
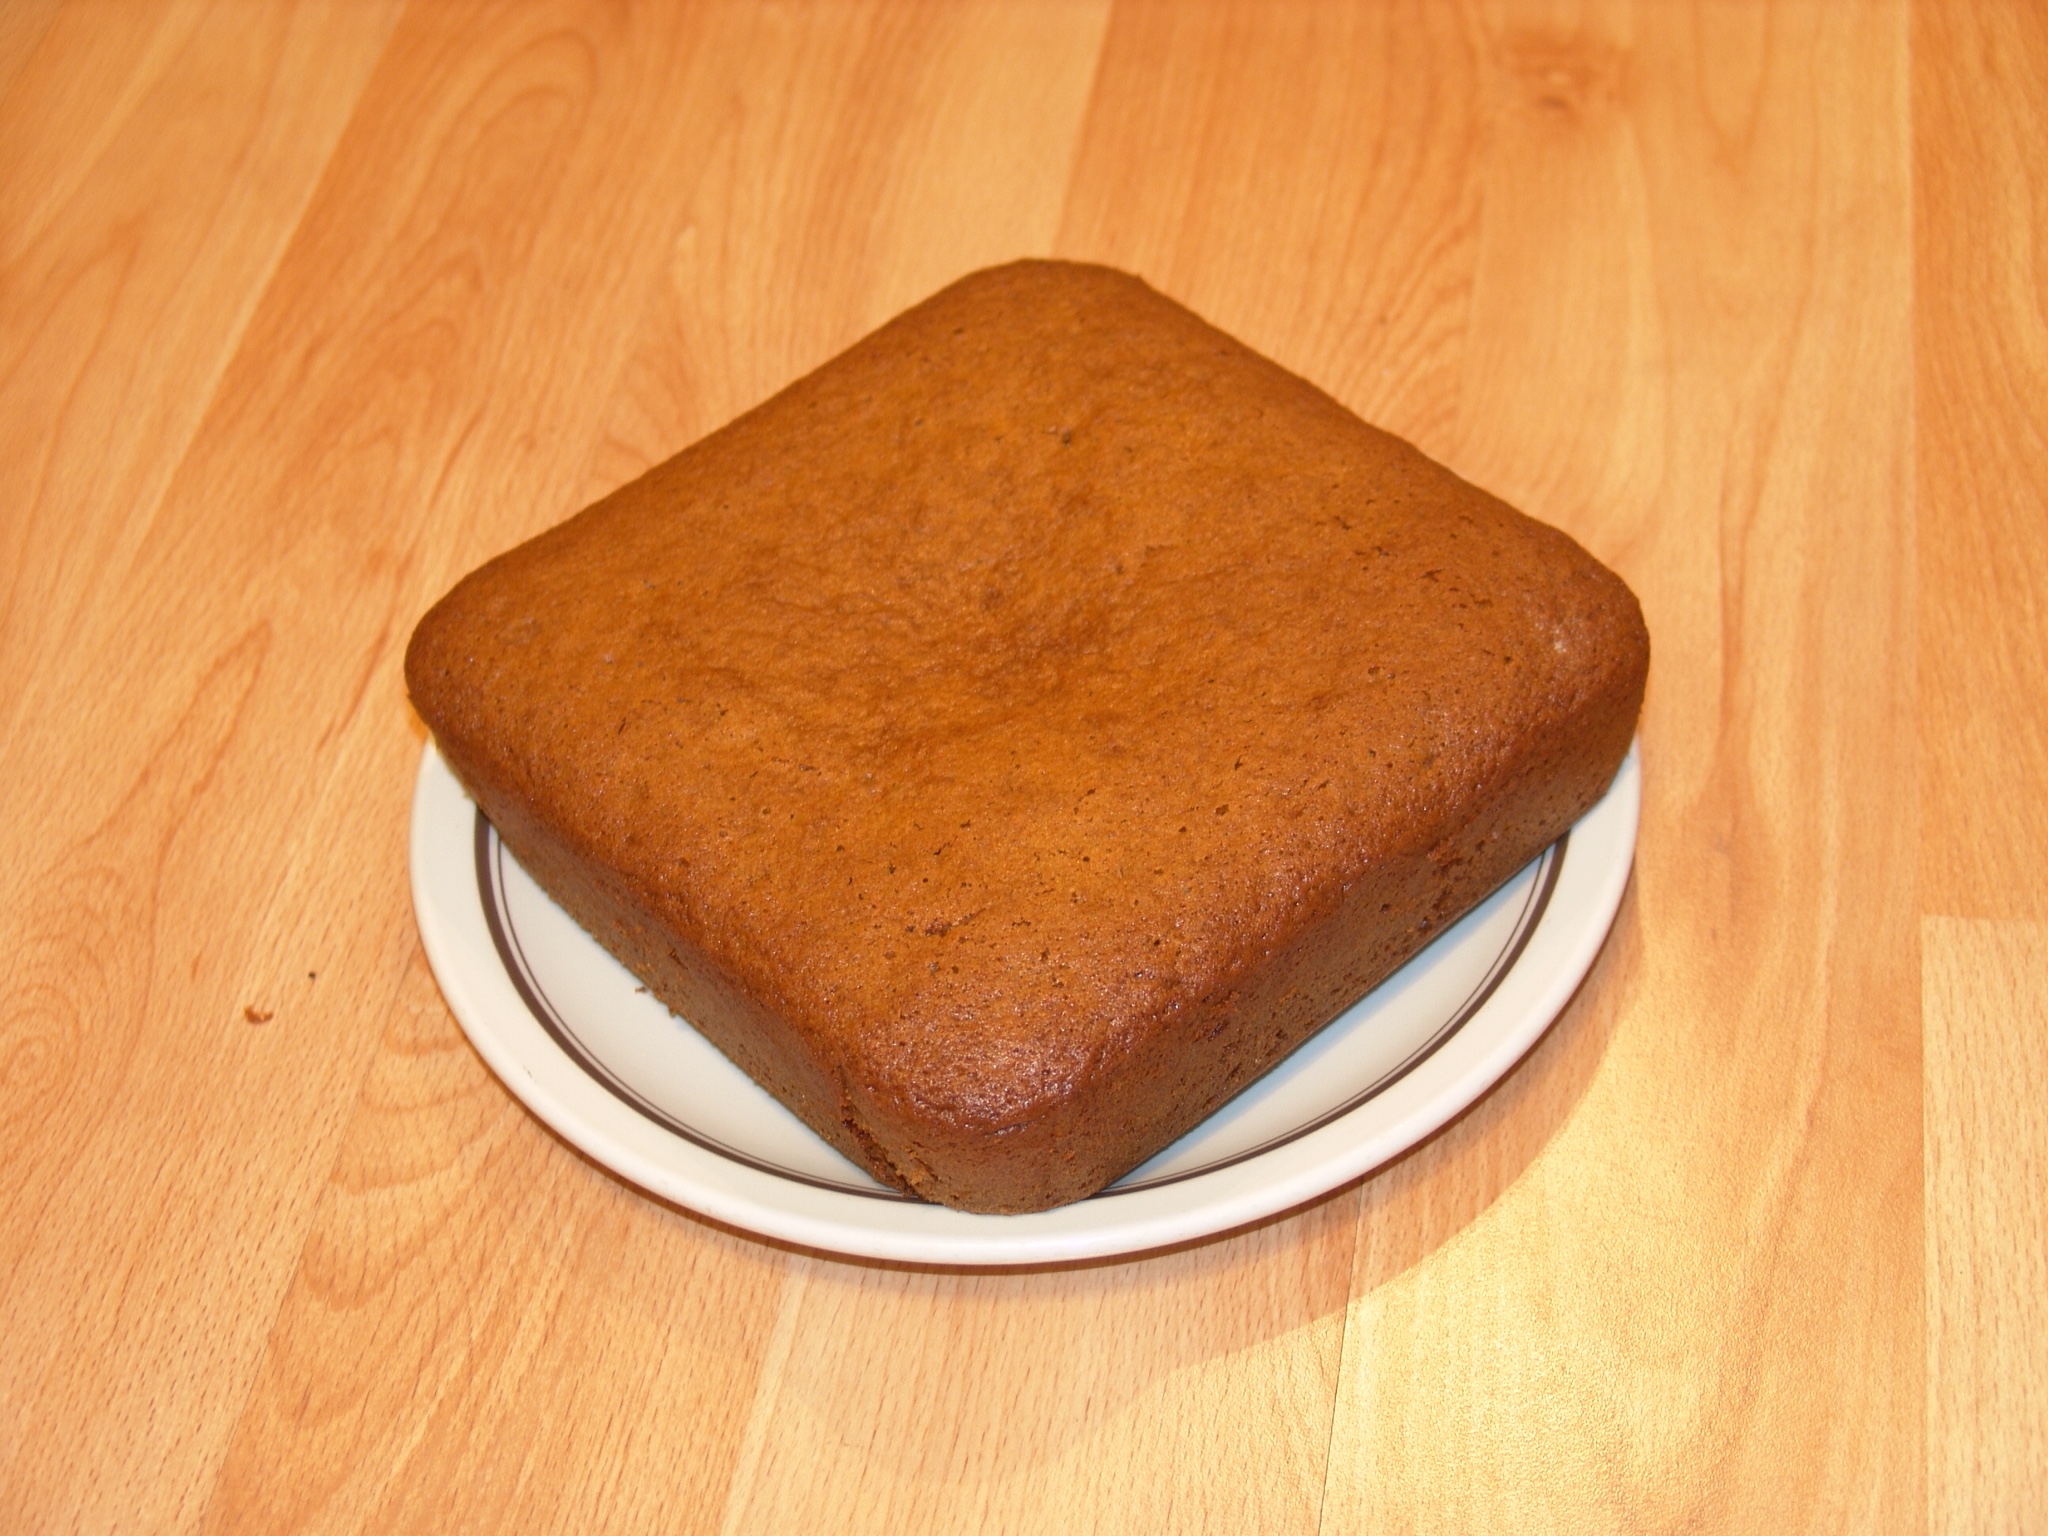
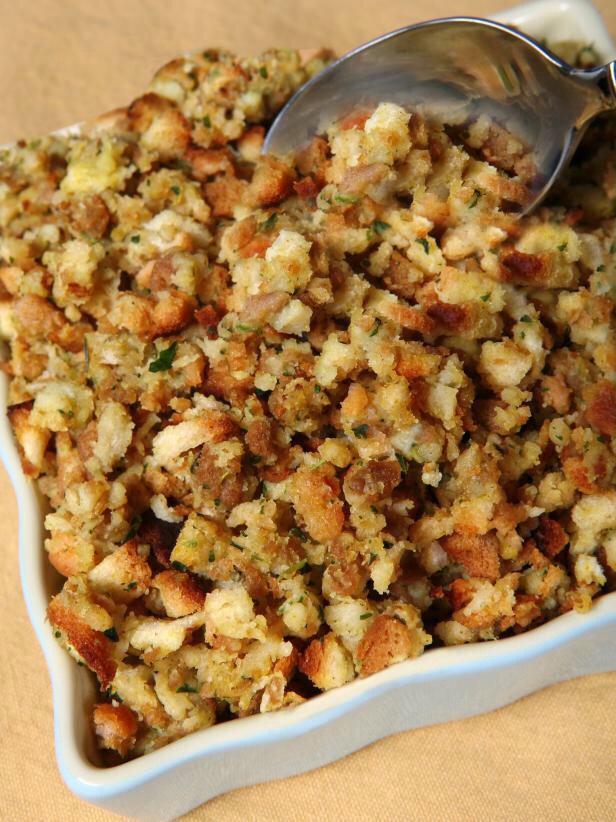
Stuffing is a must; try this recipe, redolent of herbs and citrus.
It's actually desirable to use bread that's a couple days old, so buy ahead. Stuffing can be prepared a day ahead of service and chilled, covered. Bring the stuffing back up to room temperature before you bake.
1 large Sourdough loaf
1 large Sweet Onion
1 stalk Celery, with leaves
3 slices thick cut Pepper Bacon
2 large Eggs
1 Cup Unsalted Butter
1 1/2 Cups low-sodium Chicken Stock
1 small Lemon
2 Tablespoons Lemon Thyme
2 teaspoons Savory
1 teaspoon Sea Salt
1/2 teaspoon Grains of Paradise
Preheat oven to 325° F
Cut bread into roughly 1/2″ cubes. Spread cubes on 2 baking sheets and bake until dry, about 15 minutes. Allow bread to cool on pans, then transfer to a large bowl. Crumble by hand and add the lemon thyme, savory, salt, and grains of paradise.
Rinse and dice onion and celery. Zest and juice lemon. Lightly beat eggs.
In a large saucepan over medium high heat, fry the bacon until crisp. Set that aside on paper towels to drain, and reduce heat to medium low. Add the butter to the bacon fat and melt thoroughly. Add onions and sauté, stirring steadily, until onions start to turn translucent, about 5 minutes. Add celery and continue to sauté, stirring occasionally, for another 5 minutes. Transfer all to the mixing bowl.
Crumble the bacon, then add it plus the eggs, stock, lemon juice and zest to the bowl and combine thoroughly.
Transfer stuffing to a lightly buttered, shallow baking dish, cover the dish with metal foil.
Bake, on a middle rack for 30 minutes; remove foil and continue baking until browned, about another 30 minutes.
Allow to rest for 10 minutes prior to serving.
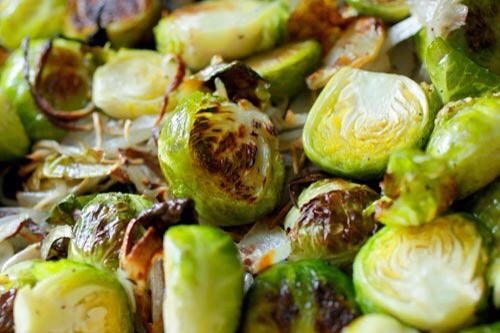
Brussels sprouts, the red headed first cousin of cabbage, get bad press far more often than they should. They're truly a lovely vegetable and a perfect side for the big feast. It's a safe bet that overcooking and poor seasoning have far more to do with negative reviews than the veggie itself. Brussels sprouts contain glucosinolates, compounds that offer abundant health benefits, but have the unfortunate tendency to release sulfurous byproducts when they're overcooked. Avoiding the all too common boiling of sprouts is your first line of defense against bad taste. Here's a preparation with bright and earthy notes guaranteed to please.
Roasted Brussels Sprouts with Almonds & Apple Cider Reduction
Brussels Sprouts, about 6 per person; the ingredient measures here are scaled for 35 to 40 sprouts.
1 1/2 Cups Honeycrisp Apple Cider
1/2 Cup slivered Almonds
Extra Virgin Olive Oil
2 small cloves Garlic
Unsalted Butter
Sea Salt
Black Pepper
Preheat oven to 375° F.
Remove sprouts from stem and soak in cold water for 10 minutes.
Inspect and trim any browned or yellowed leaves, and trim stems to about 1/4″. If your sprouts are large, you may halve them if you wish.
Mince garlic.
Place trimmed sprouts in a mixing bowl, and coat generously with olive oil. Add garlic and toss to incorporate. Add enough salt and pepper to lightly coat.
Roast sprouts in a middle rack for 35 to 40 minutes, turning once, until they've begun to brown.
While the sprouts are roasting, prepare the almonds and cider reduction.
In a sauté pan over medium heat, add the almonds and a tablespoon of unsalted butter. Sauté, stirring regularly, until the nuts and butter start to brown, about 5 minutes. Remove from heat and set aside.
In a sauté pan over medium heat, add the cider and bring to a simmer. Whisking steadily, simmer until the cider has reduced by roughly 50%. Add a tablespoon of butter and a very small pinch of sea salt. Whisk to incorporate, then remove from heat and set aside.
Combine all ingredients in a small bowl and whisk briskly to incorporate. Allow the dressing to sit while the sprouts roast.
When the sprouts are done, allow them to cool for about 5 minutes. Combine sprouts, almonds, and reduction; toss to thoroughly coat the sprouts, serve warm.
For drinks, definitely try the rest of the Honeycrisp Cider you used for the sprouts. It's fabulous heated up with a cinnamon stick and a clove or two. Prosecco is an excellent sparkler if you prefer those with your meal. If not, try a nice, light white like Pinot Grigio or Fumé Blanc; both of those will cut rich food admirably. A hard cider is also a nice choice, lighter than beer and pairs well with thanksgiving fare. If you do prefer beer, keep it light here as well; a local Pilsner or lager will do the trick nicely.
To finish, eschew pumpkin and make a lovely pecan pie. It's our nod to 12 years in Texas, where truly great pecans come from. I've tried nuts from all over and the Texas nuts are best; sweet, rich and meaty. This recipe really does make a perfect pie; the nuts are front and center, it's not too sweet, and it has great depth of flavor, with heady hints of vanilla and Whisky.
For the Crust:
2 cups all-purpose Flour
1/2 cup cold Lard
1/4 teaspoon Sea Salt
6 – 8 Tablespoons Ice Cold Water
Filling:
2 1/2 Cups Pecan halves
3 Eggs
1 Cup Agave Nectar
3/4 Cup Light Corn Syrup
3 tablespoons Butter
2 Tablespoons Sour Mash Whiskey
2 teaspoons pure Vanilla extract
1/2 teaspoon Sea Salt
Crust Prep:
Keep in mind that great pie dough is simple and minimally handled. Make your dough by hand; machines get between you and flaky crust.
In a mixing bowl, combine the flour and salt.
Add the lard and work it into the dry ingredients by hand until it resembles rough corn meal in texture.
Add the water a tablespoon at a time and stir the dough with a fork.
When the dough holds together as a ball, but isn't wet or sticky, stop working it, cover it in plastic wrap and refrigerate for 1/2 hour.

Form the dough into a disk about 3/4″ thick, then roll it out on a lightly floured surface, into 12-inch circle about 1/8″ thick. Lift an edge and carefully peel the dough free, then drape it onto a dry 9″ pie pan.
Trim the dough with a paring knife, leaving it about 1″ over the edge, then tuck the overhanging dough underneath itself to form a thick edge on the pan, and treat it as you see fit, (I like the classic thumb print myself).
Preheat your oven to 400° F, and position racks in the center and lower third of oven.
Put a piece of parchment paper or foil over the pie shell and fill with dried beans or pie weights.
Spread the pecan halves out on a baking sheet.
Blind bake the crust on the center rack for 15 minutes, and start on the filling.
In a sauce pan over medium-high heat, melt the butter, then add the sugar and corn syrup. Stir constantly with a whisk until completely combined.
Slip the pecans into the hot oven on the lower rack; let both nuts and crust bake for another 5 minutes.
Lightly beat the eggs and set aside.
Remove crust and nuts from oven and reduce heat to 350 F.
Remove filling mixture from heat. Add hot nuts to the hot mixture. Add Vanilla and Whisky carefully and slowly; the hot sugar can bubble up explosively if it's too hot and it will scald and stick to skin!
Add eggs to hot nut mixture and incorporate thoroughly with a whisk.
Remove weight or beans from crust, then pour hot filling carefully to fill crust.
Place pie on center rack of oven with a baking sheet on the lower rack, centered under the pie.
Bake for 40 minutes and then take a peek; pie should look firm and nicely set at this point. If the edges are notably darker, line them with an edge guard or foil and bake another 5 minutes.
Remove pie from oven, set on a wire rack to cool.


M and I wish you a holiday of peace and comfort.