It’s been a cold, wet Spring up here in the Pacific Northwet, but it looks like the tide is turning. It’s a gorgeous, blue sky day, temp near 70°, everything budding out, birds and bees all happily going about their business. A lot of things have started late, from Tulips in the Skagit valley to stuff in our garden.

There’s a lot of joy in growing your own spuds – it’s a relatively simple process, they do well all over the place, and there are a bunch of unique and heirloom varieties that produce from early to late. Heck, they’re native to the Andes – chances are they’ll do just fine at your place. Normally, we’d see seed potatoes for sale in March, and look to plant spuds when the soil temp hangs around 40° F and frosts are pretty much done for – that time came quite a bit later this year.
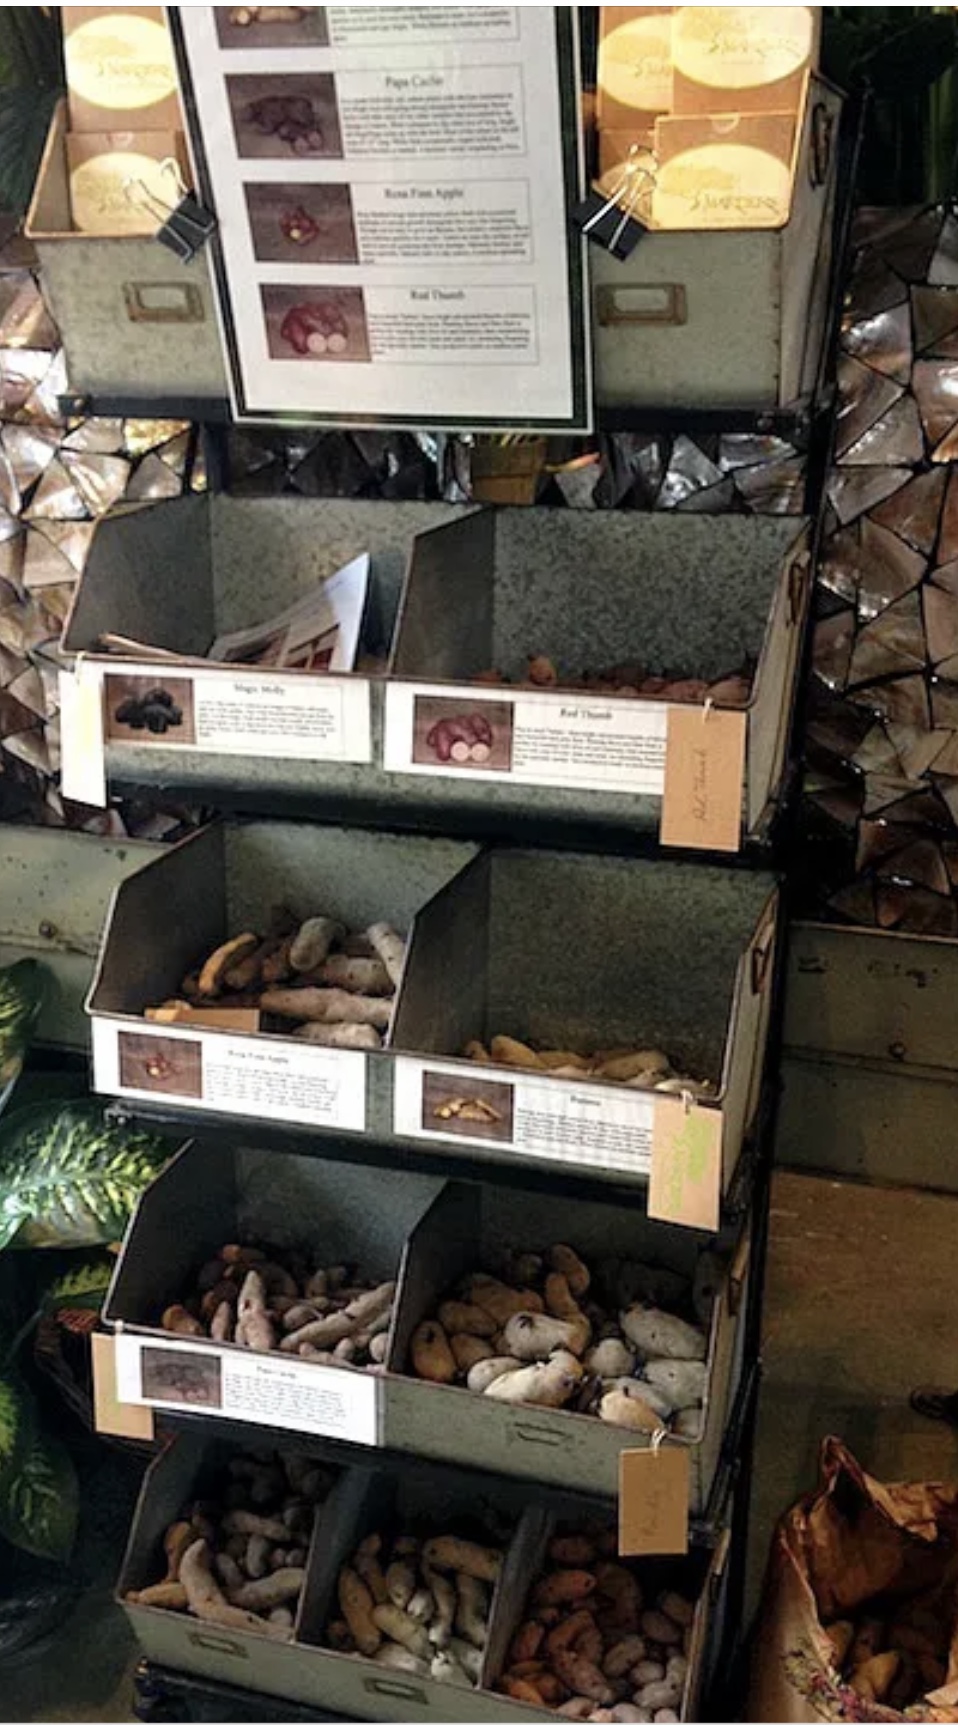
So off I went off to see what seed spuds I could find. Check out co-ops, farmers markets, and choose firm, healthy looking seed spuds with a bunch of eyes on them. For a smaller garden, 4-6 each of two or three varieties will do the trick. We ended up with two purple varieties, Magic Molly and Purple Majesty, and Austrian Crescent, a lovely yellow fingerling.

Once you bring your bounty home, it’s time to chit them – in essence, this just means placing them inside, in an indirectly sunny spot to allow them to sprout. You can also just wait until a couple of days before planting and cut them into roughly 2” chunks, each with at least a couple of eyes – that’s how they’ll go into their new digs, and they’ll do their sprouting underground. Either way works fine.

Decide where you’re going to plant with an eye for good drainage and full sun (or purty near). As such, a lot of folks make potato towers or cages above ground. You can start these well ahead, filled with compost and good quality top soil, then topped with straw once your plants are established. We’ve grown this way with great success, and also in half barrels, as we opted for this year. Just make sure you leave room for hilling – adding soil throughout the growth season.

Plant your seed spud chunks about 8” apart and around 4” deep. As your plants grow, you’ll want to hill ‘em – add soil and straw two or three times during the growing season, a couple inches per add, shoveled right onto the main stems of each plant, leaving just a crown of green leaves above soil level.
Harvesting depends on what varieties you’ve chosen – there are new potatoes and storage potatoes, and the differences are pretty self explanatory. New potatoes can be harvested and enjoyed around 55 days after planting – when you see flowers on your NP plants, gently dig in and see whatcha got. Storage spuds are harvested late, after the plants have died and dried, often right up to or just past first frost.

Some folks harvest and store in the equivalent of root cellar conditions, (cool and not too moist), and others leave storage spuds in the ground and harvest when we want to enjoy them. There is something deeply satisfying about heading out in crisp, fall weather to dig a few gorgeous spuds from your garden. Once you taste what you’ve grown, you’ll be hooked – eating them fresh from the ground is a fabulous experience.
