Mignonette Ain’t Just for Shellfish


Are you a raw oyster fan? If so, chances are good you’ve tried sauce mignonette. This brilliantly simple concoction adds a perfect tangy, bright note to shellfish. Look this stuff up, and you quickly find that the buck literally stops right there – Google alternate uses for mignonette, and you get next to nothing. I have no idea why that’s the case, because mignonette is fantastic on a bunch of other stuff as well.

Classic Mignonette


A classic mignonette is a paean to simplicity. Just three ingredients – red wine vinegar, shallot, and black peppercorns are all it takes to make the magic happen. With three fairly potent constituents, proper ingredient ratio is critical to preparing great sauce  – for every quarter cup of wine vinegar, you add a tablespoon of shallot and a two to three twists of pepper, about a quarter teaspoon. Combine, let them sit for a bit to marry, and you’re there. 


Tweak things a bit, and you have a whole bunch more options. Change the vinegar to white wine, champagne, cider, sherry, or balsamic – or mix vinegar 50%-50% with wine or fresh fruit juices. Change shallot to sweet onion, or red, or white, or go wild and sub jalapeño or serrano chiles. Change black peppercorns to a fragrant 4 pepper blend, or Tasmanian pepperberry, grains of paradise, or Szechuan. Each variant reveals entirely new flavor notes and combinations – find yours, name it, and share it.


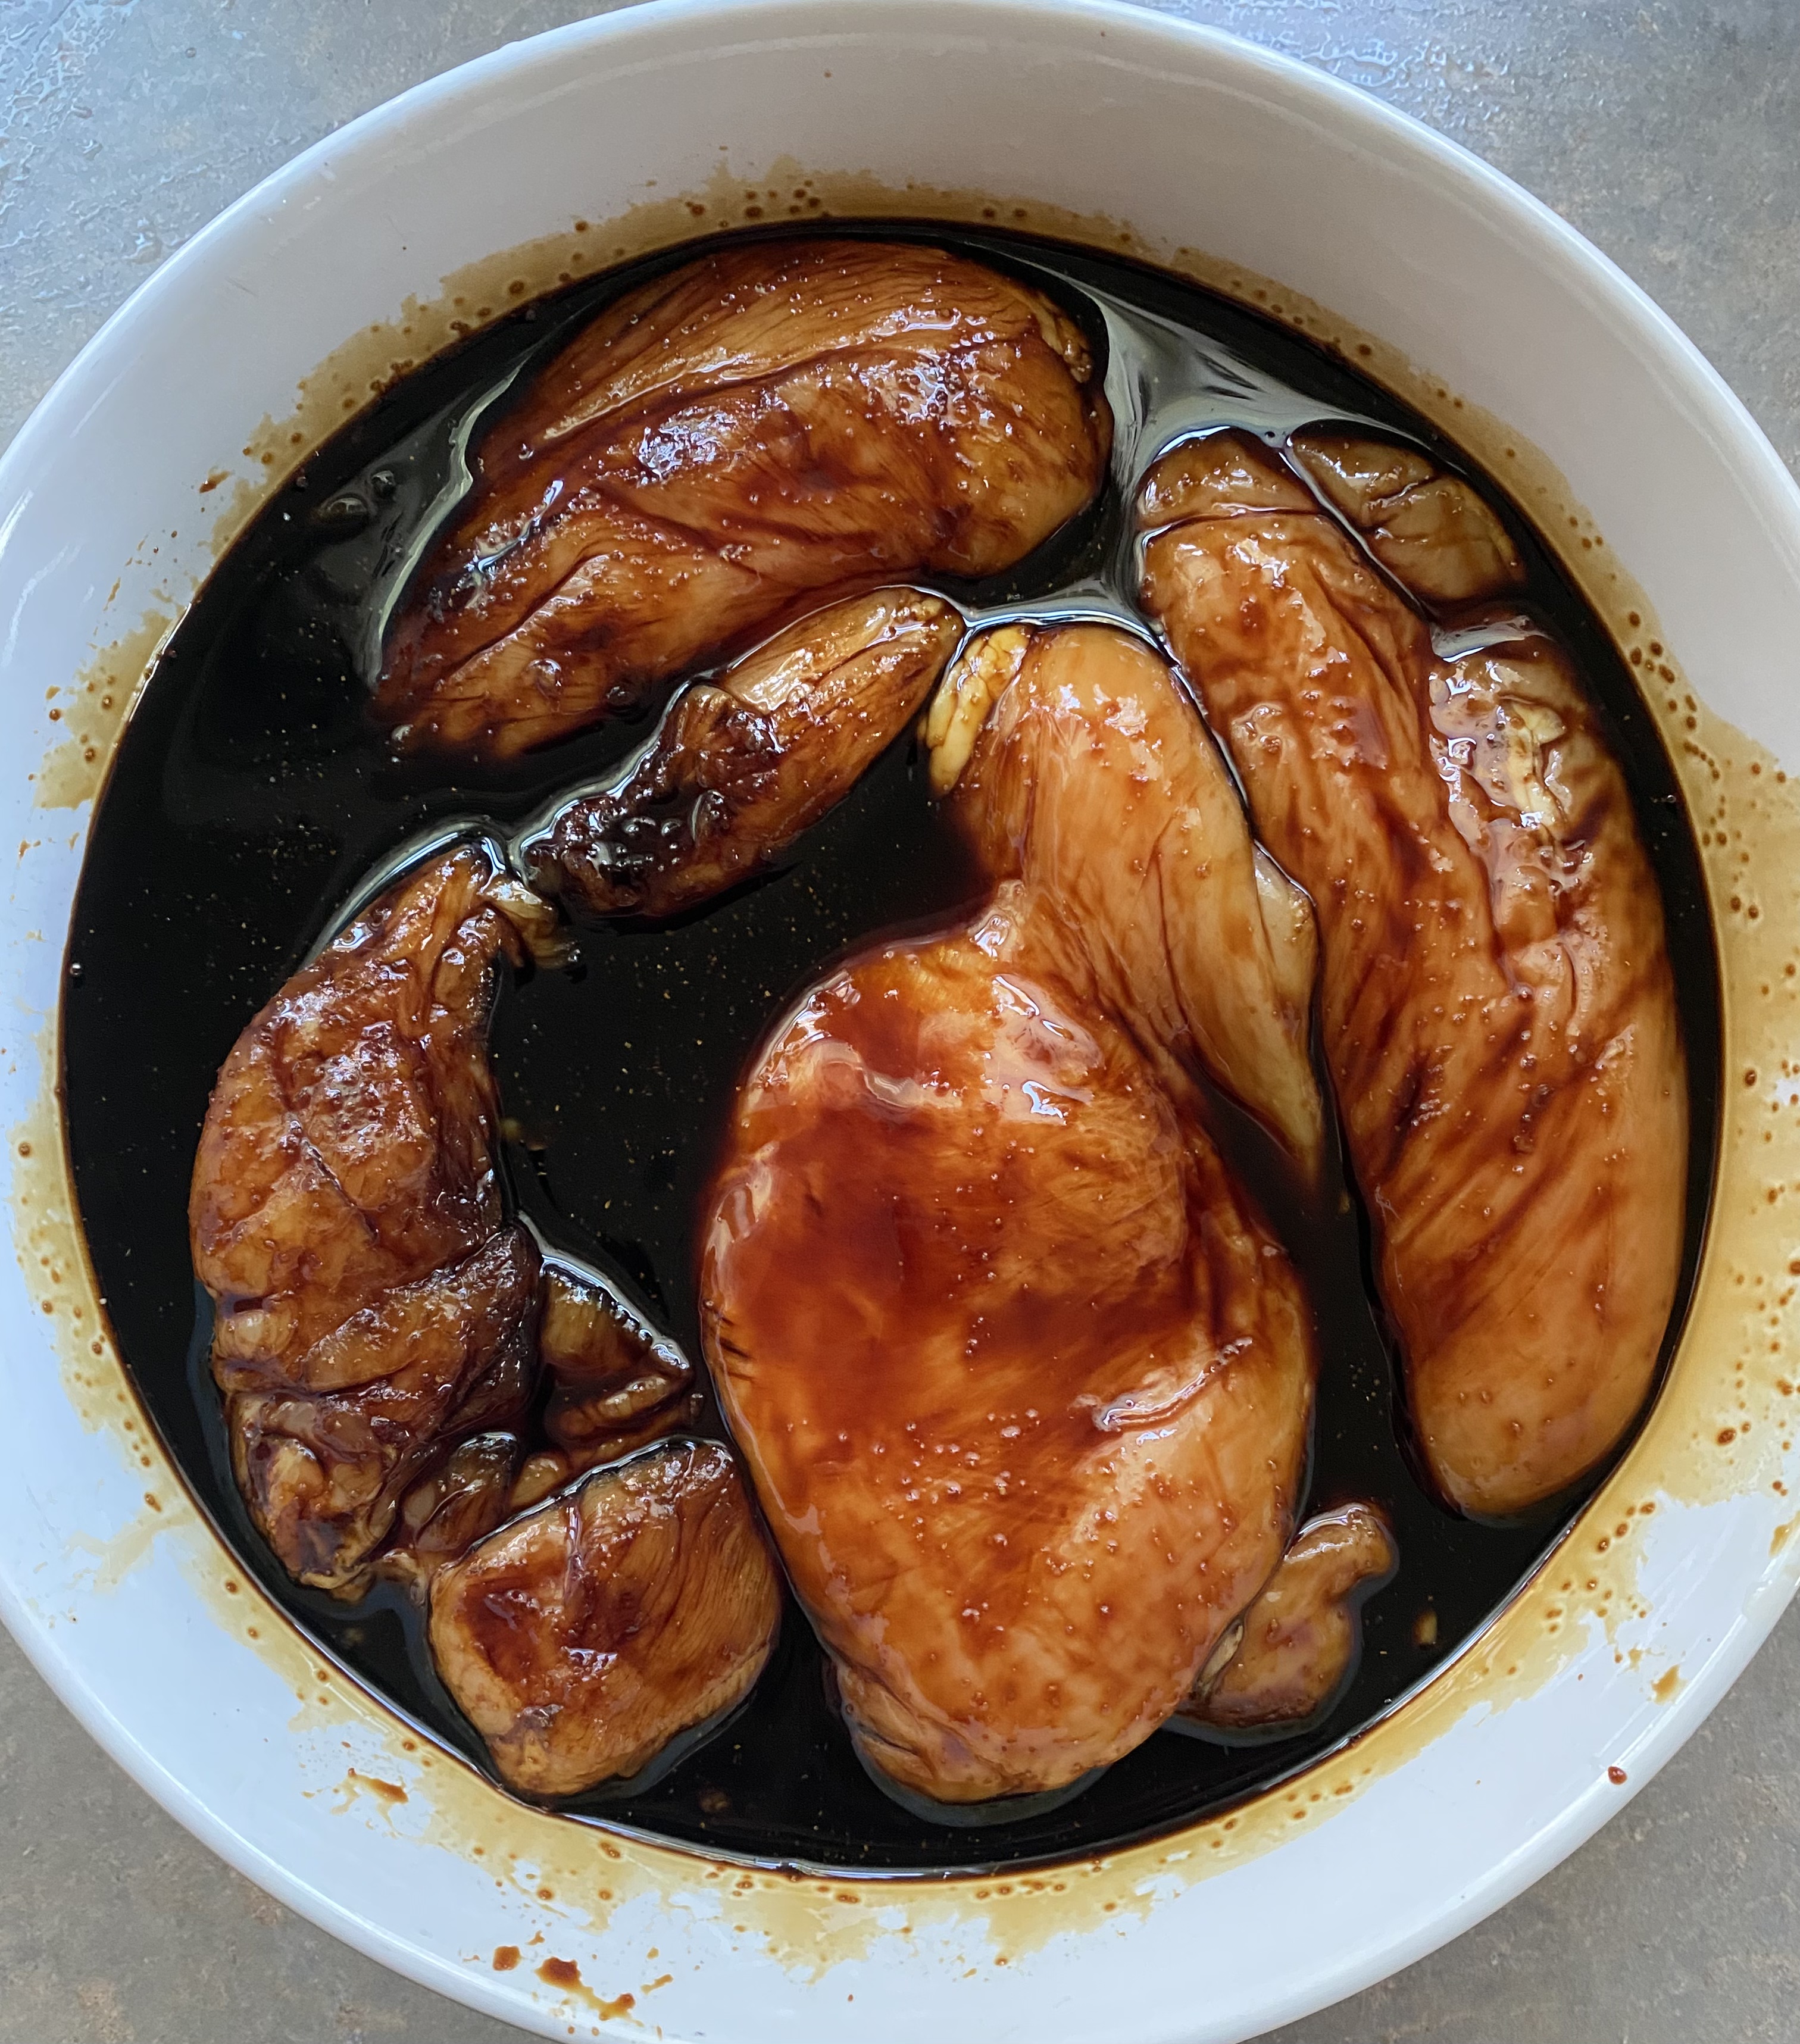
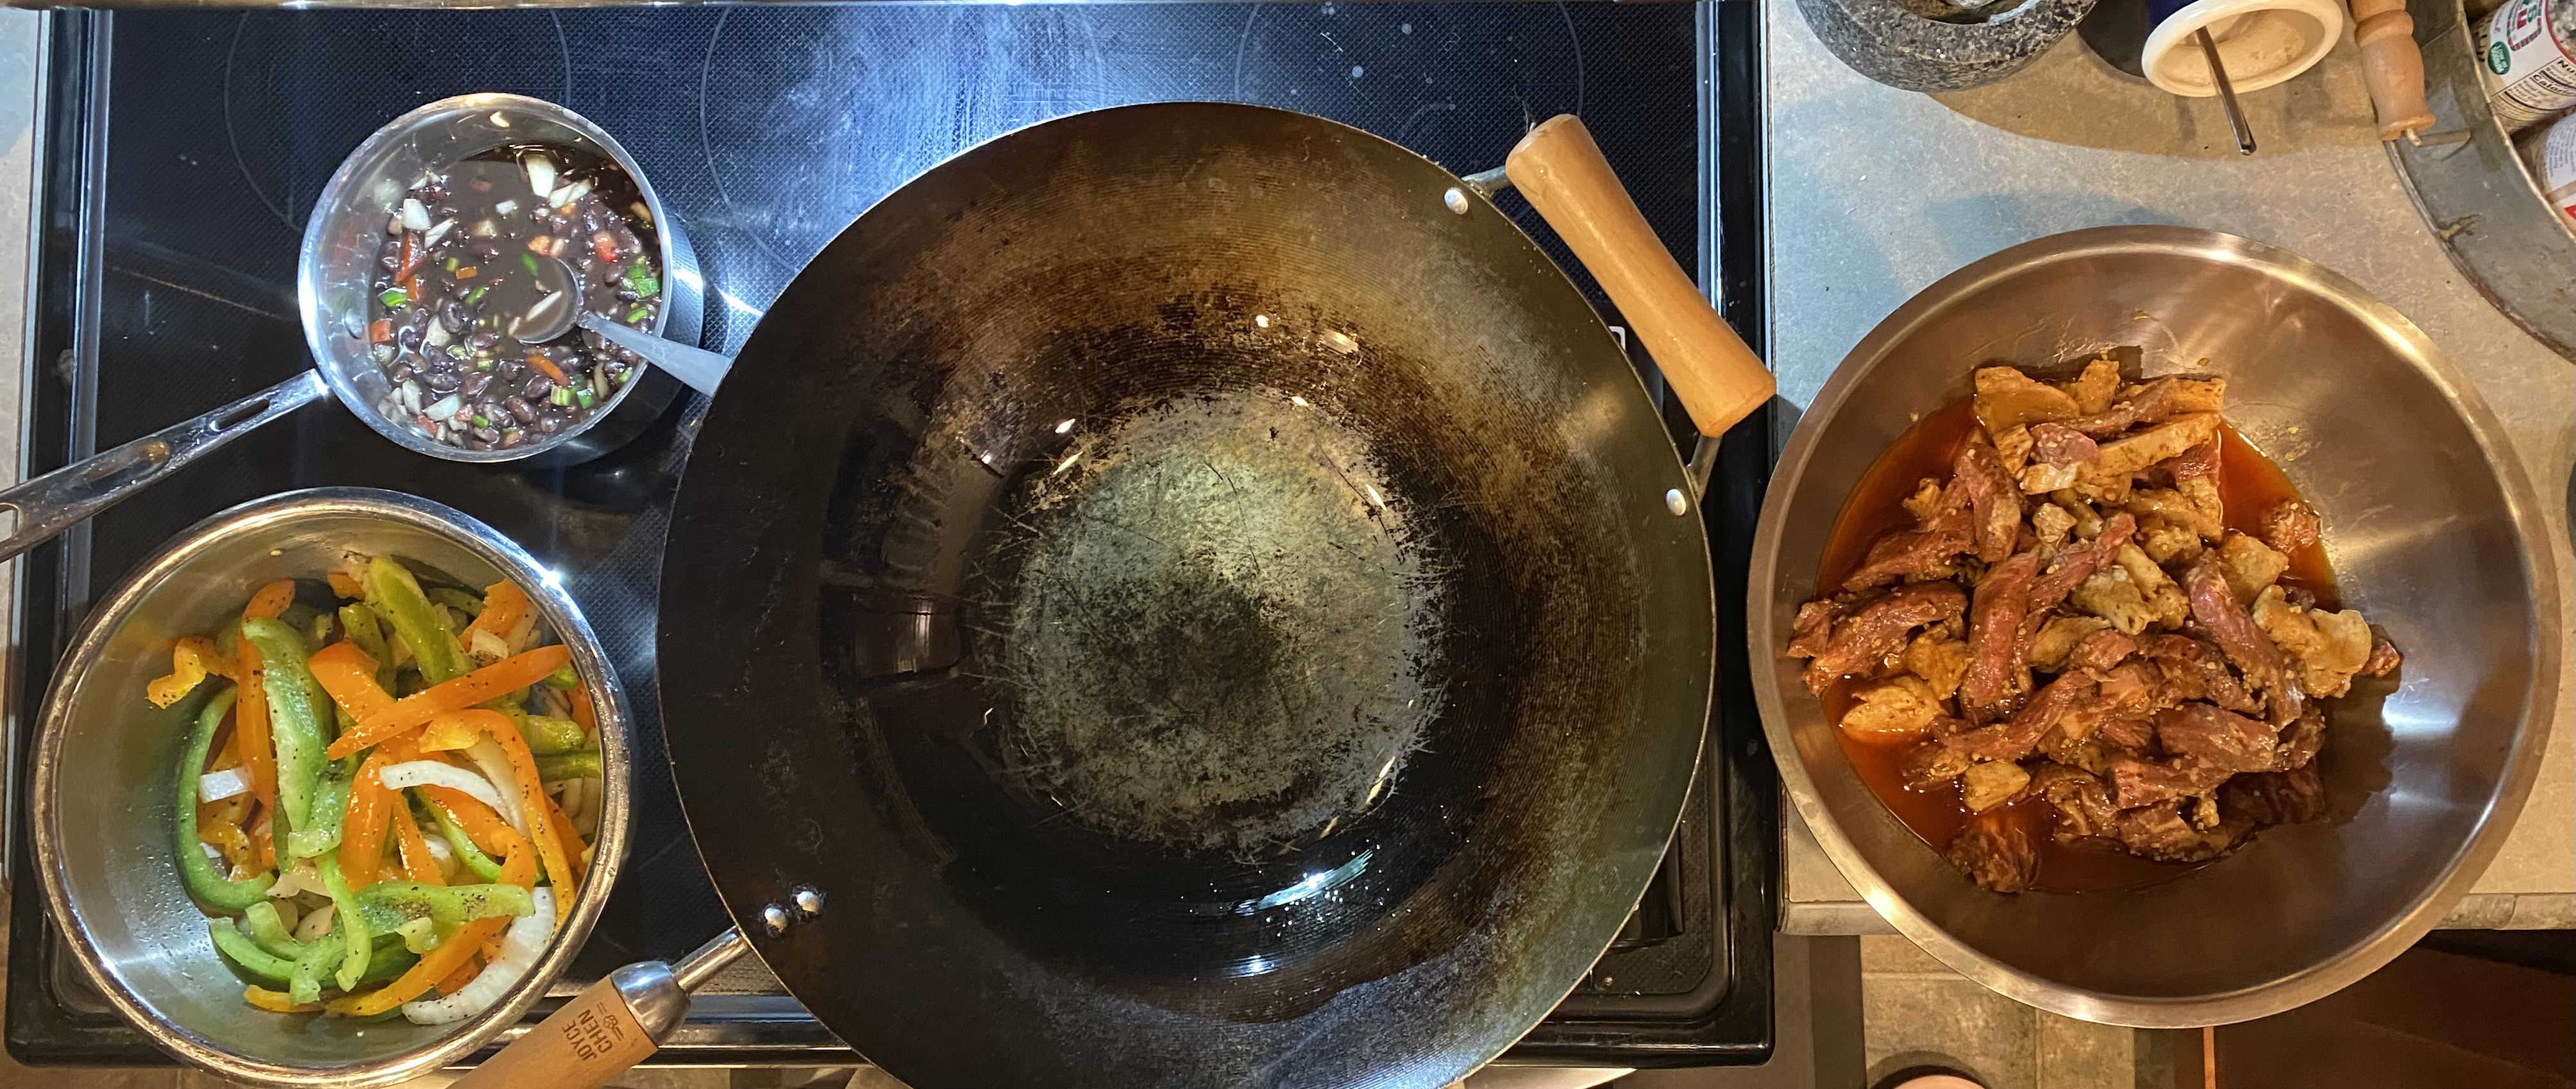
Damn near any simply prepared fresh fish will pair nicely with mignonette, as will chicken, pork, extra firm tofu, and sautéed veggies. Below you’ll find a solid basic recipe to start playing with as well as a great twist for hot summer months, a mignonette granita – freezing and shaving the mix intensifies the sauce, (at least to my palate) – Allow a generous spoonful of that to melt on top of freshly grilled fish or poultry at table side, and you’ve got a truly lovely treat.

Classic Mignonette 

1/4 Cup Red Wine Vinegar

1 packed Tablespoon minced Shallot

2-3 twists Telicherry Pepper (about 1/4 teaspoon)

Combine all ingredients in a small, non-reactive bowl and whisk to thoroughly incorporate.

Allow to marry at room temp for at least 15 minutes before serving. The longer you allow for marriage time, the better your overall incorporation – you can’t really go overboard in that regard.


Lemon Mignonette Granita

NOTE – Works great with lime, blood orange, tangerine, grapefruit, or pineapple too.

1/4 Cup Red Wine Vinegar

1/4 Cup fresh Lemon Juice

2 packed Tablespoons Minced Shallot

5-6 Telicherry Peppercorns, crushed or ground

1/4 teaspoon sugar

In a small saucepan over medium heat, combine all ingredients and bring to a vigorous simmer for about 30 seconds.

Remove from heat, pour sauce into a non-reactive bowl and allow to cool to room temp. 

Pour cooled sauce through a single mesh strainer into a freezer safe pan or dish with a flat bottom.

Place in freezer for 2-3 hours until well frozen, scraping the sauce down with a fork every hour to to keep it shaved.


Serve in a small, well chilled bowl.

Roots Teriyaki


Yesterday was serendipitous, in teriyaki terms. First off, I received a message noting that someone poking about here couldn’t find a recipe for teriyaki marinade. I was sure there was one, right up until when I poked around and couldn’t find one either. 692 posts over 13 years, and I never wrote about teriyaki? Wow – time to fix that.


Teriyaki is Japanese in origin, and its roots stretch back hundreds of years. At heart, it’s a blend of  sake or mirin, soy sauce, and a sugar. Done right, it’s a perfect tangy balance of sour, salty and sweet – and that balance is the key.


Nowadays, there are myriad variations on the theme, but it’s those roots I’m most interested in. Teriyaki can be done very well with just three ingredients. If you’re diving in to making your own, you should start there. Oh, and come to think of it, it’s grilling season again, too – serendipity redux.


Starting simple doesn’t mean you’ll stay there – in fact I encourage you not to. I’m sure you’ll find a three ingredient version that you really dig and do again and again – there’s a soul satisfying quality to teriyaki made this way. That said, there are lots of other things you should experiment with – Lemon, lime, pineapple, yuzu, sudachi, mandarin orange, ginger, garlic, and chiles come to mind. So long as you keep the ratio of ingredients properly balanced, you’ll love the results.

Ratios lie at the heart of cooking, and teriyaki is no exception. Starting with the three ingredient version, you’ll want 4:2:1 for acid, soy sauce, and sweetener. If you’re looking to marinate a couple pounds of protein, (chicken, beef, pork, fish, extra firm tofu, or veggies), you might go with this

Roots Teriyaki

1 Cup Sake or Rice Vinegar 

1/2 Cup Soy Sauce 

1/4 Cup Agave Nectar 

Thoroughly whisk all three ingredients with a fork, and let them sit for about 15 minutes to get acquainted, then marinate for at least an hour, and as long as 3 hours – Note that fish and tofu should marinate for 15 to 20 minutes, tops. Yes, I know some folks swear by overnight, etc, but – there’s a lot of acid in this sauce, and if you go too long, it’s going to alter the texture of your protein in unpleasant ways.

Seen recipes out there that call for cooking the sauce? That’s done because granulated sugars simply will not dissolve in room temperature acid/soy mixes. If you want to use granulated sugars, you’ll need to simmer your sauce over medium low heat for about 5-7 minutes to dissolve the sugar completely. Cool to room temp before deploying. 

If you’re adding ginger, garlic, chiles, etc – start small. For the base recipe above, a half teaspoon of minced, fresh will deliver the flavor notes without overwhelming the balance of the sauce.


Now, variety – change the acid, see what you think. Sake versus mirin or rice vinegar, and different varieties of same. Switch to citrus or pineapple and you’re in a whole other ballpark. Go way out in left field and try Chinese black vinegar, or balsamic, and you’re in another world altogether.


Change the soy sauce from koikuchi shoyu (dark) to usukuchi shoyu (light), shiro shoyu (white), tamari shoyu, or saishikomi shoyu (twice-brewed). Try Chinese, Thai or Korean soy sauces – whole nuther show there.


A note on Mirin – when you find and try the good stuff, it’s revelatory. Unfortunately, most of what you find in general grocery stores is crap – a pale shadow of the real thing with a bunch of preservatives added. If you have a good Asian grocery nearby, you can get the good stuff, and you should. Real mirin is slightly less alcoholic than sake, and subtly sweet/savory in flavor – it’s a vital ingredient in a lot of Japanese cooking, and it’s absolutely worth it.

Why Agave nectar for the sweetener? Because it‘s a light, neutral flavor and a decent coater/thickener, and makes teriyaki production super easy. For a more authentic option, ask for Mizuame (also known as Millet Jelly), or black sugar syrup (there’s a bunch of makers) at your local Asian grocery. You can use honey or maple syrup as well, with very intriguing results. 


Have some fun, come up with what you dig most, and then call it yours.

Easy Eggs Benedict at Home – No, Really


It’s the youngest’s Birthday, and he’s up for a visit, so I offered several options for breakfast – he landed on Eggs Benedict. It’s also Palm Sunday, which means that this weekend and certainly next, a lot of folks are gonna think about going out for a special breakfast, and often enough, for the same dish. That’s all the reason you should need to make it at home.

Few breakfast dishes are more celebrated than Eggs Benedict. This is as it should be, because when done well, there are few things more delightful. And yet they’re rarely done at home, due to the assumption that they’re a royal pain in the ass to make. They’re really not if you go in understanding what you’re gonna do and have a pretty simple mis en place ready – do that, and they can and will be pretty easy.

There’s a couple versions of Benedict that claim to be the original out there. What’s generally agreed to is that it is an 19th century American dish and that hollandaise is involved. I was raised believing in the Lemuel Benedict version, named after a retired stockbroker with a hangover who wobbled in to the legendary Waldorf one morning in the late nineteenth century and ordered toast, bacon, poached eggs, and hollandaise. The Maître d’ on duty liked the idea and put it on the menu, subbing English muffin for toast and ham for the bacon.

The competing ‘original’ Benedict came from Elias Cornelius Benedict, a New York City banker – his version included a mixture of chopped, hard boiled eggs and minced ham topped with hollandaise. 

With this post as an excuse, we tried both versions. We found them both delish, but it was agreed that Lemuel’s version is best. In any event, it’s quite obvious who has won at least the popular vote, if not the naming rights.

There’s a boatload of variants, from Florentine to mournay and Chesapeake to Hebridean. As far as I’m concerned, any variant is still Benedict so long as it involves eggs, bread and hollandaise.

So why does the dish have such a bad rep for home kitchens? The overall sense of fussiness and time pressure when constructing the dish, (largely due to a broad belief that you must make the hollandaise last), and mixed results when poaching eggs are the top complaints.

What you’ll find here does away with all that, and produces consistent, pretty results. We’ll build the hollandaise first, with a grounding in how and why it works, which makes for an unfussy, unhurried brunch. We’ll also deploy a skillet instead of a sauce pan to poach – that way you can clearly see how your eggs are cooking and have a much easier time with assembly.

First a bit about hollandaise. This is an emulsion, not much different than salad dressing in what we’re after getting it to do for us. The egg yolks we’ll use are basically protein rich water, and butter is our fat.

Successful hollandaise involves giving egg yolks, a little water, and lemon juice the time and gentle heat needed to allow us to gradually add butter and end up with a delicious, stable emulsion.

A couple tablespoons of water isn’t much, but it’s key to allowing the proteins in the yolks to relax. For the life of me I can’t understand recipes that omit it. Acids like lemon juice or vinegar also help relax yolk proteins, but the real protagonist here is gentle heat, with a strong emphasis on gentle.

Heating that mixture too much or too fast is the top cause of Hollandaise failure for home cooks. I’ll have you use far less heat than most recipes, and none if it direct -that’ll solve the overcooking problem. The indirect, (mostly steam), heat in the double boiler, coupled with the latent heat of the melted butter is more than sufficient to get the job done. Here’s how you do it.


Painless Hollandaise

4 large, fresh Egg Yolks

1/2 Cup fresh Butter

2 Tablespoons Cold Water

2 teaspoons fresh Lemon Juice

2-3 shakes Tabasco Sauce

Separate eggs. Place whites in an airtight container and refrigerate or freeze for future projects.

Put about 2″ of water in a sauce pan sized such that a mixing bowl or double boiler will fit within. You want the bottom of the bowl you’ll work in to be above the water by a good 2″. Not doing this right is a primary cause of failed hollandaise – Too much heat, and/or heating too fast.

Turn heat to medium low.

In a separate sauce pan, melt butter over medium low heat.

When the water starts to simmer, turn off the heat.

In a small mixing bowl, combine egg yolks, water, and lemon juice.

Whisk briskly by hand to combine, until blend thickens and the volume has increased notably, about 2 minutes.

Place bowl over the hot water pan.

Gently but steadily whisk the egg yolk mixture to heat it through, about 1 – 2 minutes.

Begin slowly adding butter in a thin stream; add a few seconds worth, whisking gently but constantly, until the yolk mixture has incorporated the butter, then add a little more, and keep doing so until all the butter is absorbed.

The sauce will thicken somewhat, but possibly not as much as you like it to end up, but don’t sweat that point; as the sauce sits while you prep the rest of the dish, it’ll thicken a bit more.

Whisk in the Tabasco, then set the whole double boiler rig on the back of your oven, and cover with a clean towel.

What to do if your Hollandaise breaks – It’s gonna happen some day, so just accept that and be prepared. It’s not the end of the world, and you can fix it, so – deep breath! Broken hollendaise looks like oil with little bits of egg in it – fear not. Grab a small spoon and snag a little hot water from your double boiling rig. Add a couple of those to the hollandaise and slowly, steadily whisk it in. Add a couple more and repeat. You can go as high as 25% of the volume of your sauce, but you probably won’t need to. Be patient – keep adding a couple small spoons of hot water and whisk slowly and steadily until your sauce emulsifies and takes on the smooth texture you’re after. Taste it, adjust lemon and Tabasco balance, and carry on – all is well again.


Eggs Benedict – Serves 2

4 large, fresh Eggs

2-4 slices thick cut Ham, (Cooked)

4 slices thick cut Sourdough Bread

Tablespoon of White Vinegar

Optional: Pinch of fresh Dill

Preheat oven to Warm.

Cut sourdough into roughly 4″rounds, and do the same with the ham.

Toast sourdough lightly, then place ham onto plates in the oven to heat through.

In a large skillet over medium heat, add about 2″ of hot water, and the vinegar.

When the water starts to simmer, roll the heat back to medium low.

Gently crack an egg and, with the shell just above the water, slowly release it into the pan. The vinegar will help the whites to solidify quickly, keeping your eggs together. Repeat with the other three eggs.

Poach eggs for about 3 minutes, until all the whites are nicely set and the yolks are still semi-liquid.

Remove plates, toast, and ham and set up two of each on warm plates.

Use a slotted spoon to gently corral eggs and set them carefully on the ham and toast stacks.

Uncover hollandaise and whisk to loosen it up a bit. If it’s a bit too thin, a little burst of heat and whisking will take care of that in less than a minute. If perchance it’s thickened too much, a teaspoon to two of milk whisked in will bring everything back to status quo.

Spoon generously over eggs and garnish with a little fresh dill if you wish.

 
The pretty plate up there? That was the Birthday Boy’s – here’s mine.

Urban’s Best Fajita Marinade


I published this one back a few years, and hadn’t made it since – I did tonight, with some glorious tri tip and chicken, charro black beans, seasoned rice, and fresh corn tortillas from my fave carniceria, (the one where they speak Spanish, period, and if you’re a gringo, you’d best have your patos en linea. My family went nuts of the meal, and declared it superior to any restaurant in our area, and you know what? They’re right – try it, make it yours, and see if you don’t agree.

Urban’s Best Fajita Marinade

Plenty for up to 2 pounds of protein.

1/2 Cup Avocado Oil

1/4 Cup Chili Powder

3 Tablespoons Worcestershire Sauce

Juice and zest of 1/2 Lemon

Juice and Zest of 1/2 Lime

2 Tablespoons Pineapple Vinegar

2-4 cloves fresh Garlic, minced

1 Tablespoon Agave Nectar

1 teaspoon ground Cumin

1 teaspoon Smoked Paprika

2-3 drops Red Boat Fish Sauce

1/2 teaspoon ground Pepper


Juice and zest the citrus, grind any whole spices.

Combine all in a non reactive mixing bowl and whisk with a fork to emulsify and incorporate thoroughly.

marinate proteins for about 2 hours prior to cooking.

Here’s my go to chili powder mix, too –

Urb’s House Made Chili Powder

3 Tablespoons ground Chiles of your choice

1 teaspoon ground Cumin

1 teaspoon Smoked Paprika

½ teaspoon ground Mexican Oregano

½ teaspoon ground Garlic

Combine all and allow some time for everything to marry before deploying.

Cracklin Bread? You Damn Skippy!


Last night was roast chicken, so today was chicken stock, and tonight will be chicken chili – and that absolutely demands cracklin bread. For the uninitiated, that’s cornbread with cracklins therein. Cracklins are nothing more than fatty pig skin put to a far better use than football. Of course, the subject isn’t quite that simple – if it were, it wouldn’t be nearly as much fun, or as tasty. If we’re going to make cracklin bread, we’ve gotta know our cracklins.

Cracklin bread
Cracklin bread

Here in the states, pork rinds have always been a thing, at least in the south. Worldwide, they’re everywhere. In Mexic0, South and Central America, and Spain, they’re chicharones. Up in Canada, they might be scrunchions or orielles de Christ. In China, they’re Zhīzhā, in Thailand, it’s khaep mu. In the Slavic countries, they’re škvarky, tepertő in Hungary, and jumări in Romania. They’re integral to the traditional Czech dish, bramborové knedlíky se škvarkama a kyselým zelím – potato dumplings with cracklings and sauerkraut. In merry old England, they’re scratchings.

Khaep Mu from Thailand

You needn’t be a Fergus Henderson fan to know that it’s still very much waste not want not when it comes to hoof to snout consumption of our piggy pals. The names and dishes detailed above aren’t oddities, they’re mainstream eats, all made possible by pork skin. If you think that’s icky, think again the next time you’re swooning over crisp turkey or chicken skin, or bacon for that matter.

Pork rinds come to us through lard production, as well as general slaughter and processing. In the south, the venerable cast iron wash pot was and is used to render down lard. Leftover scraps and skin went in there as well, and crunchy bits of that would rise to the surface, to be skimmed off, lightly salted, and served as a snack – and they’re friggin’ seriously good, by the way.

There are, of course, less than inspired versions of this age old treat out there, and if you’ve ever had them, I’m sorry – a lot of what gets called cracklins and sold in stores is closer in consistency and taste to packing material than pork.

Fortunately, there are plenty of places to get good stuff, and probably one or more near you – go to your local carniceria or Latin market and you should be good to go. If you’re blessed with a local butcher, ask if they do cracklins – if they make leaf lard, they well might.

There are variations on the theme – The basic version of a rind is just skin – no fat at all. Into hot fat they go, and you get the Cheeto-like puffy thing. A genuine cracklin has some fat and maybe little flecks of meat still attached – something with some flavor and very satisfying bacony crunch.

I get mine from 4505 Meats – they have a luscious fat layer, a nice crunch, a little sea salt, and nothing else. The donor pigs are humanely raised, with no added hormones or antibiotics. You can find them online.

Making cracklin bread is no more involved than adding them to your favorite cornbread recipe. If you favor a dense, super moist version of this wonderful stuff, just add a packed cup of good quality cracklins to my latest and greatest, and you’re good to go. If, in reading that piece, the purist hot water version appeals, here’s the drill for that – You can bake or fry, as you prefer.

Hot water cracklin bread

Urban’s Hot Water Cracklin Bread


4 Cups coarse ground Cornmeal

2 Cups Cracklins

2 teaspoons Sea Salt


Bring 3 cups of fresh water to a full boil.

In a large mixing bowl, combine cornmeal and salt.

Carefully pour boiling water over the dry mixture, whisking steadily until you have a heavy batter consistency.

Let the batter sit, allowing the meal to fully absorb the water, and the mixture to cool enough to handle.

You want a consistency that will allow you to hand form cakes about 3” to 4” round and about 3/4” thick.


To Bake –

Preheat oven to 400° F, and set a rack in the middle slot.

Generously butter a heavy baking sheet, and place cakes evenly on the sheet, with an inch between each.

Bake for 15-20 minutes until golden brown, and a toothpick stuck in the middle of a cake comes away clean.

Serve hot with lots and lots of butter.

To Fry –

In a cast iron skillet over medium high heat, heat oil, using an instant read thermometer to monitor temperature – you want right about 375° F.

Once your fat is up to temp, add generous soup spoons of batter – You can get 3 or 4 in a 12” skillet without crowding.

If you like things thin and crispy, use the back of the spoon to tamp down each dollop a bit, otherwise, let it ride for a softer middle.

These will cook quite quickly – about 1 to 2 minutes per side – when you’ve got a nice golden brown, it’s time to flip.

Transfer cooked cornbread to a paper towel lined wire rack to cool a bit.

As soon as you can grab them without burning yourself, devour with abandon.

Real Deal Bisque – It’s all about shellfish and great stock


When you think ‘Bisque,’ what does that conjure in your minds eye? These days, it might be anything in a thick, rich creamy soup, and that’s sort of correct, but if we’re talking the genuine article, bisque is made with shellfish – lobster, crab, shrimp or crawfish. The key is starting with a great stock – If you don’t have that as the base of the dish, you ain’t got real bisque – It’s that simple.

Fresh, homemade stock is key to great bisque

That said, many things are called bisque these days, but really, that’s just done to sell stuff – Bisque sounds infinitely sexier than Cream of Whatever, doesn’t it? Fact is, the only thing I found on our site was Butternut Squash Bisque, so I’m guilty as charged. It’s high time we posted up the real deal.

This thick, rustic soup goes back at least 500 years in France. Back when, it was peasant food that included crushed seafood shells, but not the meat. Bisque languished for a while before returning to the spotlight as a somewhat more refined dish in the late seventeenth century, (shells were still used to make the stock, but not crushed and left in, as they had been).

In any event, bisque may seem fussy and difficult, but it’s really not. If you’ve poked around here at all, you know we always start a soup or stew with homemade stock, and so should you. From absolute scratch, this stuff can be made in a couple of hours, and faster yet if you do stock one day and bisque the next.  The other must-haves are a solid foundation made with aromatic bases, and thickening done with a buerre manié, (more on the latter technique in a bit.)

Buerre manié - kneaded butter- The key to thickening soups, stews, and sauces.

Buerre manié may be a new trick to some of y’all. If you’ve ever wondered how professionals make such lovely, thick, shiny soups, stews, and sauces, this is how it’s done. Buerre manié is a classic French technique for thickening – it couldn’t be easier, and there’s no better way to get the job done. Buerre manié means kneaded butter, and that’s exactly what you do. Equal portions of butter and flour are combined by hand to form a smooth, uniform paste. Once mixed, you roll up roughly teaspoon sized balls of the stuff and add one at a time to whatever you need thickened, thoroughly whisking that into the mix, et viola – la perfection!

Shrimp Bisque a la Urban

Medium Shrimp come 41-50 to the pound

For the Stock

2 Quarts Water

Shells from 1 1/2 pounds of medium sized shrimp.

1/2 Cup yellow Onion, chopped

1/2 Cup Celery (Leaves are preferred), chopped

1/2 Cup Carrot, chopped

1/2 fresh Lemon

3 cloves fresh Garlic, crushed, skinned, and minced

5-6 whole peppercorns

2 Bay Leaves, (I like Turkish)

Two 3” sprigs fresh Thyme, or 1 teaspoon dried

1 Tablespoon Extra Virgin Olive Oil

Fresh ground pepper

Pinch fine grind Salt

Shell, devein, and chop shrimp. Return shrimp to fridge and retain shells.

In a stock pot over medium high heat, add the olive oil and heat through. 

Add carrot and sauté for a couple of minutes. 

Add onion and celery, season lightly with salt and pepper, and sauté until the onion begins to turn translucent, about 2-3 minutes. 

Add garlic and sauté until the raw garlic smell dissipates. 

Squeeze lemon juice into the pot, then toss the half lemon in as well. 

Add the shrimp shells, water, peppercorns, thyme, and bay leaves – Stir to incorporate.

Bring stock to a boil, then reduce heat to just maintain a simmer – Cook for one hour, uncovered.

Remove pot from heat and carefully pour stock through a single mesh strainer. Set stock aside, and discard the solids.

For the Bisque

4 Cups Shrimp Stock

1/4 Cup Heavy Cream

1/4 Cup Brandy

2 Tablespoons Onion, fine diced

1 Tablespoon Carrot, fine diced

1 Tablespoon Celery, fine diced

2 Tablespoons unsalted Butter 

2 Tablespoons All Purpose Flour

2 Tablespoons Tomato Paste

2 teaspoons Extra Virgin Olive Oil

1/2 teaspoon Turkish Oregano 

1/2 Teaspoon Lemon Thyme 

1/2 teaspoon Tarragon

2 Turkish Bay Leaves

2-4 shakes Tabasco

A few sprigs fresh Parsley, chopped fine

Salt

Fresh ground White Pepper

Reserve and set aside 8-10 whole shrimp. The rest should be shelled, deveined, and chopped.

Pull butter from fridge and set aside.

If you have fresh herbs, you can combine and mince them ahead of cooking.

In a Dutch oven over medium high heat, add olive oil and heat through.

Add carrot and sauté for a couple of minutes. 

Add onion and celery, season lightly with salt and pepper, and sauté until the onion begins to turn translucent, about 2-3 minutes. 

Add brandy and stir until raw booze smell dissipates.

Add tomato paste, and all herbs – Stir to incorporate and sauté for 2 minutes.

Add stock, bring to a boil, then reduce heat to maintain a bare simmer and cook for 60 minutes.

Carefully process bisque with an immersion blender, until you have a smooth, even consistency.

Add a couple shakes of Tabasco, taste, and adjust salt and pepper as desired.

In a small mixing bowl or cup, combine flour and butter and knead by hand until you’ve got a nice, uniform paste.

Add beurre manié a teaspoon at a time, whisking it into the bisque – Once that’s all introduced, simmer for another 5 minutes.

Whisking constantly, slowly add cream in a thin stream.

Increase temperature to medium, (you want a rolling boil).

Add the shrimp and cook for another 15 minutes.

Ladle into bowls, garnish with a couple whole shrimp and a pinch of parsley.

Serve hot, with crusty bread and a nice dry white wine or cider.