Christy Hohman is our tribal Sister, archeologist extraordinaire, and a wonderful cook to boot. She also keeps me honest here, and recently came through again – she wrote, ‘I was stumbling through soy sauce on Amazon today and thought: I bet Eben could steer me through this maze. So, maybe a post on Urbanmonique? Different kinds of soy sauce? Different uses? And what about that amino stuff that some people use instead? From an inquiring mind in Minnesota where the closest Asian Market is at least three hours away.’ The topic turned out to be another one that I thought I had covered in depth, only to find out that I really had not. So it’s definitely time to fix that, so strap in – here we go.
Soy sauce originated in China, with references as far back as the third century BC. In the mid 13th century, a Zen Buddhist monk, Shinchi Kakushin brought the recipe for the precursor of modern soy sauce back to Japan.

This sauce, jiàngyóu, was quite thick, kind of like Moromi miso is today and very similar to the consistency of the mash from which modern soy sauces are pressed. Eventually it was noted that the liquid that leaked out of that thicker stuff was really tasty, and the making of thinner soy sauces began.

Traditional soy sauce is made with soy beans and wheat, or just soy, depending on the country and sauce desired. These ingredients are cooked down into a thick paste. After the mash cools, a salt brine inoculated with the natural fungus Aspergillus sojae is introduced, and carefully controlled fermentation follows. When fermentation is completed, the mash is pressed to expel soy sauce.
Soy sauce spread widely across the Far East, and as it did so, it changed to reflect the preference of the various countries it landed in. We might think that soy sauce is the same stuff everywhere, but that’s not so. Every iteration of it is unique, and variants abound.
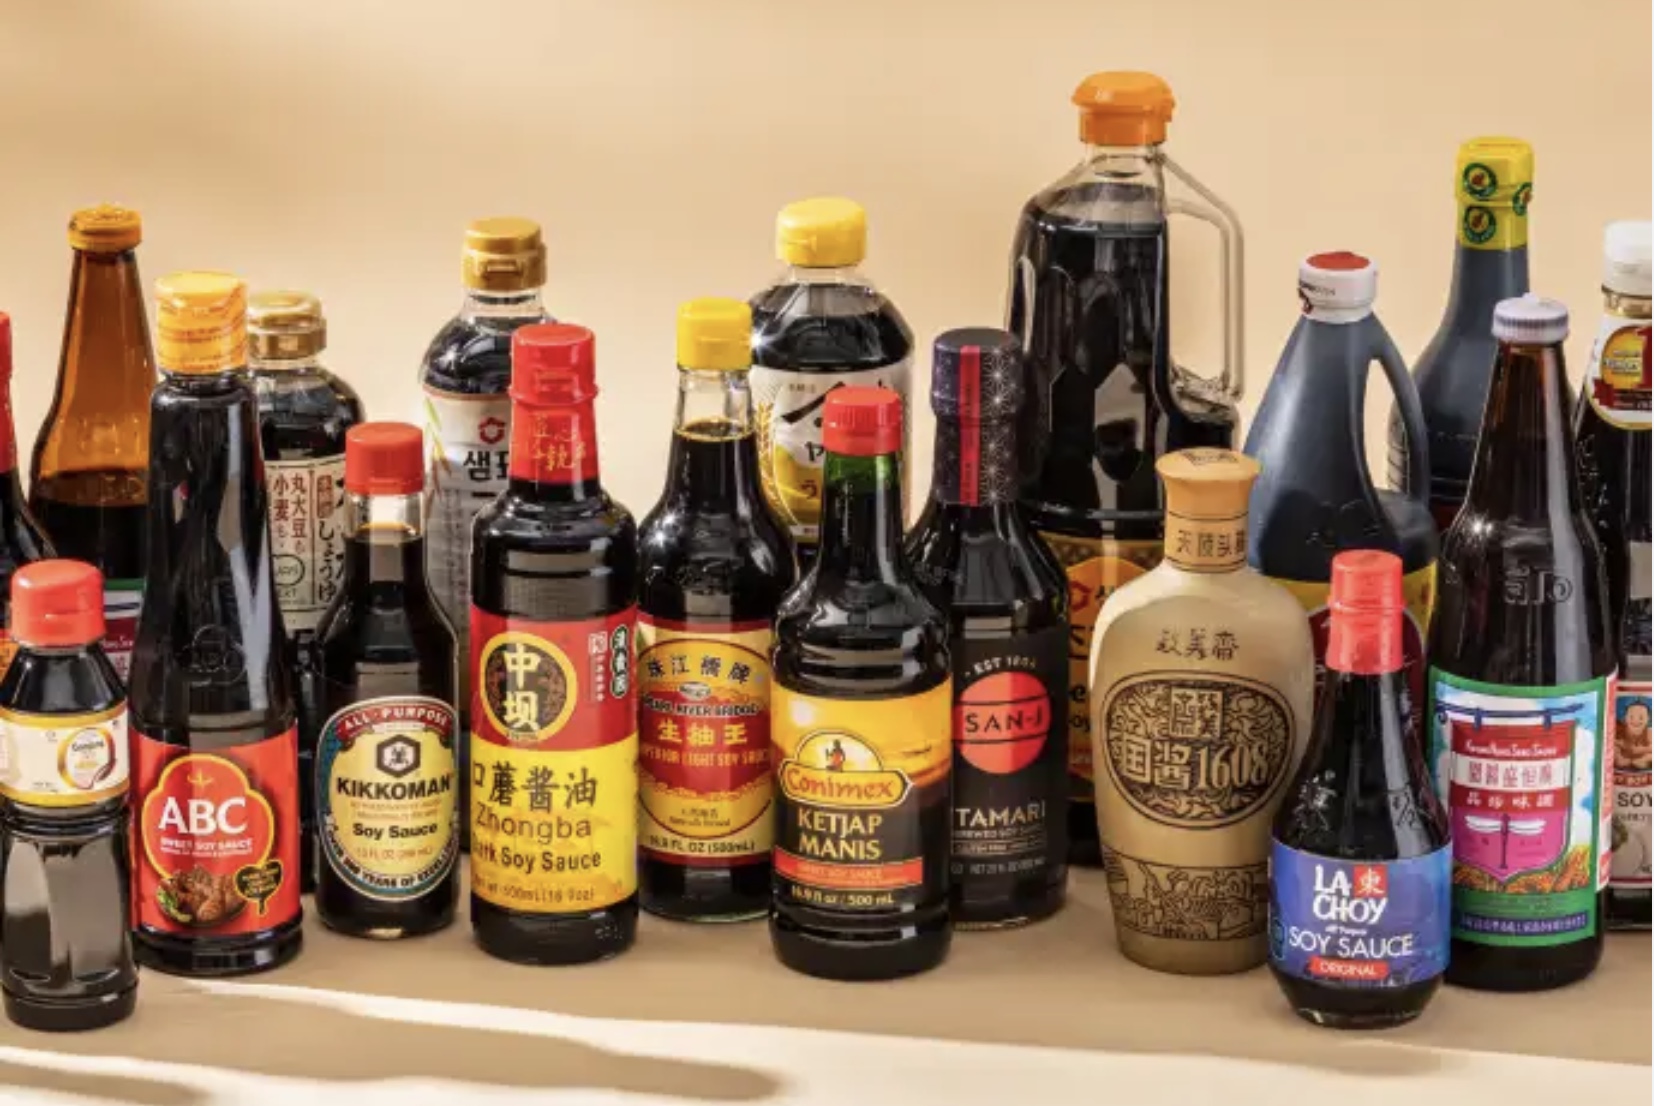
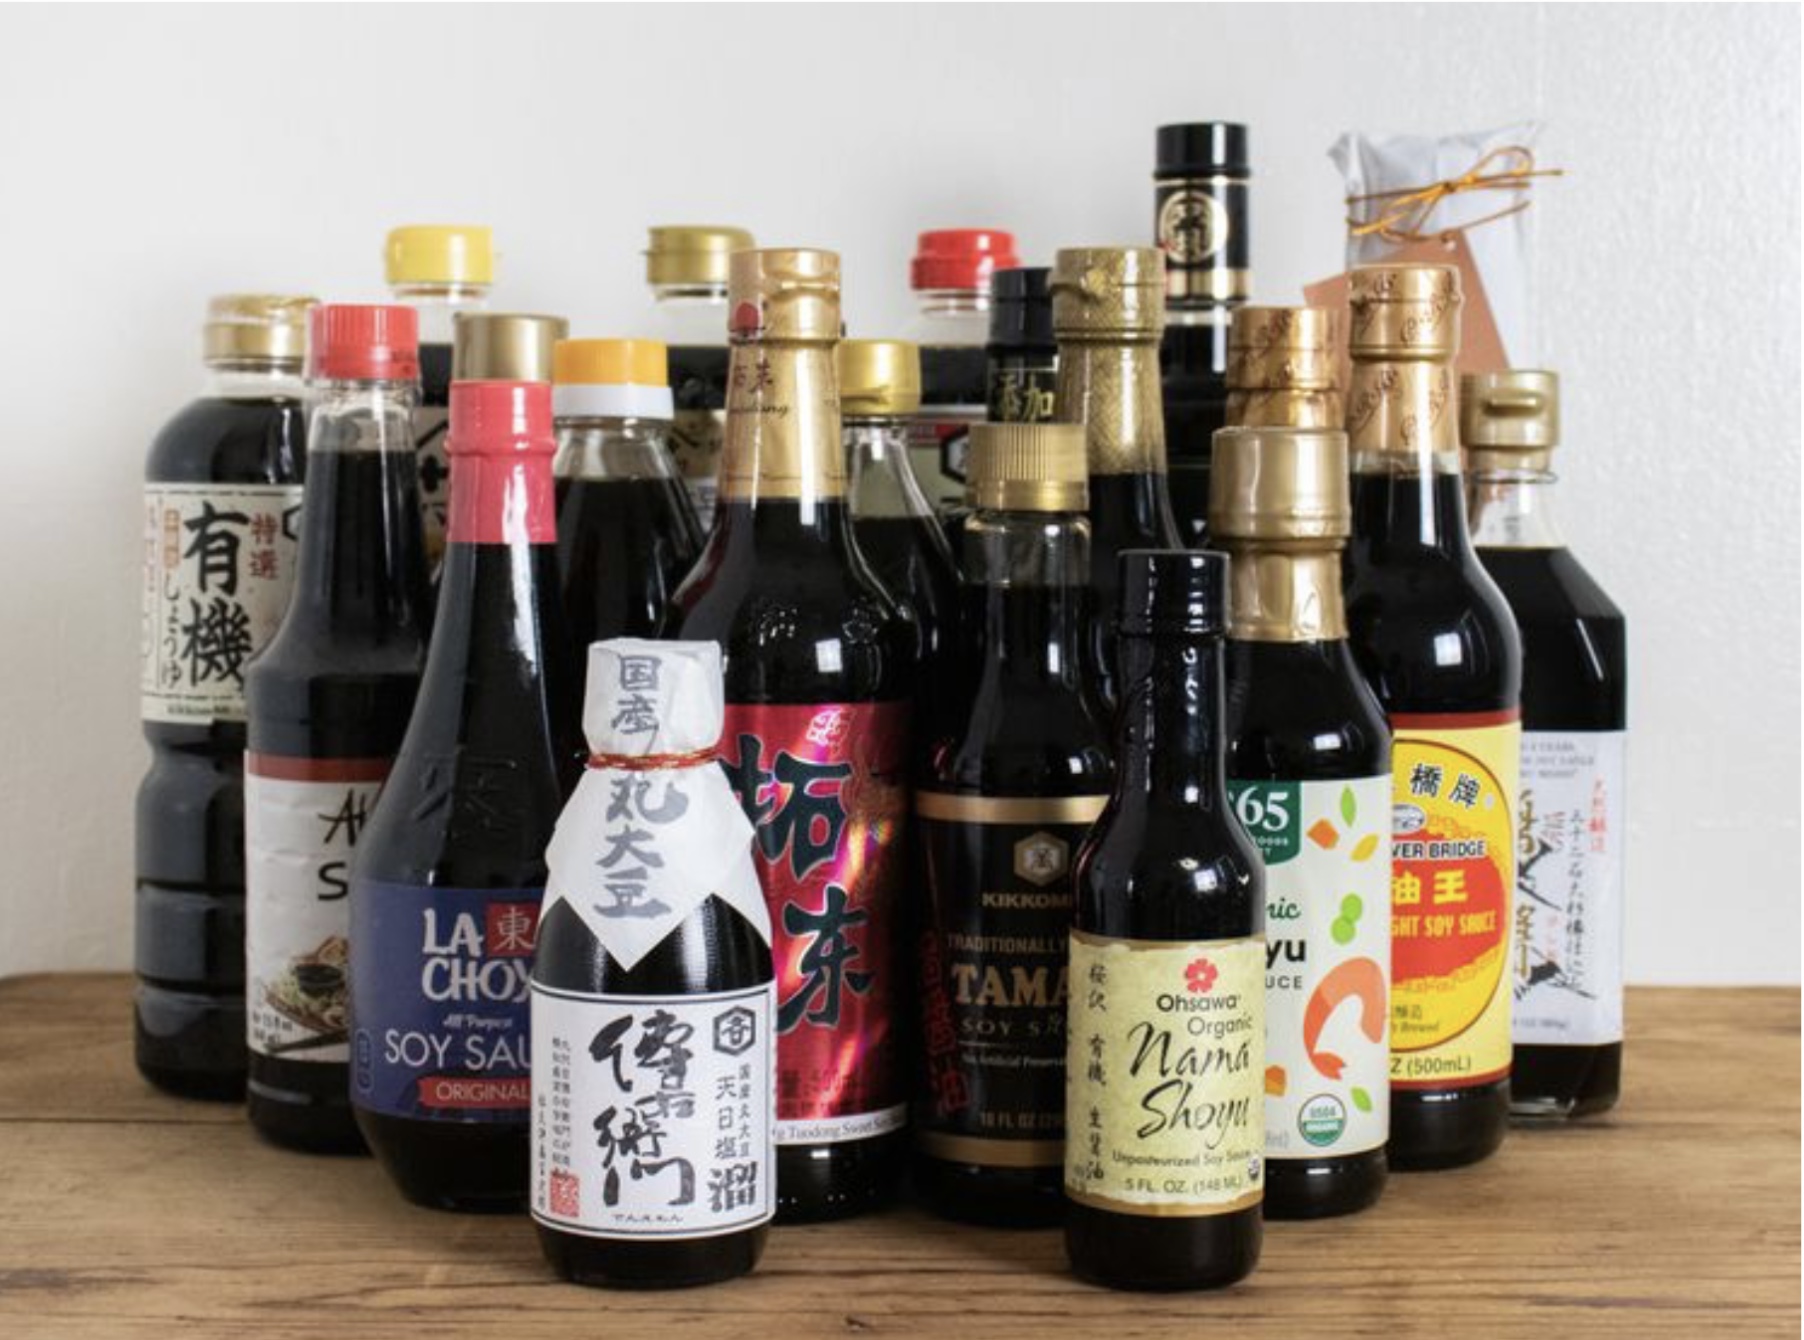
The good news is that real deal soy sauce is widely available and well worth you searching it out. Between a blossoming of interest here and the expansion of global economies, some really good stuff can be found. So let’s look at some of the varieties of soy sauce you can find readily, what makes them different, and what they’re really good for.
First rule of thumb – if you’re cooking Chinese, use Chinese sauce, and so on – whatever regional or National cuisine you’re cooking will have its own sauce, and if you want to make that taste authentic, you want the right soy sauce. These options are generally not expensive, and will last a good long time, so if you’re into it, go for it.
Some Important Caveats –
1. What I’ll outline is what floats my boat, and your mileage may vary – plan on doing some experimenting, especially if something I recommend really doesn’t sit well with you. If you Google ‘great soy sauce from ______,’ you’re gonna find more than a few rabbit holes to wander down.
2. This surge of availability for great soy sauces also means that you can spend a hell of a lot of money – if you can and want to, go for it – but you needn’t do so to have good options at home. Yes, chefs in high end restaurants are using better stuff than you will be, and that’s OK – that’s why we go out to eat now and again.
3. What most Americans are familiar with when we speak of soy sauce is, at best, a pale shadow of the real stuff. It’s the equivalent of ultra light beer – it really doesn’t have any flavor other than salty – and that’s a shame. If you think you don’t like soy sauce, that’s probably why.

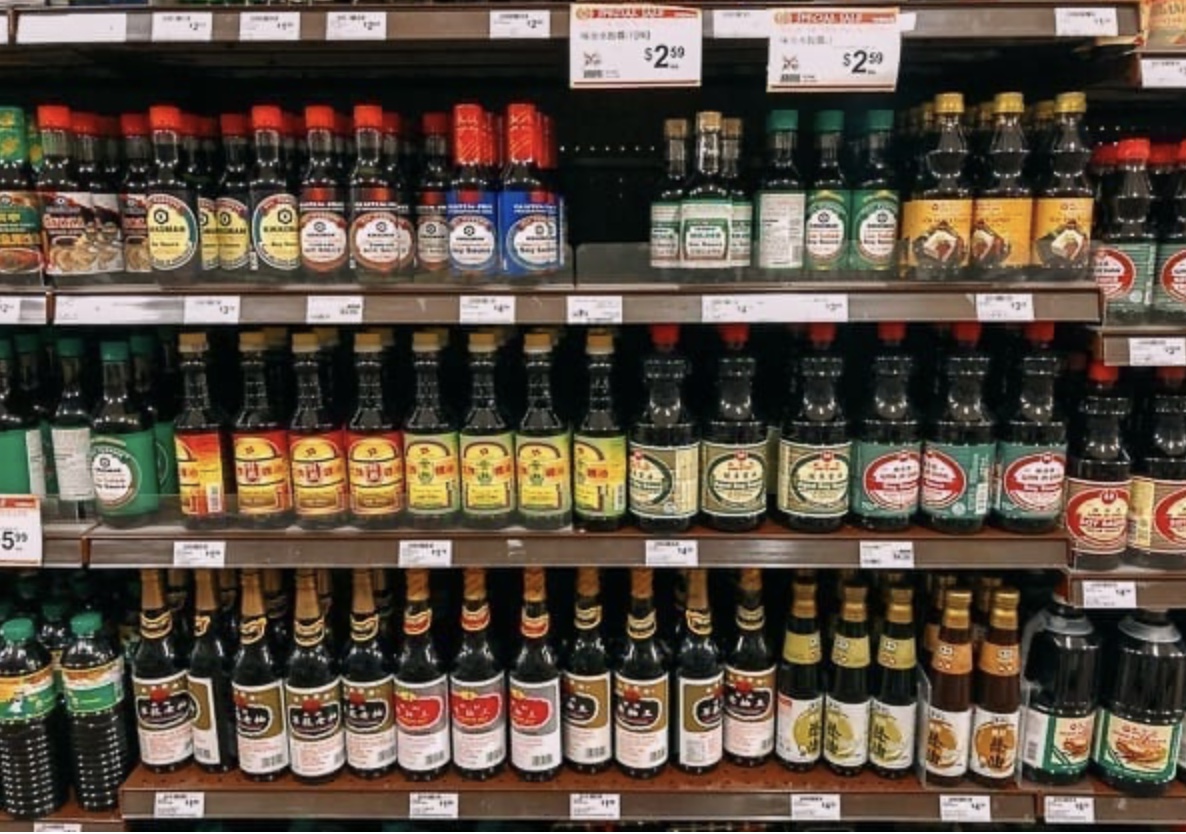
Chinese soy sauce can be a bit challenging – there are so many versions, and depending on the region and language dialects, it can be hard to know exactly what you’re getting. Narrow things down to two or three good quality options, and you’ll be set.
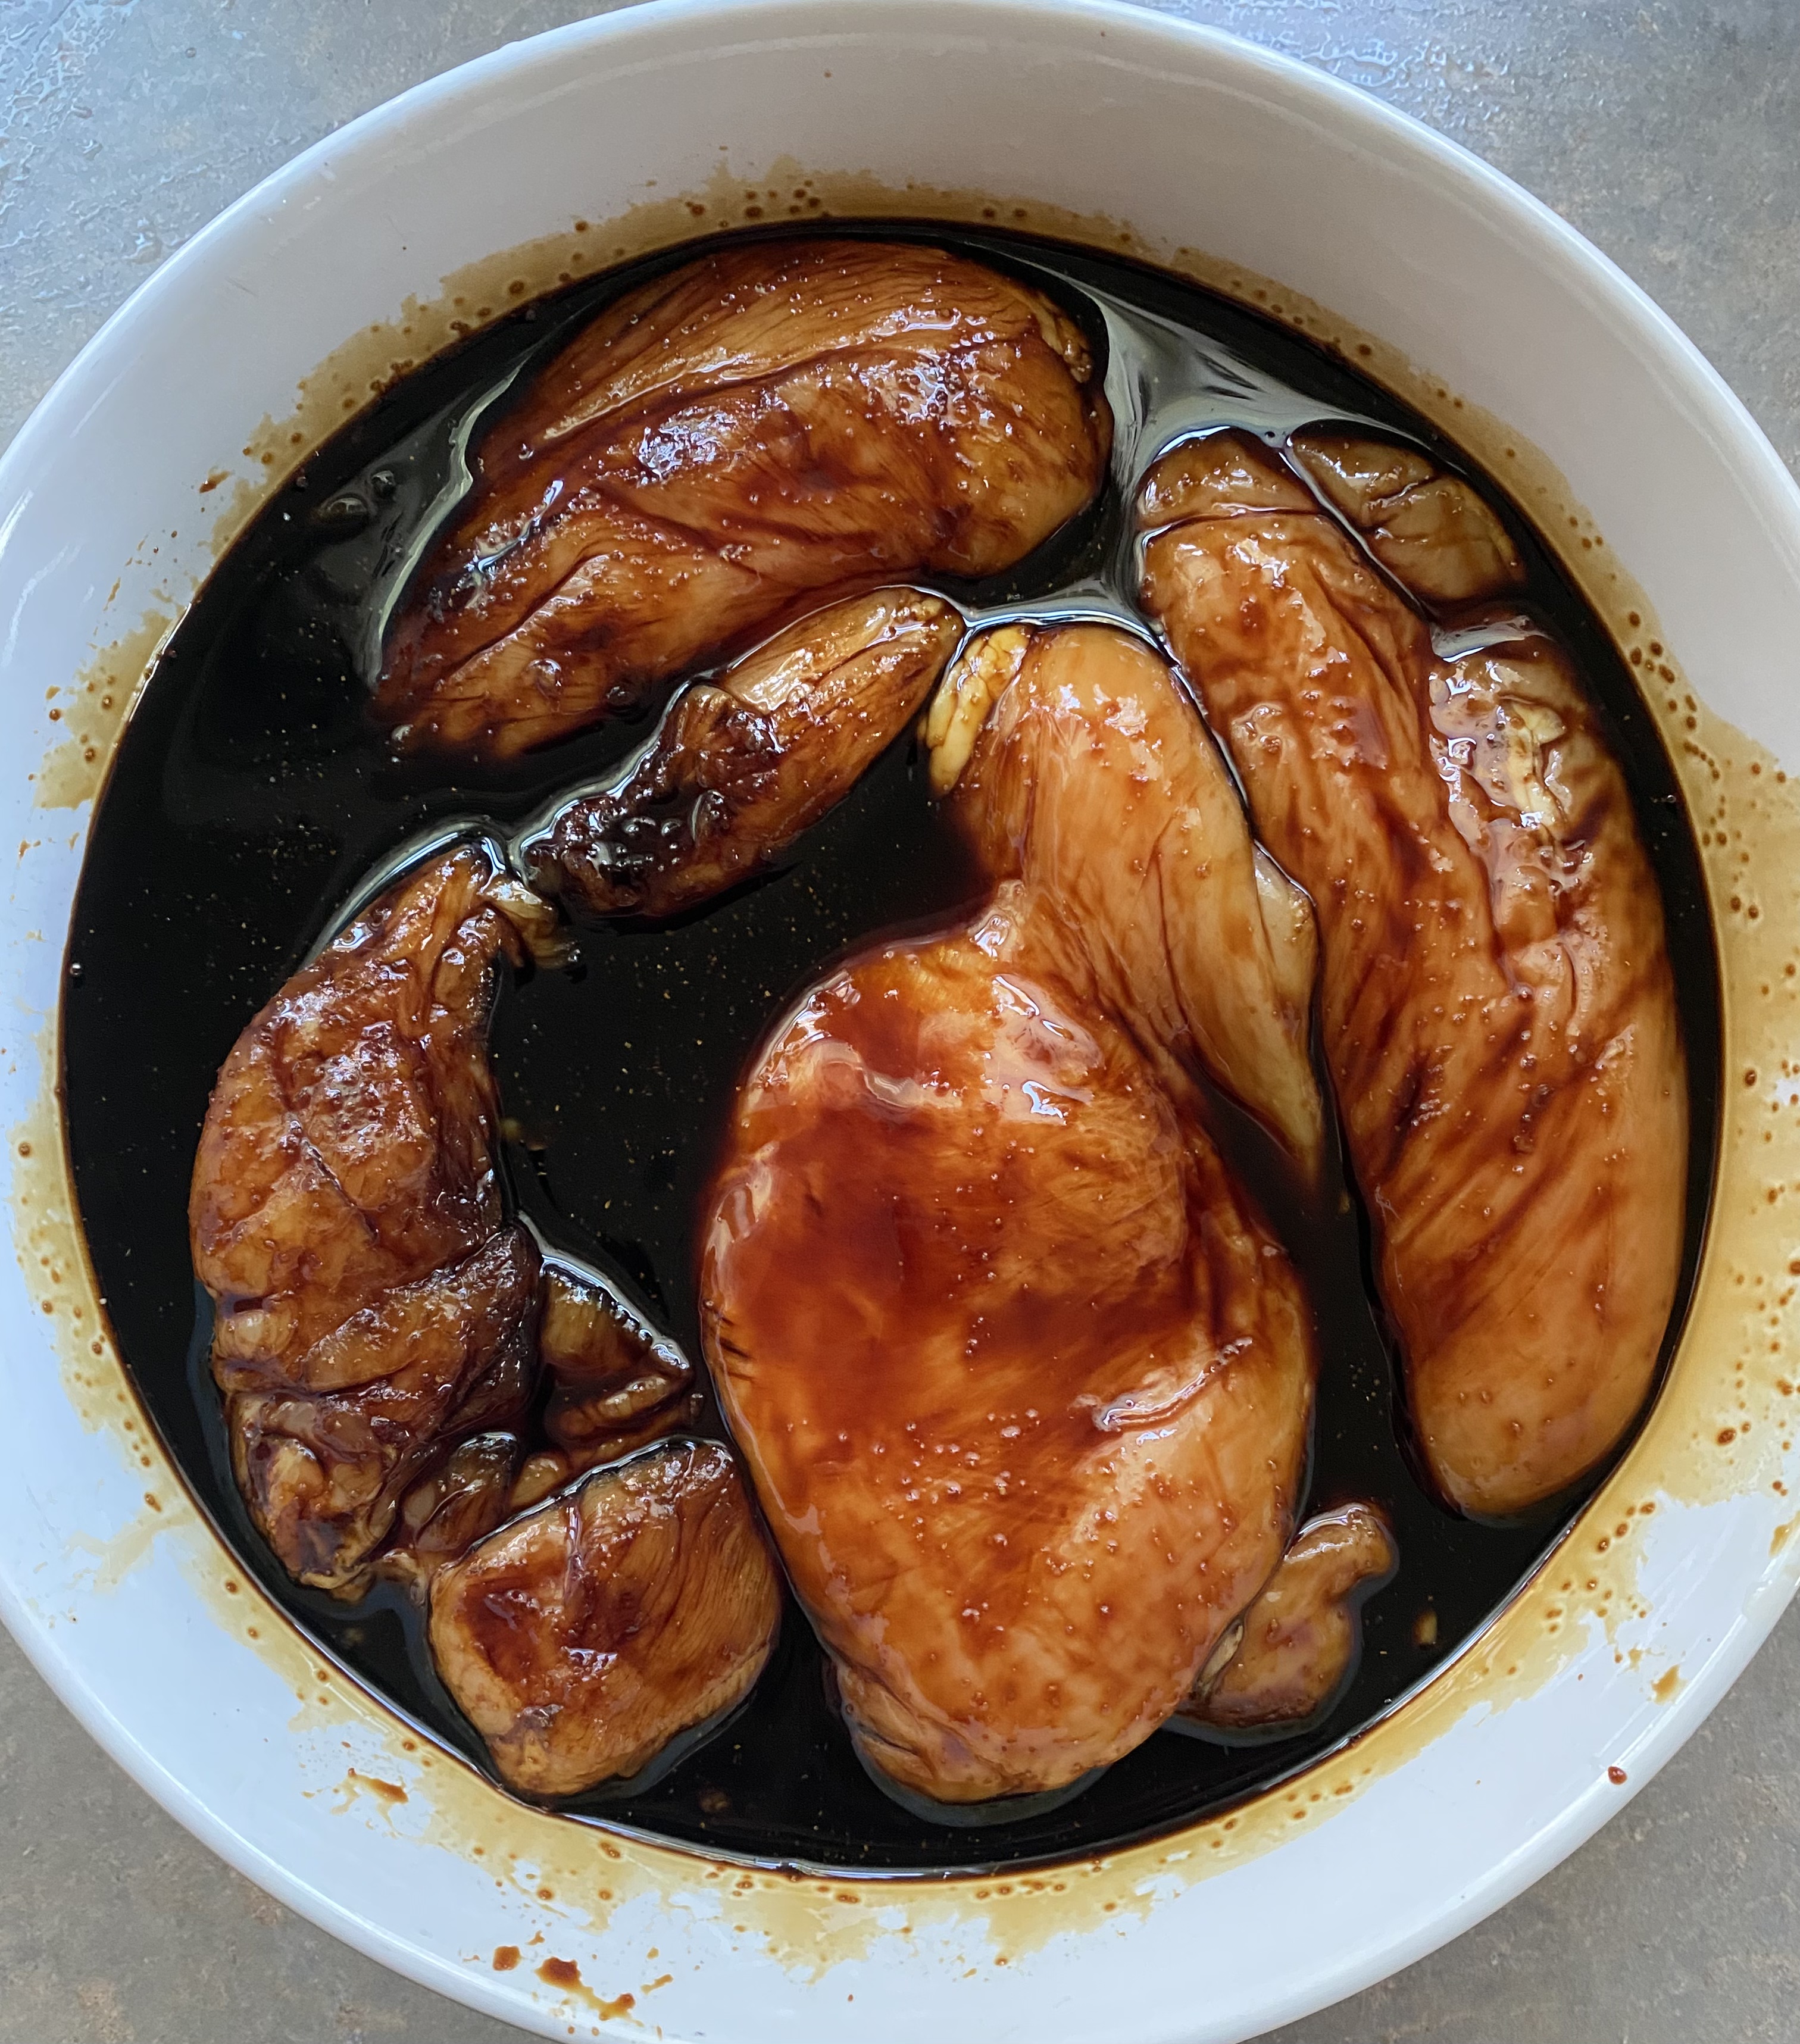
Light Chinese – This is kinda the EVOO of Chinese soy sauce. It’s a first pressing sauce, and if a recipe you’re working with simply calls for soy sauce this is your go to. It’s perfect for marinades and stir frying, and will do OK as a table condiment. My go to here is Pearl River Bridge brand – so much so I buy it in 60 ounce bottles…
Dark Chinese – This sauce is darker, thicker, and sweeter than Chinese light, usually due to added sugar – it tastes less salty because of that addition, but it is in fact higher in sodium. Dark is used as a finishing element to a sauce or stir fry, to add color and mouth feel – Whereas light soy gets used a lot, this sauce is deployed a bit more sparingly. Again, I opt for Pearl River Bridge.
Double Black Chinese – sweeter and thicker than dark, due to added molasses. Used much as black is, where additional thickness and sweetness is desirable, say for pork belly, or a simple noodle dish where you really want sauce to stick. I like Koon Chun brand here, but you could just as easily add molasses to dark and do just fine.
Japanese soy sauces are almost as challenging as Chinese – there’s a lot of variety, and you can get into über expensive artisanal stuff real fast. That said, there are five variants to consider if you’re diving into the deep end. Note that if you really wanna get authentic, Kikkoman offers Japanese made versions of their sauces that I recommend here.
Koikuchi Shoyu (dark) – easily 80% of Japanese soy sauce produced is this version. A blend of soy and wheat yields a nice balance of salt, sweet, bitter, and umami – it’s used broadly for cooking and as a table condiment. For every day use, I like Kikkoman Organic.
Usukuchi Shoyu (light) – Very salty, light colored sauce, used sparingly in cooking to add flavor without altering color a bunch. Some brands get the salty, slightly sweet flavor here by adding mirin or sugar. I like Kikkoman here again, but make sure you’re getting Light, not Lite – the latter is a low sodium product with less than optimal taste.
Tamari Shoyu – The Japanese version of Chinese dark soy – thicker, denser, a bit sweeter and less salty than koikuchi shoyu, the good stuff is made with just soy beans and no wheat. For building marinades that pack flavor and stick well, like teriyaki, this is what you want – it’s also great as a table condiment. I really like Kishibori brand – it’s a 1 year barrel aged sauce with no junk in it, and has fantastic taste.
Shiro Shoyu (white) – Used almost exclusively for flavoring soups, this is not a must have, but is a great thing to have when you want to get soy sauce flavor with virtually no dark coloring. Almost golden in color, it packs plenty of flavor. I like Takuko brand here – good flavor and won’t break the bank.
Saishikomi or Kanro Shoyu (twice-brewed) – This stuff is amazing – it’s dark, thick, slightly sweet, and packs an intense umami burst. This is pretty much purely a table condiment, used for dipping – it’s excellent with fish and beef. It’s pricy, so not an everyday thing in my book. Yamasan Kanro Shoyu is my go to.

Korean Soy Sauces – Korea makes great soy sauce, different enough from either Chinese or Japanese to matter. There are a couple variants here, depending on what you’re fixing to make.
Ganjang or Whe-Ganjang – This is the every day soy sauce to reach for when you’re cooking Korean. Used for marinating, stir frying, grilling and sashimi. Read labels buying here, as added high fructose corn syrup is kinda common. Chung Jung One Naturally Brewed is my go to – no junk and great flavor.
Guk or Jip Ganjang – Used almost exclusively for cooking in soups, stews, and veggie sides. This version is made with nothing but soybeans and is aged for 3 months or longer – it’s the modern swing at what used to get made at home, hence gip (house) ganjang. I really like Wholly Ganjang if you can find it – nothing there but water, soybeans and salt, and aged 3 years, outstanding flavor. If you can’t find that, Q-Rapha Premium is also outstanding stuff.
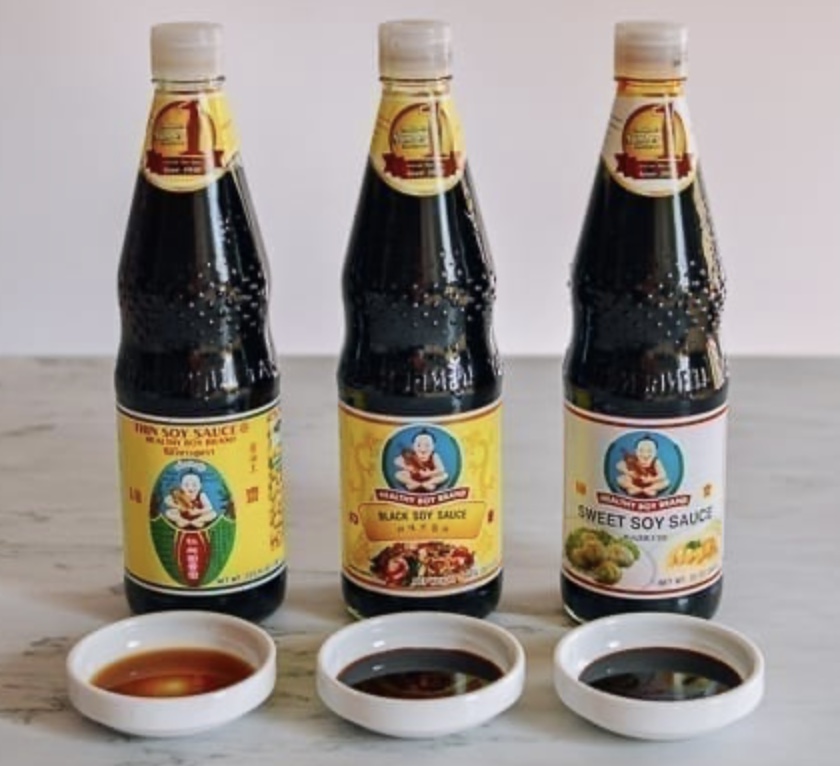
Thai soy sauce – there are four major variants here – light, black, mushroom, and sweet. The light is the every day cooking and table sauce. Black is thicker and sweeter and used for coloring dishes and adding a little stickiness, just like the Chinese version. Sweet is, well, sweeter, with often quite a bit of sugar, and the mushroom is what it says it is. There is a subtle, fundamental difference with base Thai sauce versus Chinese or Japanese – Thais traditionally make their sauce with a mix of soy and wheat, with a fairly high soy ratio – it’s also notably thinner. FM2¢W, I buy a very decent light sauce, Golden Mountain, and then sweeten, thicken, or flavor that as I see fit. I get a fresher taste, frankly, because there’s a lot of junk in a bunch of those alt sauces.
Without short changing to much, I’ll just say that’s a pretty good tour. There are more, believe me! From Datu Puti in the Phillipines and Jalen dark in Malaysia, to Myanmar and Cambodia, there are variants all over the place, let alone in well established expat communities. Like I mentioned, you can go way deep worm-holing this stuff, so unless you’ve got a cabinet space ready just for soy, pace yourself. Oh, and for the record – yeah, I do…
Now, just in case you thought I forgot, here’s a few words on, ‘that amino stuff that some people use instead.’ As I often do here, I’ll leave the final word to Guru Harold McGee, who has this to say about ‘chemical soy sauce’ in On Food and Cooking – ‘Industrial producers have been making nonfermented approximations of soy sauce since the 1920s, when the Japanese first used chemically modified soy protein (“hydrolyzed vegetable protein”) as an ingredient. Nowadays, defatted soy meal, the residue of soybean oil production, is broken down—hydrolyzed—into amino acids and sugars with concentrated hydrochloric acid. This caustic mixture is then neutralized with alkaline sodium carbonate, and flavored and colored with corn syrup, caramel, water, and salt. Such quick “chemical” soy sauce has a very different character from the slow fermented version, and is usually blended with at least some genuine fermented soy sauce to make it palatable.’
As Clint Eastwood has been known to say when directing a film, ‘that’s about enough of that.’