Shrubbery


With apologies to Monty Python, when you hear someone wax poetic about shrubs these days, they’re likely referring to a beverage, as opposed to landscaping. Shrubs have become tragically hip of late, and for good reason; they’re a delightful drink resurrected from colonial days.

There are two primary variants of the shrub as beverage; which one you’re thinking of probably depends on which side of the pond you were raised on.

Here in the former colonies, shrubs were vinegar and fruit based creations popular in the 18th and 19th centuries, with their origins in home preserving, the vinegar having been employed to extend the shelf life of fruit and fruit extractions. Over in England, shrubs were blends of booze, citrus and sugar, drunk iced, or used as a base for punch; this version’s roots sprung from popular patent medicines of the time. Both variants were often infused with herbs and spices and use in mixed drinks as well as flying solo.

American shrubs fell out of favor in the early 1900s, with the rising popularity of home refrigeration. Recent resurgence in home growing and preserving has renewed interest in ‘drinking vinegars,’ as shrubs were sometimes known. That has lead in turn to many commercial offerings, and a subsequent rise in price of same. Fortunately, shrubs are simple and inexpensive to make at home. Shrubs are a sweet-tart treat, and readily lend themselves to experimentation. Combining a favorite fruit or two with a complimentary herb or spice yields a truly refreshing drink far better for us than the artificial crap so popular these days.

Making shrubs requires a few simple steps and about a week’s time, so it’s a fun project to finish on a spring weekend.

We’ll start with a basic recipe and expand from there.


Citrus Shrub

1 Lime

1 Lemon

1 Navel Orange

2 Cups Cane Sugar

2 Cups Apple Cider Vinegar


Rinse the citrus, then place that in a large mixing bowl with 4 cups cold water and 1/4 cup white vinegar. Allow the fruit to soak for 15 minutes, then pour out the water, rinse With clean, cold water and pat the citrus dry. This step is highly recommended for all store bought fruit, as a means of removing wax and residual chemicals prior to use.

Zest all citrus, then juice, and rough chop the remainder. Toss all into a glass or stainless steel bowl, preferably one with a nice, tight fitting lid.

Add the sugar and toss to thoroughly coat the fruit.

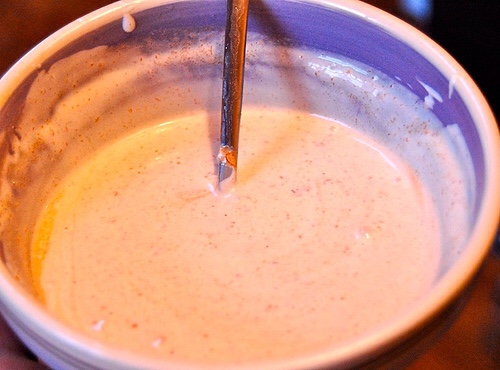
Cover the bowl tightly and refrigerate for three days, tossing gently once each day; the sugar will draw moisture from the citrus as it blends.

Remove the fruit from fridge and add the vinegar, stirring to blend thoroughly. Cover and return the bowl to the fridge for three more days, stirring once daily.

Now you’re ready for final clarifying. Wash thoroughly and then sterilize a glass jar or bottle by immersion in water at a rolling boil for 3-4 minutes.

Remove the bowl from the fridge and carefully run the mixture through a double mesh strainer, (A colander with cheese cloth will also work.) squeeze the fruit by hand to get all the liquid out, then discard the fruit.

Strain a second run using a couple of layers of cheesecloth, or a single layer of butter muslin; this will remove excess pulp and clarify the final product nicely.

Pour the syrup into your sterilized glass bottle.

The syrup will be good for 2 weeks refrigerated, though I doubt it’ll last that long.

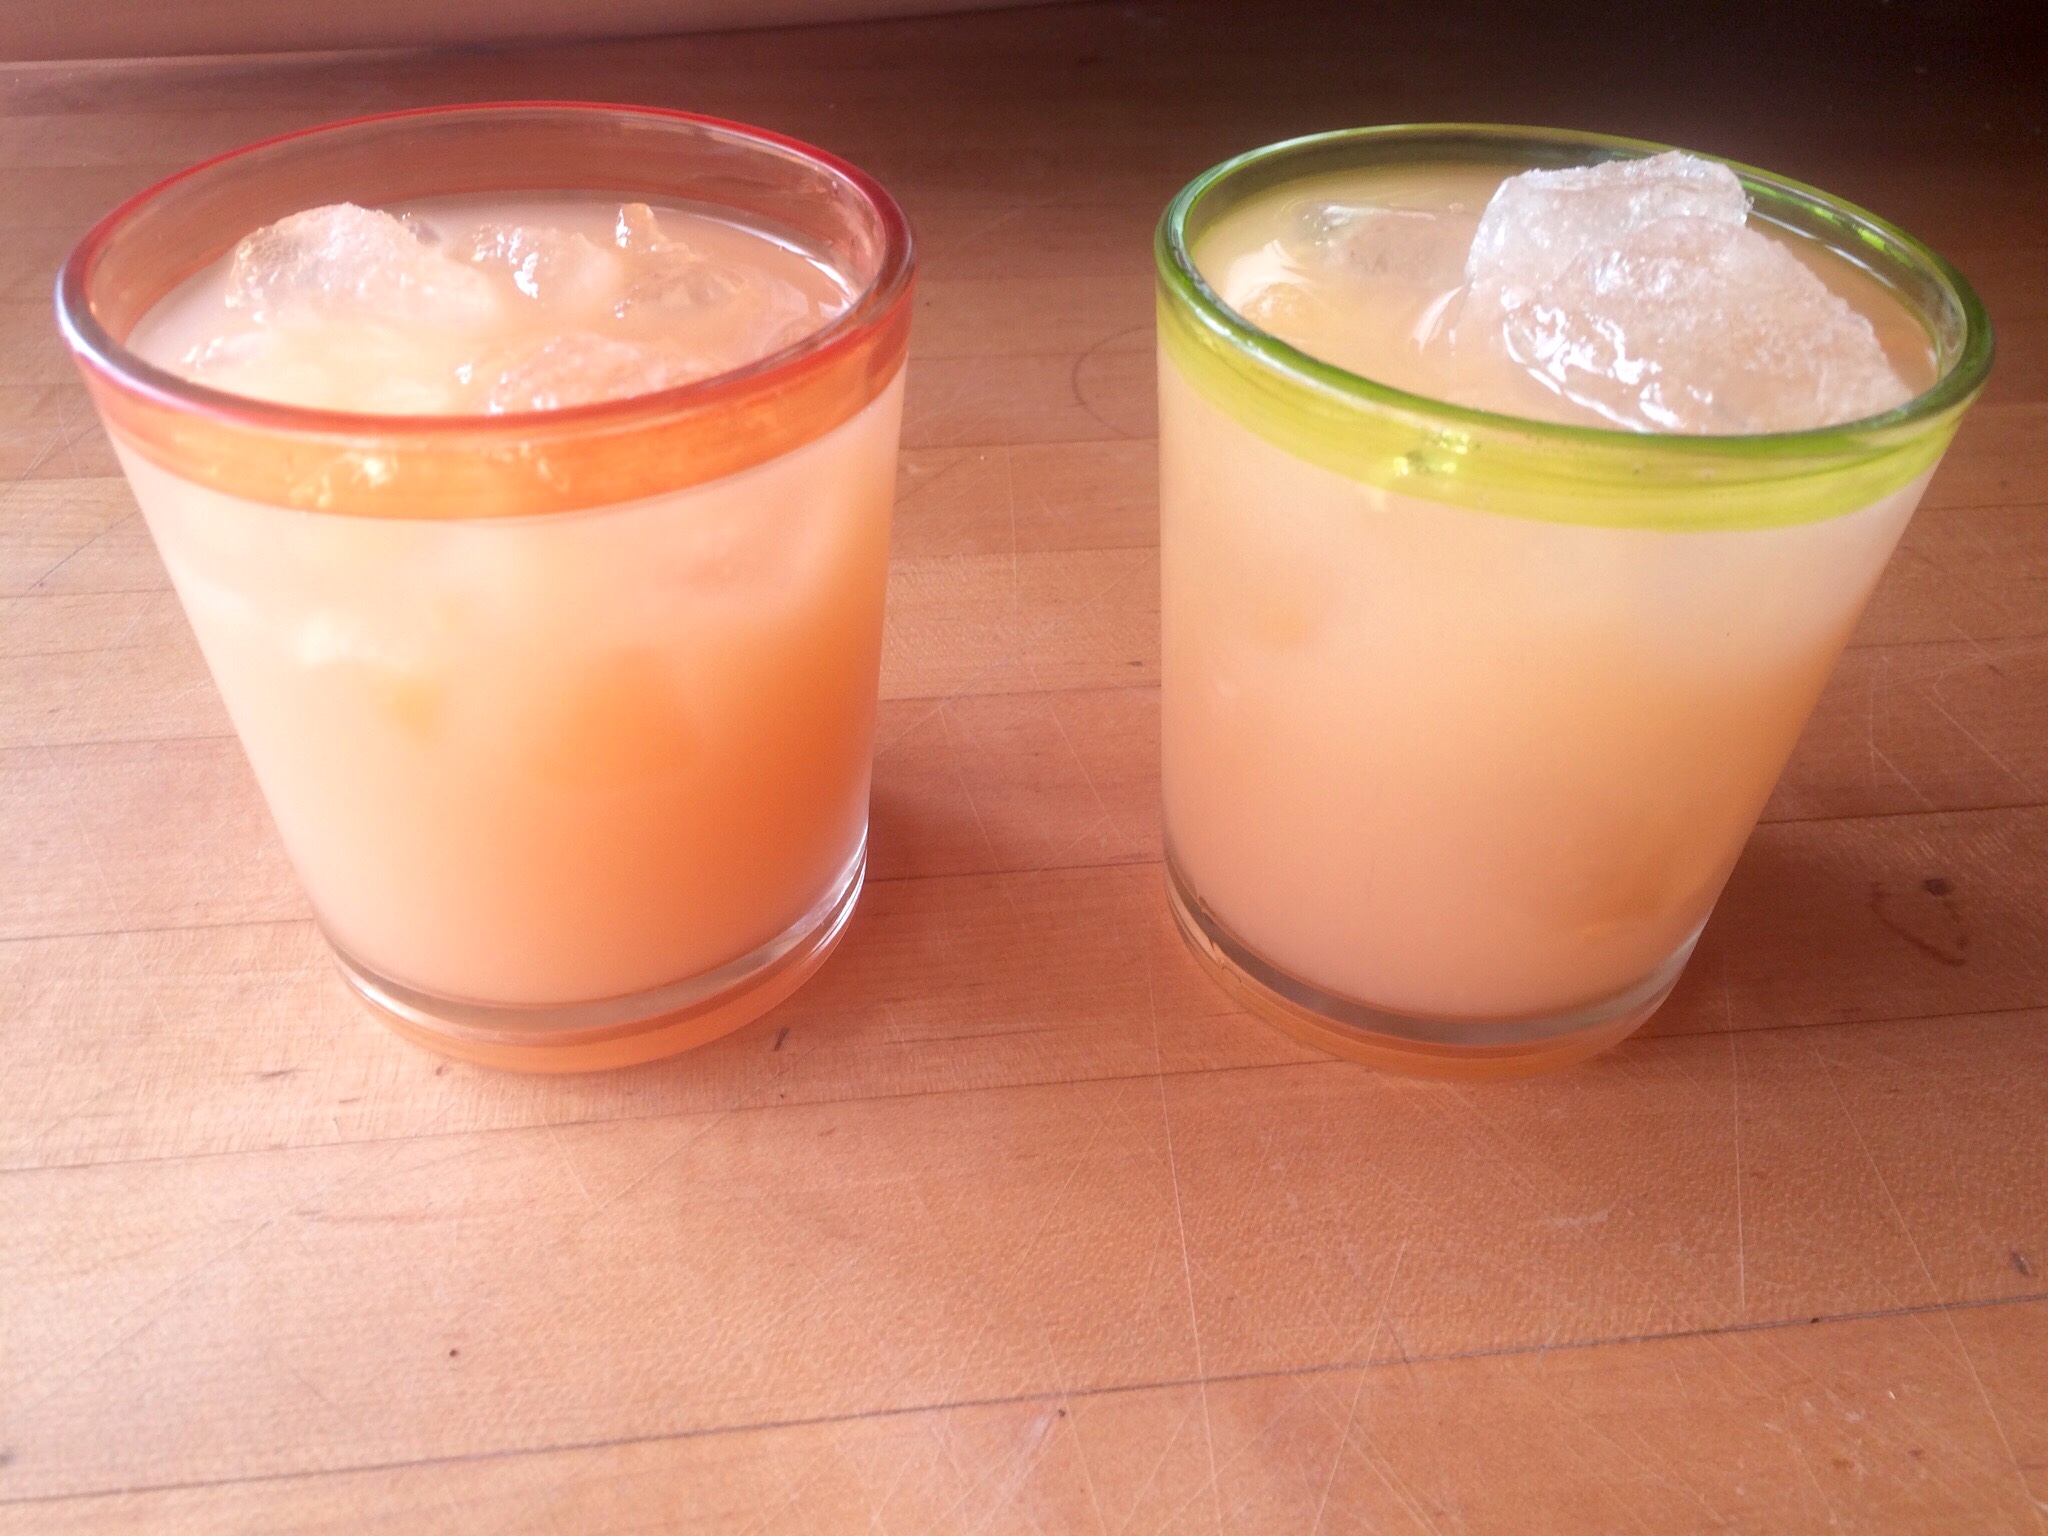
Portion 2-3 ounces into a pint glass, then top up with sparkling water or seltzer and plenty of ice. A sprig of mint with a leaf rubbed around the rim makes a nice fragrant garnish.

There you have the basics. The process is virtually identical for any variant you can think of. If you’re using fresh or dried herbs and spices, they’ll do best added with the vinegar, (for instance, that mint I mentioned makes a very nice adjunct to the basic citrus version we just made.)

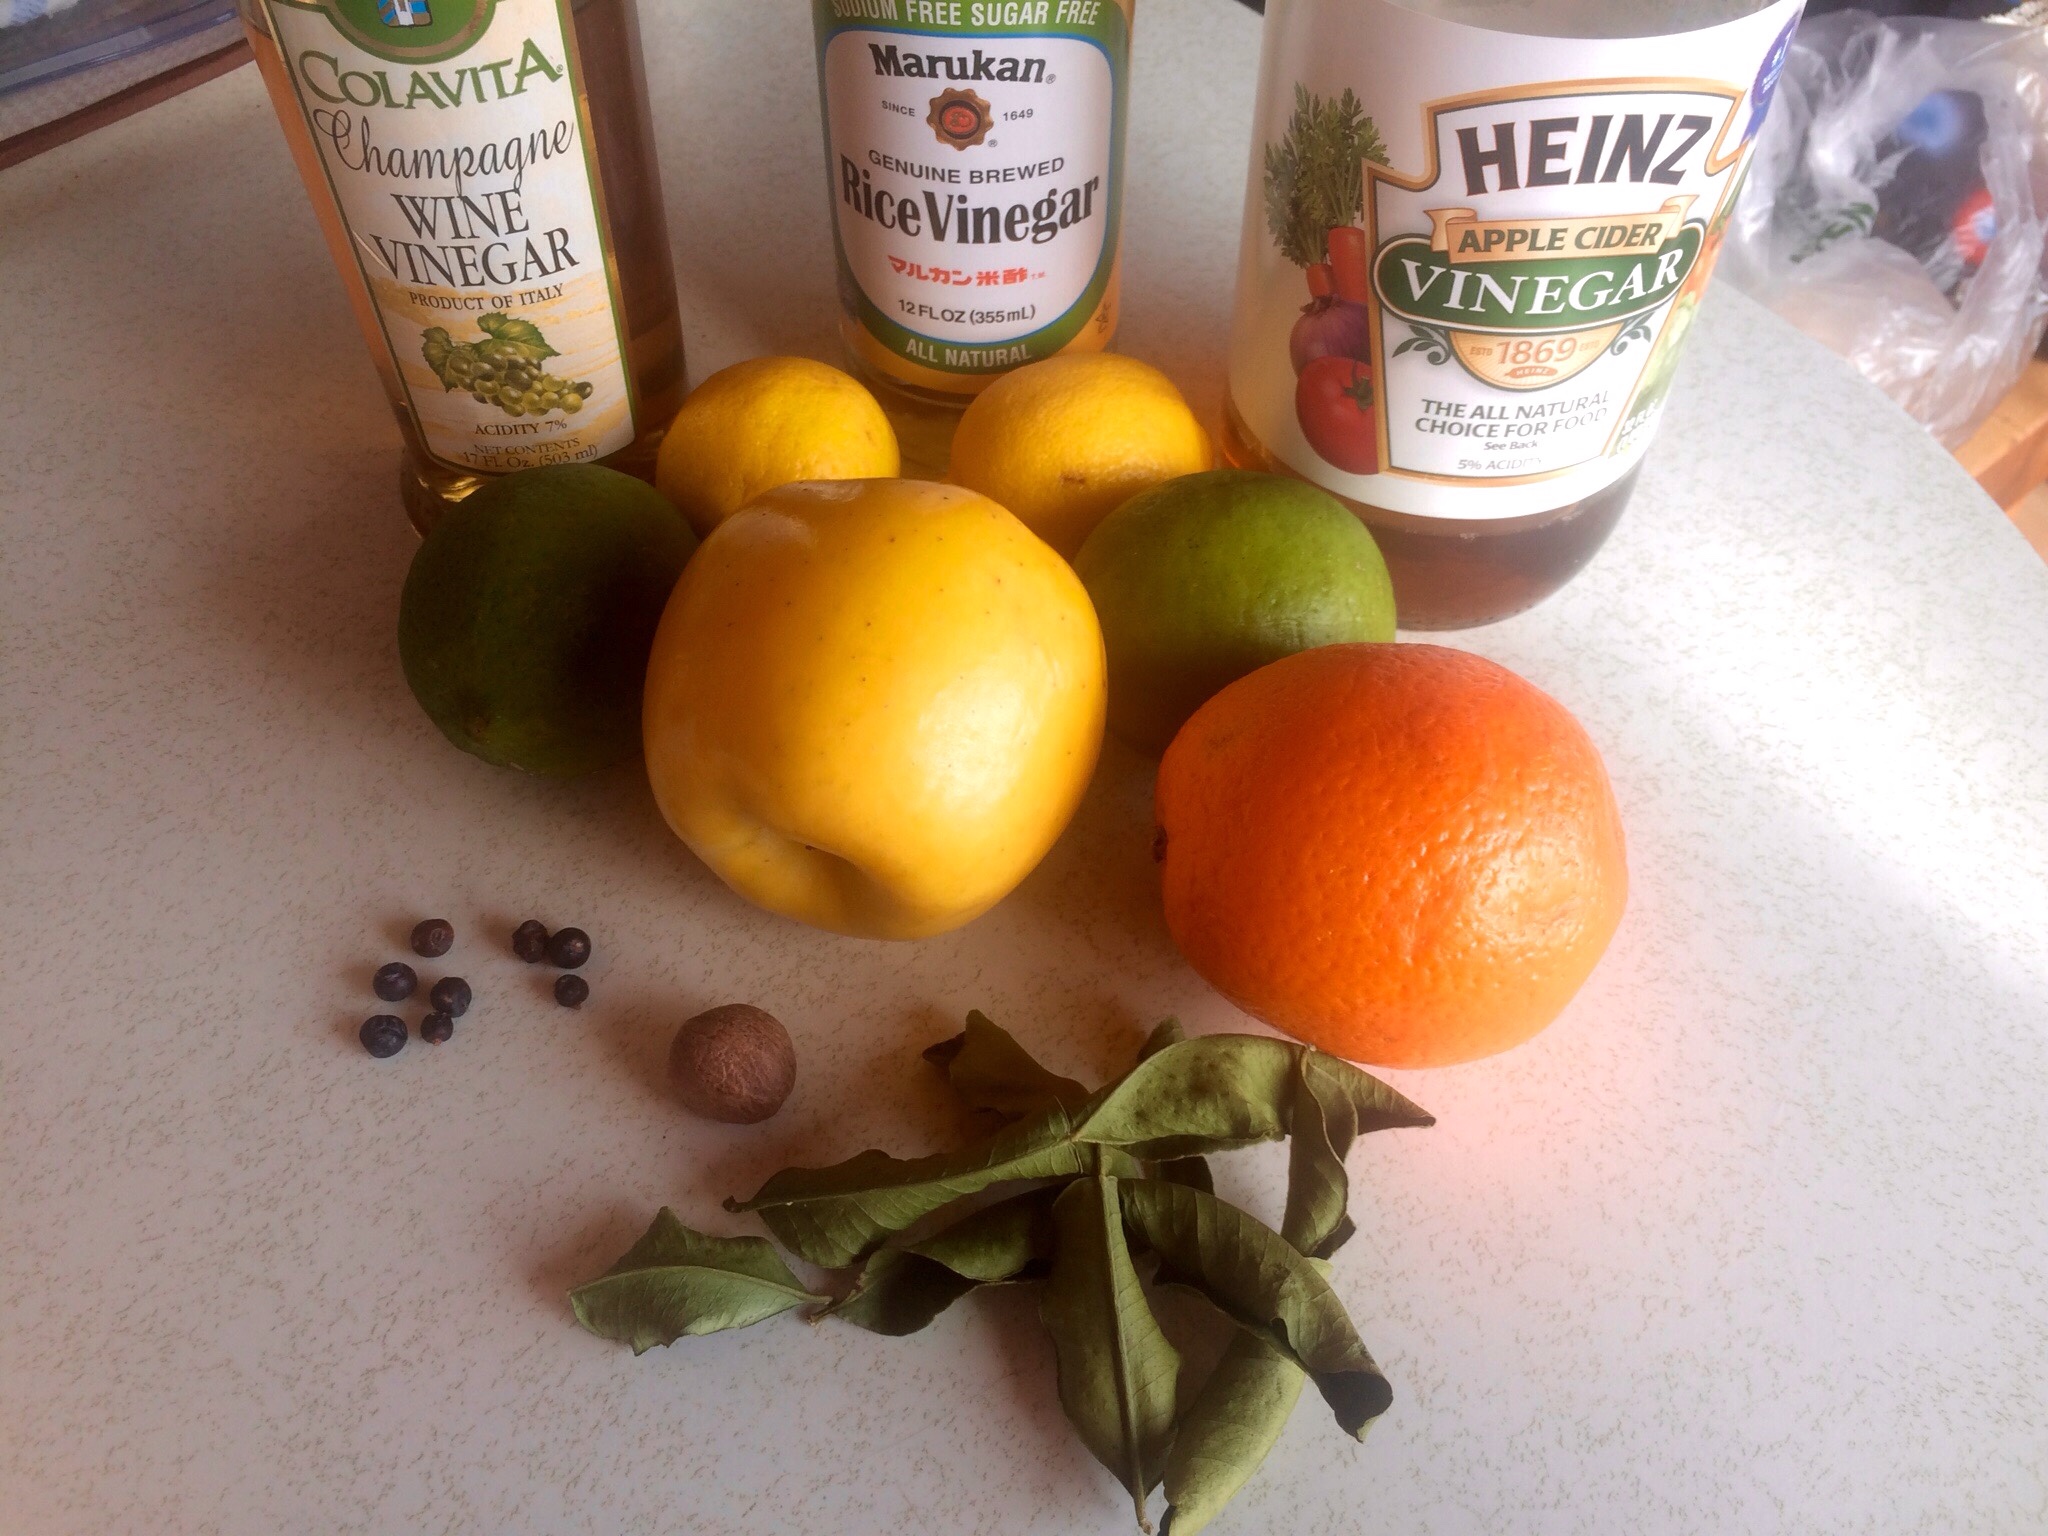
Lemon, lime, Meyer lemon, orange, mandarins, tangerines, grapefruit, yuzu, berries, pomegranate and cranberry, solo or combined, will all make wonderful variants. By the same token, different vinegars yield broadly different shrubs; distilled white, cider, champagne, balsamic, wine, and fruit or herb infused have tremendous potential. Certainly there’s room to play with sweeteners as well; local honeys, agave nectar, or raw sugars all will impart different notes to the finished product. Finally, add herbs and spices and the possibilities are bound only by your creative imagination. Here are a few more to try, then strike out on your own.


Very Lemony Shrub

4 Meyer Lemons

2 Cups Cane Sugar

2 Cups Champagne Vinegar

About 4″ fresh Lemongrass

5-6 Kefir Lime Leaves, (Fresh is best, dried will do)

1/4 teaspoon Lemon Thyme

Prepare as detailed above. Cut lemongrass into roughly 1/4″ rounds and add that plus the lime leaves to the initial mix with the sugar. Add the lemon thyme when you add the vinegar.


CranApple Shrub

8 ounces fresh or frozen Cranberries

2 Opal or Honeycrisp Apples

1 small Lemon

1 1/2 Cups Cane Sugar

2 Cups Red Wine Vinegar

1/2 Cup Water

1/2 teaspoon Ginger Root

1/4 teaspoon Fennel Seed

Pinch of Sea Salt

Rough chop apples, zest, juice, and rough chop remained of lemon.

Combine cranberries, apples, water, salt and sugar in a saucepan over medium heat. Simmer until about half the cranberries have popped.

Remove from heat, add lemon zest, juice, and pulp. Store in the fridge for 3 days.

Remove, mince ginger and add, plus fennel seed and vinegar; store refrigerated three more days.

Strain and bottle as per above.


Grapefruit Shrub

3 large Pink or Red Grapefruit

2 Cups Cane Sugar

2 Cups Rice Wine Vinegar

1 small Lime

2 sprigs Fresh Mint

2 Tablespoons Cashews

Zest, juice and rough chop grapefruit and lime, add to sugar and rest 3 days.

Chop cashews, and add with vinegar and lime for next 3 day rest.

Strain and bottle as above.


Housemade Ginger Ale


I’ve liked Ginger Ale ever since I was a kid. I remember a stand off of Truro Beach, on Cape Cod, that had fabulous Ginger Ale and Birch Beer. To my recollection, they tasted like something other than sugary water.

Segue forward about four decades, and stuff that good is a bit hard to find. Check the labels of famous brands, and you’ll see water, high fructose corn syrup, a bunch of other crap, with ‘natural flavors’ last in line. They taste exactly like what they’re made of, too.

There certainly are good ginger ales out there still. We found Reed’s Ginger Beer at the store, made with cane sugar, pineapple juice, honey, fresh ginger, and lemon and lime juice. 25% of the stuff is juice, and when you take a sip, you taste ginger, first and foremost. It’s great, but it’s also a buck fifty a bottle, which is a bit rich for my taste. Ginger beer, by the way, is a fermented product, like root or birch beers. They’re certainly makable at home, but do require a significant amount of time and effort to produce.

Naturally, we decided to build our own, and opted for ginger ale, the non-fermented cousin of those beers mentioned above.

This recipe made 4.5 cups of syrup, enough for 22 glasses. The ginger cost us about $5, same for the honey, for the lion’s share of the cost. All told, we had about $15 into the recipe, or roughly 65¢ a glass, a much more palatable cost, and a delicious treat.


1 Pound fresh Ginger Root

5 Cups Water

1 Cup local Honey or Agave Nectar

NOTE: There is not a thing wrong with using good cane sugar either; any of these beat the hell out of High Fructose Corn Syrup.

2 Liter bottle of Club Soda

1 small Lime

1 small Lemon

Pinch Sea Salt

Option: 3-4 Keffir Lime Leaves


Rinse, peel, and dice ginger root.

Zest and juice lemon and lime.

In a large sauce pan over medium high heat, bring water to a simmer. Add ginger and citrus zest; when water simmers again, reduce heat to low and simmer, covered, for 45 minutes.


Remove pan from heat and let the mixture steep, covered, for 30 minutes.

Run the mixture through a single mesh strainer, pressing gently on the ginger. Discard the root.

Return strained liquid to the pan over medium heat. Add honey or agave, and 1 tablespoon each of lemon and lime juice, and a pinch of salt.

Stir gently until sweetener is completely dissolved. Taste and adjust sweetener and citrus as desired.

Remove from heat and allow syrup to cool. Transfer to a glass bottle or jar and refrigerate for at least 4 hours.

Mix drinks in a tall glass with plenty of ice. Start with 1/4 cup syrup to 1 cup club soda; stir, taste and adjust blend to your liking. A fresh sprig of mint goes very nicely.


Refrigerated and sealed air tight, the syrup will last for a good two weeks, though it’s not likely to survive that long.


NOTE: Some folks prefer to mix fresh citrus in to the final blend, rather than incorporating it into the syrup.


Quick Pasta Sauce


So, you've decided on chef salads for dinner when the one you love and cook for says, “Now I don't want salad, I want something hot.” So begins the process of thinking on your feet and diplomatic negotiation. The light bulb goes on, and you reply, “we've got frozen cheese ravioli. You prep those, I'll make a sauce.” She smiles, bats those beautiful blue eyes and says, “Tomato sauce, right?” Ready, set, go.

This is actually an eminently practical example of cooking from the hip. It's an exceptionally trashy night out, with a nasty wind howling, and rain beating on the windows. Comfort is called for. Here's what I came up with. It took 15 minutes from start to finish and tasted like a million bucks. See if you don't agree.


1 14 ounce can diced Tomatoes

1/4 Cup dry White Wine

1/4 Cup Half & Half

2 Tablespoons Sweet Onion

2 Tablespoons Feta Cheese

1 clove Garlic

1 teaspoon fresh Sage (Dry is fine too)

1 Tablespoon unsalted Butter

1 Tablespoon Extra Virgin Olive Oil

Juice of 1/4 small Lemon


In a large sauté pan over medium high heat, add olive oil and heat through.

Mince onion and garlic, chiffonade Sage if using fresh.

Add onion to pan and sauté until translucent. Add garlic and sauté until raw garlic smell is gone.

Deglaze the pan by adding white wine. Sauté with aromatics until raw alcohol smell is gone and sauce has thickened slightly.

Add butter and allow to melt and incorporate. Add sage, (rub it in between thumb and forefinger if using dry), stir to incorporate.

Add tomatoes, undrained, and stir to heat through. When the sauce is bubbling, reduce heat to low, add cream and cheese and stir constantly until well incorporated. Serve promptly over pasta, chicken, pork, tofu or lightly sauteéd vegetables.


Variants:

If you prefer a smoother sauce, use an immersion blender to homogenize.

You may then run the sauce through a fine mesh strainer, return it to a medium low flame, and reduce it by 50%; this is now more of a purée, and could be used as a bed for those proteins or vegetables.

1/2 teaspoon of smoked, sweet Paprika would be a very nice variation as well.


Cilantro Pesto III


Some of you know that I make guitars. Among luthiers, there are factions referred to as right and left brainers. The left brainers tend toward strict mathematical method, while right brainers work more organically from intuition. Truth is, few builders are purely one or the other. The same thing can be said of chefs. In both pursuits, I tend toward right brain creativity, informed by formal training, experience, and the hard and fast science behind cooking. Add to that the fact that I really don’t care for being told what to do without some information behind the direction, and you’ve pretty much got the heart of what drives UrbanMonique.

When a recipe shows up here, trust that it’s been researched and made more than once before you see it, the same thing that’s done in professional kitchens around the world. Even if a dish is a daily special, offered only once, there will be a process of discussion and some refinement done prior to it being chalked onto the board. Fact is, the daily specials are often driven by product that needs to be used right now. Chefs will discuss what to do, maybe coming up with something genuinely new, but more often arriving at that new special after someone says, “Remember that Provençal fish thing we did? We could do a take on that here..”

I’m blessed with a very talented, honest, and passionate muse in the kitchen; she goes by the name of Monica. Not a day goes by that we don’t discuss what we did last and how we might improve it, what we’re doing next, how we’ll do it, what we expect to attain. For my mind, that process is critical to success. If you love to cook, and you don’t practice some like form, start. If you don’t have a human partner, then write down what you do, and go from there. Even better, email or tweet me, and we’ll tweak it together. Passion and love of cooking is at the core of creativity and exploration. We were discussing our next opus last night, when I blurted out “God, I love food!” M laughed, nodded and said, “That’s funny coming from you, but yeah!”

Now about that cilantro. I love the stuff, so it’s always in our kitchen, fresh and/or dried. Recently, plans that included a lot of cilantro fell through, so we had too much on hand. This herb has a short shelf life, so something needed to be done right away to preserve rather than waste. We decided on pesto, and that we’d use whatever else was on hand, building a variant we’d not done before. This is what we came up with, and it’s stellar, frankly. The rich, buttery flavor of the avocado oil and feta balances perfectly with the tang of the lemon and herbaceous base of cilantro. Here’s what we did.

P.S. Yes, I know some of you don’t like cilantro. Tough luck, that… We are working on a piece that speaks to the science behind your malady, so stay tuned.

 photo image-17.jpg

1 well packed Cup Cilantro
1/4 Cup Avocado Oil
1/4 Cup Feta Cheese
Juice & Zest of 1/2 fresh Lemon
2 small cloves fresh Garlic
Sea Salt

Zest and juice orange.

Process everything but the oil, salt, and pepper in a food processor or blender until thoroughly incorporated.

With the processor or blender running, (Low speed if you’ve got one), add the oil in a slow, steady stream.

Stop when you hit the consistency you like.

Taste and season to tastewith salt, adjust lemon if needed.

Freeze leftovers as needed. Pesto works great in an ice cube tray, frozen. Just pop out a cube when you need one.

Here are Cilantro Pesto I and Cilantro Pesto II if you’ve not tried them already.


Yorkshire Pudding


Yorkshire pudding is a traditional Christmas treat for us. The rich, decadent taste and texture is belied by the simplicity of the ingredients. The trick is careful preparation. Time, temperature, thorough integration of ingredients, and prompt service are the keys to success. If you’ve ever been subjected to a soggy, tasteless rendition of this delightful dish, there’s been a failure in those executions.

Our recipe comes from an older edition of The Joy of Cooking, from which I learned to make this dish over four decades ago.

Make sure all your ingredients are at room temperature before you begin. Note that the whole process takes a couple of hours due to needed rests and temperature changes for the batter, so plan accordingly. In something this simple, ingredient freshness and quality is paramount; made with Bob’s Red Mill flour, and local eggs, milk, and fat, it’s a far superior dish to one done otherwise. You may double the recipe for a larger batch with good success.

Note that we use milk and water in even proportion. You may use milk only if you wish; that will make for a softer pudding with a somewhat less crisp skin.

1 Cup Unbleached, All Purpose Flour
1/2 teaspoon Sea Salt
1/2 Cup Whole Milk
1/2 Cup Water
2 large Eggs

Thoroughly combine the flour and salt in a deep, non-reactive mixing bowl. Make a well in the middle and pour in the water and milk. Whisk briskly to combine until smooth and uniform.

In a separate bowl, add the eggs and whisk with a hand or stick blender until eggs are frothy and several times their initial volume, (you could call this a bit below a soft peak for texture).

Add eggs to the flour mix and begin blending with a hand or stick blender on relatively low speed. Blend until you get roughly 1/2″ bubbles rising through the batter, about 5 – 7 minutes.

Cover the bowl the bowl and refrigerate for 60 to 90 minutes.

After the chilled rest, bring the batter out and allow it to return to room temperature. The cold rest helps the batter fully integrate the flour, and allows for better gluten formation which aids the rise. Allowing a gradual return to room temperature preserves those advantages.

Preheat your oven to 400° F and place a rack in the middle position. Place a heavy, tall baking dish in the oven as it heats. These days, I prefer a souffle pan, but a cast iron dutch oven does nicely too; chose a size that will allow your batter to be roughly 1/2″ thick when poured in.

Beat the batter again after it’s back up to temperature; 2 or 3 minutes on a low setting is sufficient.

Once the oven is up to temp, remove the baking dish and Toss 2 ounces of fat into it. Unsalted butter, beef drippings, leaf lard, and even schmaltz will all work nicely and have their own charms. Return the dish to the oven until the fat is melted and sizzling.

Pour your batter into the hot pan. Bake for 20 minutes, then reduce heat to 350° F and bake for An additional 10 to 15 minutes, until the pudding has risen nicely and is golden brown. Do not open the oven door while the pudding is cooking; quiet, hot air and steam is critical to success.

Serve promptly.

Chile Lime Cream & House Made Chile Garlic Sauce


Kari Bates sent me a recipe for this incredible sauce. I've tweaked it just a bit for proportions, subbed a couple fresh ingredients, and added a few process steps. This is fabulous with chicken, wild mushrooms, root vegetables, or enchiladas, to name just a few.

Note the extensive use of reduction in this recipe. Reducing at relatively high heat as Kari does here intensifies and focuses taste profiles and allows a certain amount of caramelization; the result is a concentrated burst of flavors that will nicely accent a myriad of dishes.

I've included a recipe for house made chili garlic sauce. If you're pressed for time, you can certainly use a favorite commercial version of your own, but try making this at home and I bet you'll never go back to store bought. My recipe is a Sriracha style sauce we make with red jalapeños, but as shown below, you can sub the chili of your choice and thereby moderate or intensify the heat level. If you use dried chiles, reconstitute them in plenty of fresh water until soft, prior to making the sauce.


House Made Chile Garlic Sauce

2 heads Garlic

20 red Chiles, (Jalapeño, Serrano, Hatch, Thai, Etc)

2 bulbs Shallot

2-3 Tablespoons Apple Cider Vinegar

2-3 Tablespoons Grape Seed Oil

1 Tablespoon Agave Nectar

1 teaspoon Fish Sauce

Sea Salt to taste


Preheat oven to 400° F.

Peel the outer husk off each garlic head and trim about 1/2″ off the tops, exposing the cloves. Wrap each head tightly in aluminum foil and place them on a baking sheet.

Dry roast garlic for 40 to 45 minutes until cloves are soft. Remove from oven and allow to cool until handleable.

If you opt for fresh chiles, rinse and trim off the tops. It's your decision at this point to remove seeds and trim membranes or not. Leaving them in with any chile that packs a punch means more heat. Rough chop chiles.

If you used dry chiles, reserve a few tablespoons of the soaking water and discard the rest. If at any point your ingredients seem a bit tight, (due to the use of dried chiles), add a bit of the water to loosen things up.

Rinse, peel and trim shallots, then mince.

In a large sauté pan over medium heat, add the peanut oil and heat through. Sauté shallot until the raw smell has dissipated and they're beginning to turn translucent.

Transfer shallots from pan to a blender or food processor. Squish the roasted garlic into the vessel, then add chiles, agave nectar, vinegar, and a teaspoon of sea salt. Blend to a uniform, fine paste.

Reduce heat on sauté pan to medium low, add the chile paste and fish sauce. Blend thoroughly, and allow to heat through.

Taste and adjust salt, agave, and water balance as needed.

You can strain the sauce at this point if you prefer a smoother texture, or leave it as is.

Transfer sauce to a glass bowl, cover and refrigerate for at least four hours to allow flavors to marry. Sauce will last for 2-3 weeks refrigerated.


Here's that fabulous Chili Lime Cream Sauce


1/4 Cup dry White Wine

1 fresh Lime

1/2 Cup Whipping Cream

1 Tablespoon fresh Ginger Root

1 Tablespoon Shallot

2 Tablespoons Chili Garlic Sauce

6 Tablespoons unsalted Butter


Cut butter into 1/2″ cubes and bring to room temperature.

Zest and juice lime, reserve zest and 1/4 cup juice.

Rinse, peel and mince ginger, shallot, and garlic.

In a small sauce pan over medium high heat, combine the wine, lime juice and zest, ginger, and shallot. Simmer, stirring steadily, until reduced by 50%. Pulse with an immersion blender until smooth and uniform. Pour through a strainer and discard the remains; return base sauce to pan.

Add cream and continue simmering, stirring regularly with a whisk, until reduced by 50%.

Reduce heat to low and whisk in chili powder, blending thoroughly and heating through.

Add butter one cube at a time, whisking each in before adding the next.

Serve promptly.