Blog

Housemade Ginger Ale


I’ve liked Ginger Ale ever since I was a kid. I remember a stand off of Truro Beach, on Cape Cod, that had fabulous Ginger Ale and Birch Beer. To my recollection, they tasted like something other than sugary water.

Segue forward about four decades, and stuff that good is a bit hard to find. Check the labels of famous brands, and you’ll see water, high fructose corn syrup, a bunch of other crap, with ‘natural flavors’ last in line. They taste exactly like what they’re made of, too.

There certainly are good ginger ales out there still. We found Reed’s Ginger Beer at the store, made with cane sugar, pineapple juice, honey, fresh ginger, and lemon and lime juice. 25% of the stuff is juice, and when you take a sip, you taste ginger, first and foremost. It’s great, but it’s also a buck fifty a bottle, which is a bit rich for my taste. Ginger beer, by the way, is a fermented product, like root or birch beers. They’re certainly makable at home, but do require a significant amount of time and effort to produce.

Naturally, we decided to build our own, and opted for ginger ale, the non-fermented cousin of those beers mentioned above.

This recipe made 4.5 cups of syrup, enough for 22 glasses. The ginger cost us about $5, same for the honey, for the lion’s share of the cost. All told, we had about $15 into the recipe, or roughly 65¢ a glass, a much more palatable cost, and a delicious treat.


1 Pound fresh Ginger Root

5 Cups Water

1 Cup local Honey or Agave Nectar

NOTE: There is not a thing wrong with using good cane sugar either; any of these beat the hell out of High Fructose Corn Syrup.

2 Liter bottle of Club Soda

1 small Lime

1 small Lemon

Pinch Sea Salt

Option: 3-4 Keffir Lime Leaves


Rinse, peel, and dice ginger root.

Zest and juice lemon and lime.

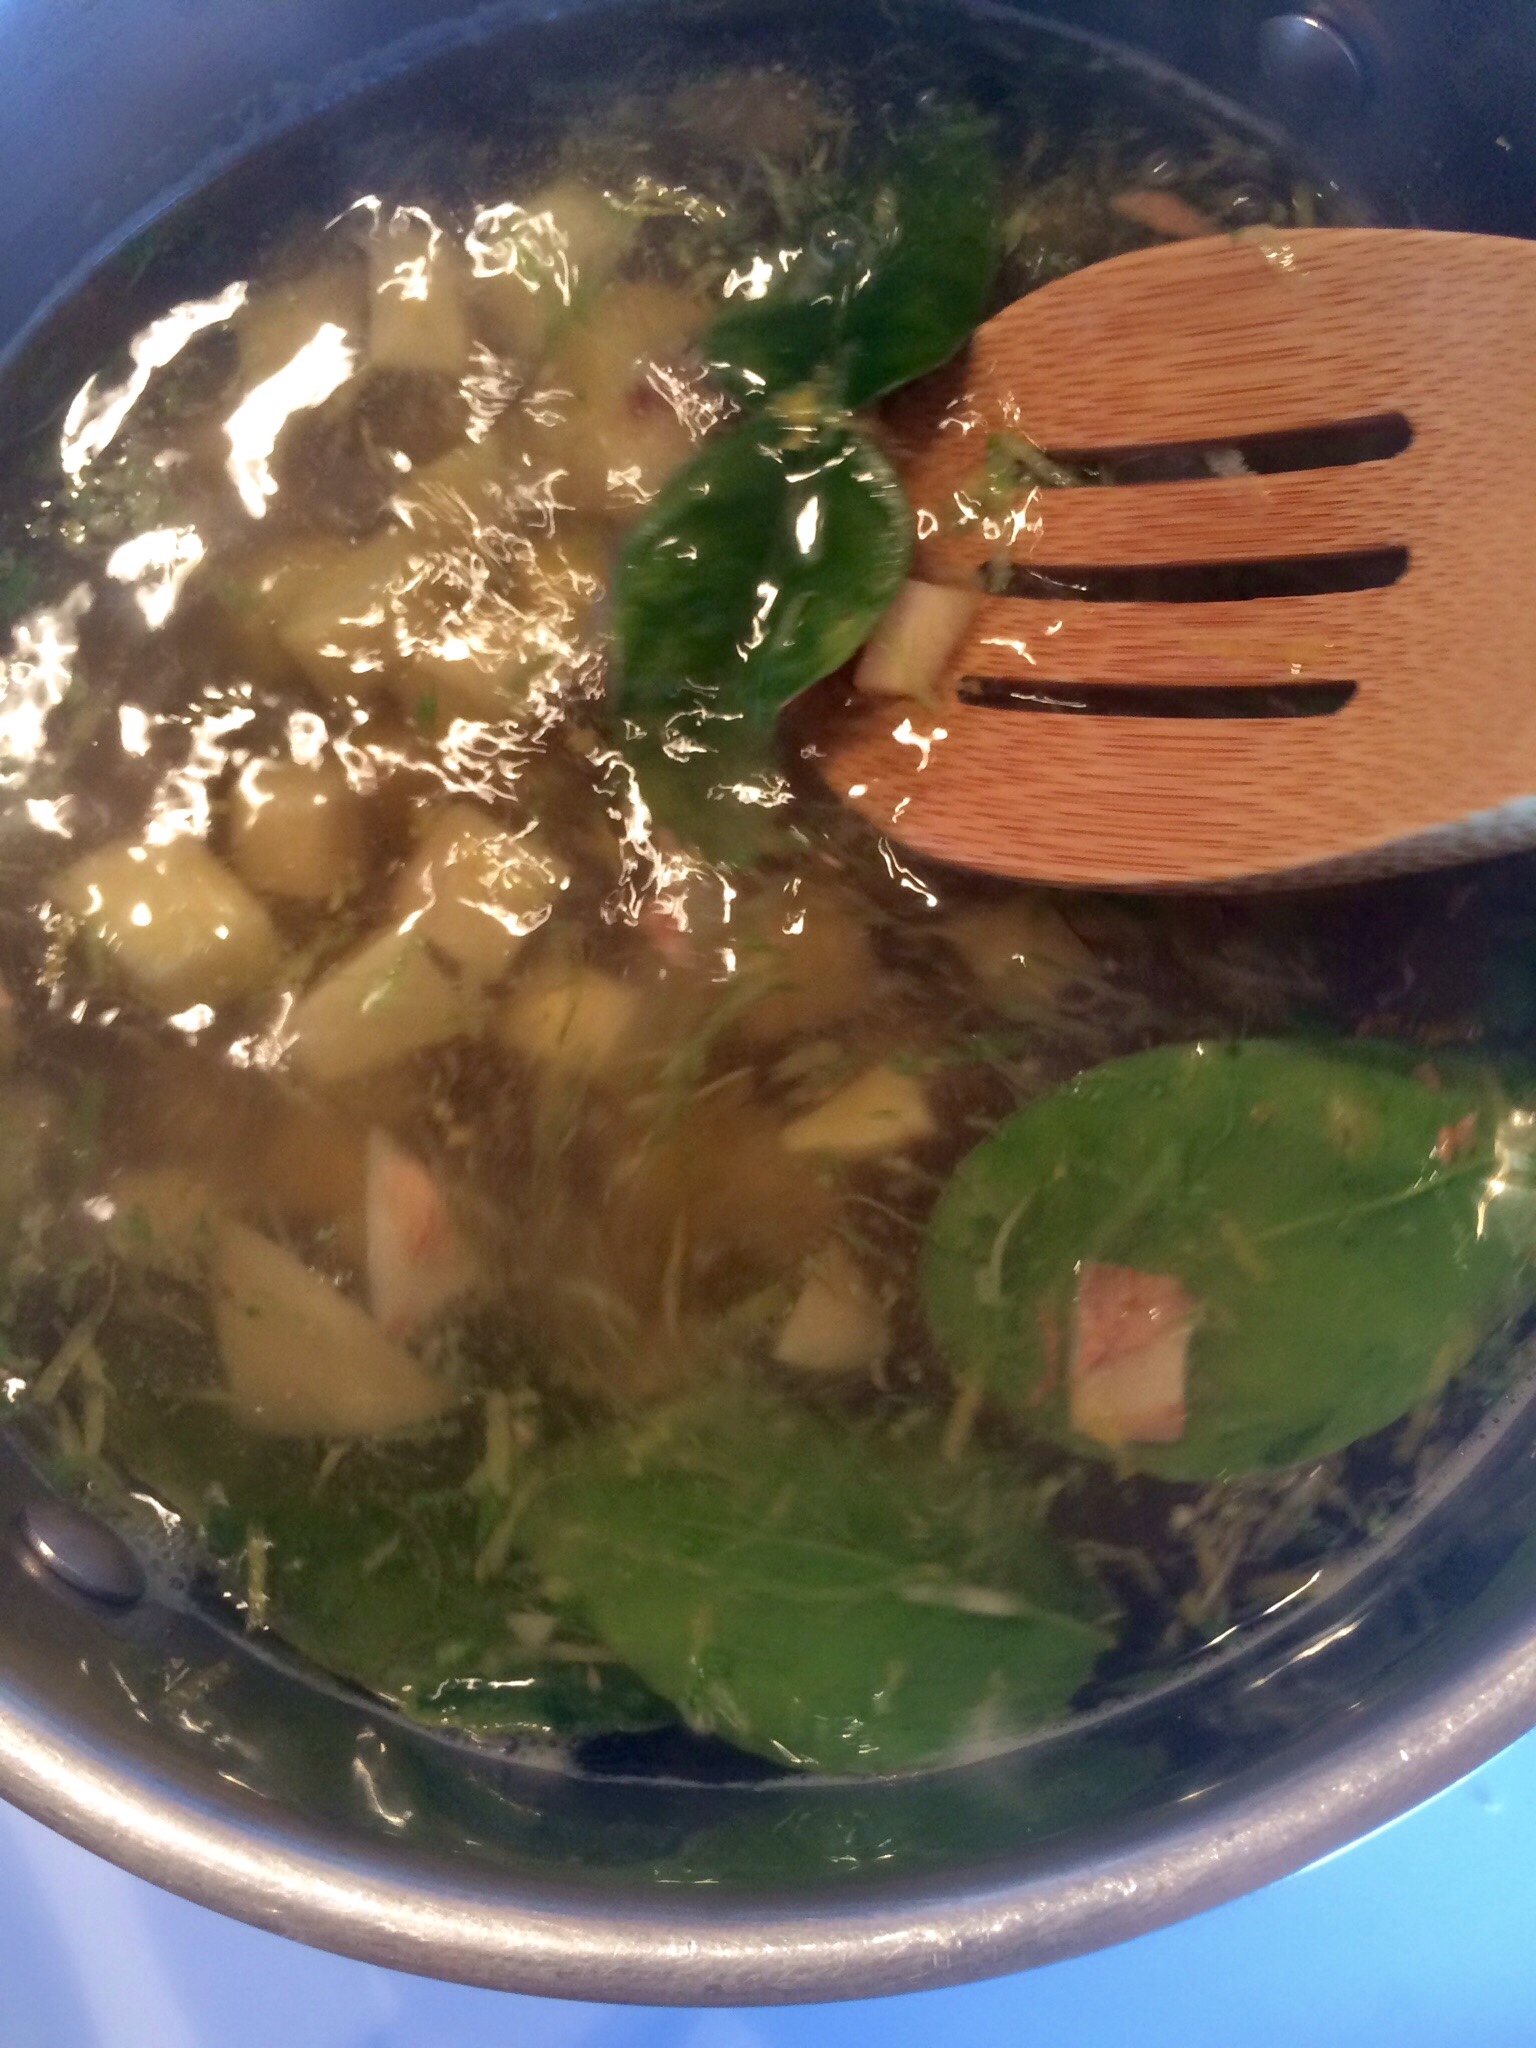
In a large sauce pan over medium high heat, bring water to a simmer. Add ginger and citrus zest; when water simmers again, reduce heat to low and simmer, covered, for 45 minutes.


Remove pan from heat and let the mixture steep, covered, for 30 minutes.

Run the mixture through a single mesh strainer, pressing gently on the ginger. Discard the root.

Return strained liquid to the pan over medium heat. Add honey or agave, and 1 tablespoon each of lemon and lime juice, and a pinch of salt.

Stir gently until sweetener is completely dissolved. Taste and adjust sweetener and citrus as desired.

Remove from heat and allow syrup to cool. Transfer to a glass bottle or jar and refrigerate for at least 4 hours.

Mix drinks in a tall glass with plenty of ice. Start with 1/4 cup syrup to 1 cup club soda; stir, taste and adjust blend to your liking. A fresh sprig of mint goes very nicely.


Refrigerated and sealed air tight, the syrup will last for a good two weeks, though it’s not likely to survive that long.


NOTE: Some folks prefer to mix fresh citrus in to the final blend, rather than incorporating it into the syrup.


Almond Biscotti


Almond Biscotti are a delight, but as with all things baked, best when they're fresh. That said, they're meant to be crunchy; if you ever thought that their consistency was somewhat akin to hardtack, you'd be right on the mark. Biscotti have their origins in the same vein as that staple of old time sailors. Initially, biscotti was a twice baked, fatless ration carried by the Roman Legions, meant to last for months if not years. The almond flavoring we use here harkens back to that original version. Nowadays, we often add a little fat to make them more toothsome, at the expense of longevity.

Make this recipe fresh at home and you'll never go back to store bought.


2 Cups Whole Wheat Pastry Flour

3/4 Cup local Honey or Agave Nectar

1/2 Cup slivered Almonds

2 whole Eggs

1 Egg White

1 Tablespoon Unsalted Butter

3/4 teaspoon Baking Soda

1 Vanilla Bean, (or 1/2 teaspoon pure extract)

1/4 teaspoon Almond Extract

1/4 teaspoon Sea Salt


Preheat oven to 350° F and set a rack in the middle spot.

Line a heavy gauge baking sheet with parchment paper and set aside.

Cut or process almonds to a rough chop.

In a saucepan over medium heat, melt the butter and sauté the almonds until slightly browned, about 2 minutes. Remove from heat and set aside.

Carefully slice the vanilla bean lengthwise. Scrape the seeds into a smaller mixing bowl. Put the pod into your sugar bowl to add a lovely vanilla note; you can also save the pod for a recipe that calls for a liquid and soak it therein.

In a large mixing bowl, thoroughly combine the flour, almonds, baking soda, and salt.

In a separate bowl, blend the vanilla, almond extract, eggs, egg white, and honey or agave.

Add the wet mix to the dry and combine thoroughly. This will be a rather dry dough. Turn it out onto a lightly floured surface and knead for about 15 seconds. Like a good pie dough, you just want to incorporate the ingredients and activate the gluten a bit; take care to not overwork the dough – 15 seconds kneading, max.

Divide the dough in two and roll each half out by hand to roughly 12″ length.

Place loaves on your prepped baking sheet and gently flatten them down to about 3/4″ thickness.

Bake for about 30 minutes, or until the loaves are firm and slightly springy to the touch.

Remove loaves from the oven, reduce oven heat to 325° F.

Place loaves onto a wire rack and allow to cool for 10 minutes.

Slide loaves onto a cutting board and slice each at a 45° angle and 1/2″ thick.

Place slices on an unlined baking sheet, then bake for 10 minutes.

Flip each biscotti over and bake another 10 minutes.

Remove from oven, place biscotti on the wire rack, allow them to cool completely.

Store biscotti in an airtight glass container. They'll last quite a while, but they're best if eaten within a few days of baking.


VARIATIONS:

Dip biscotti about half their length in the chocolate of your choice. Set them on a wire rack until the chocolate has hardened completely.

Add 1/2 Cup of dried cranberries, raisins, dates, apricots, or other dried fruit to the wet mix.


Quick Pasta Sauce


So, you've decided on chef salads for dinner when the one you love and cook for says, “Now I don't want salad, I want something hot.” So begins the process of thinking on your feet and diplomatic negotiation. The light bulb goes on, and you reply, “we've got frozen cheese ravioli. You prep those, I'll make a sauce.” She smiles, bats those beautiful blue eyes and says, “Tomato sauce, right?” Ready, set, go.

This is actually an eminently practical example of cooking from the hip. It's an exceptionally trashy night out, with a nasty wind howling, and rain beating on the windows. Comfort is called for. Here's what I came up with. It took 15 minutes from start to finish and tasted like a million bucks. See if you don't agree.


1 14 ounce can diced Tomatoes

1/4 Cup dry White Wine

1/4 Cup Half & Half

2 Tablespoons Sweet Onion

2 Tablespoons Feta Cheese

1 clove Garlic

1 teaspoon fresh Sage (Dry is fine too)

1 Tablespoon unsalted Butter

1 Tablespoon Extra Virgin Olive Oil

Juice of 1/4 small Lemon


In a large sauté pan over medium high heat, add olive oil and heat through.

Mince onion and garlic, chiffonade Sage if using fresh.

Add onion to pan and sauté until translucent. Add garlic and sauté until raw garlic smell is gone.

Deglaze the pan by adding white wine. Sauté with aromatics until raw alcohol smell is gone and sauce has thickened slightly.

Add butter and allow to melt and incorporate. Add sage, (rub it in between thumb and forefinger if using dry), stir to incorporate.

Add tomatoes, undrained, and stir to heat through. When the sauce is bubbling, reduce heat to low, add cream and cheese and stir constantly until well incorporated. Serve promptly over pasta, chicken, pork, tofu or lightly sauteéd vegetables.


Variants:

If you prefer a smoother sauce, use an immersion blender to homogenize.

You may then run the sauce through a fine mesh strainer, return it to a medium low flame, and reduce it by 50%; this is now more of a purée, and could be used as a bed for those proteins or vegetables.

1/2 teaspoon of smoked, sweet Paprika would be a very nice variation as well.


Cilantro Pesto III


Some of you know that I make guitars. Among luthiers, there are factions referred to as right and left brainers. The left brainers tend toward strict mathematical method, while right brainers work more organically from intuition. Truth is, few builders are purely one or the other. The same thing can be said of chefs. In both pursuits, I tend toward right brain creativity, informed by formal training, experience, and the hard and fast science behind cooking. Add to that the fact that I really don’t care for being told what to do without some information behind the direction, and you’ve pretty much got the heart of what drives UrbanMonique.

When a recipe shows up here, trust that it’s been researched and made more than once before you see it, the same thing that’s done in professional kitchens around the world. Even if a dish is a daily special, offered only once, there will be a process of discussion and some refinement done prior to it being chalked onto the board. Fact is, the daily specials are often driven by product that needs to be used right now. Chefs will discuss what to do, maybe coming up with something genuinely new, but more often arriving at that new special after someone says, “Remember that Provençal fish thing we did? We could do a take on that here..”

I’m blessed with a very talented, honest, and passionate muse in the kitchen; she goes by the name of Monica. Not a day goes by that we don’t discuss what we did last and how we might improve it, what we’re doing next, how we’ll do it, what we expect to attain. For my mind, that process is critical to success. If you love to cook, and you don’t practice some like form, start. If you don’t have a human partner, then write down what you do, and go from there. Even better, email or tweet me, and we’ll tweak it together. Passion and love of cooking is at the core of creativity and exploration. We were discussing our next opus last night, when I blurted out “God, I love food!” M laughed, nodded and said, “That’s funny coming from you, but yeah!”

Now about that cilantro. I love the stuff, so it’s always in our kitchen, fresh and/or dried. Recently, plans that included a lot of cilantro fell through, so we had too much on hand. This herb has a short shelf life, so something needed to be done right away to preserve rather than waste. We decided on pesto, and that we’d use whatever else was on hand, building a variant we’d not done before. This is what we came up with, and it’s stellar, frankly. The rich, buttery flavor of the avocado oil and feta balances perfectly with the tang of the lemon and herbaceous base of cilantro. Here’s what we did.

P.S. Yes, I know some of you don’t like cilantro. Tough luck, that… We are working on a piece that speaks to the science behind your malady, so stay tuned.

 photo image-17.jpg

1 well packed Cup Cilantro
1/4 Cup Avocado Oil
1/4 Cup Feta Cheese
Juice & Zest of 1/2 fresh Lemon
2 small cloves fresh Garlic
Sea Salt

Zest and juice orange.

Process everything but the oil, salt, and pepper in a food processor or blender until thoroughly incorporated.

With the processor or blender running, (Low speed if you’ve got one), add the oil in a slow, steady stream.

Stop when you hit the consistency you like.

Taste and season to tastewith salt, adjust lemon if needed.

Freeze leftovers as needed. Pesto works great in an ice cube tray, frozen. Just pop out a cube when you need one.

Here are Cilantro Pesto I and Cilantro Pesto II if you’ve not tried them already.


Super Bowl Chicken


Here in the great northwest, our beloved Seahawks are, miracle of miracles, poised to play their third Super Bowl and first back-to-back appearance therein. I was born and raised in New England, so I'm kinda tied to both contestants. That said, I find Tom Brady insufferable and Belichick a troll, so…


GO!

SEA!

HAWKS!


If you've not settled on your fare for Da Big Game, consider this: If a nicely grilled chicken is a thing of beauty, then a brined, butterflied bird wins every pageant. Chicken on the grill is hugely popular for good reason, but it’s also a common victim of overcooking, which results in a stringy, dried out final product. A brined, whole chicken stays plump and juicy, even on outdoor cookers.

The process can easily be done between morning coffee and kick off. Here's how.

Purchase a local, whole, free range chicken; fresh and local beats frozen every time. Read this piece through, check your spice cabinet, and head to the seasoning section of your market for anything you don't have, including pickling or canning salt. This non-iodized version has a very fine grain and dissolves readily, even in cold water. Add to your list a local Pilsner, Chardonnay, or a sparkling cider as an accompaniment. Grab some hearts of romaine, some Champagne vinegar, a few lemons, some sharp Asiago cheese, some butter, fresh sourdough, and a head of garlic as well.


Start your brine with a gallon of fresh, cold water under 40° F.

Weigh and then stir in 10 ounces of salt; stir to thoroughly dissolve. Toss in,

Juice and zest from 1 small lemon

1 Tablespoon whole Pepper corns

1 teaspoon Sage

1 teaspoon Savory

3 Bay Leaves


Pull all the guts out of your chicken, then set the bird in a bowl large enough to handle it and enough brine to cover completely. Weight the bird with a plate to keep it submerged. Brine the bird in the fridge, (or outside if it's cold enough), for 2-3 hours.

Pull the chicken out and discards the brine.

Let the bird rest uncovered in the fridge for 1 hour. Prepare this citrus powered wet rub while your chicken is resting, so the flavors have time to marry.


1 Tablespoon black Pepper

1 teaspoon Smoked Sweet Paprika

1/2 teaspoon granulated Garlic

1/2 teaspoon granulated Onion

1 Tablespoon extra virgin Olive Oil

Juice and zest of 1 small Lemon

Juice and zest of 1 small Lime


Making a chicken relatively flat is easy as all get out, and if, like Monica, (Sorry, Babe), you have a love-hate relationship with sharp knives, it’s a perfect process for you. A pair of decent kitchen shears is all you need, and here's how you do it.


flip your bird over so it’s breast side down.

Take your shears and line them up just to the right or left of the spine, and cut a straight line all the way through from one end to the other. Repeat on the other side of the spine.

That’s all the cutting you’ve got to do. Grab the spine and pull it free of the bird.

Now, turn the bird Breast side up, arrange it evenly, then give it a firm squish with your palms, as if you're giving it CPR. With a firm push or two, you’ll end up with a beautifully butterflied bird, ready to rub and cook. Tuck the wings in against the body, so they'll cook evenly.

Apply the rub liberally and allow it to rest for 15 minutes.


Preheat your grill.


While that's working, cut your romaine hearts in half, shave a generous pile of Asiago, quarter your lemons, and prepare this simple vinaigrette.

1/3 Cup Extra Virgin Olive Oil

2 Tablespoons Champagne Vinegar

Juice and zest of 1 small lemon

Pinch of Sage, rubbed fine

Pinch of Sea Salt

A few twists of fresh ground black Pepper

Combine all ingredients and whisk briskly. Allow the dressing to sit so the flavors can marry while you cook.


Cut slices of sourdough roughly 1/2″ thick, then cut those into cubes. Mince a couple cloves of garlic. Melt 4 ounces of butter in a sauté pan over medium heat. Toss in the cubed sourdough and sauté until they start to brown. Add the garlic and continue to sauté until croutons are golden brown, taking care not to burn the garlic. Remove croutons to a clean paper towel and set aside.


Start the bird breast side down and grill for 15 minutes. This allows some of the fat to render and the skin to crisp up nicely. Using tongs, carefully flip the whole thing once, and grill for about 20 minutes more.

Check the internal temperature with a quick read thermometer, looking for 155° F.

Remove the bird from the fire and allow a 10 minute rest. The bird will continue to cook during the rest, ending up with an internal temp right around 165° F.


Lightly brush each half romaine heart with Olive oil, then squeeze a lemon quarter or two over them as well. Lightly season with sea salt and fresh ground pepper.

Set hearts sliced side down on a moderately hot grill and tend carefully for 1 minute. Flip and grill for another minute. You're not looking to cook the lettuce so much as you're adding a bit of grilled flavor and smoke, heating the oil and citrus somewhat while keeping the insides relatively cool.

Remove hearts from grill and arrange on a platter. Drizzle with the vinaigrette, and toss on some Asiago shavings. Arrange remaining lemon halves around hearts.


Portion chicken into breasts, wings, drums, and backs and serve with the salad, croutons and the beverage of your choice.


GO HAWKS!