Do you grow herbs at home? If the answer is no, then quit screwing around and get to it. Fact is, most if not all of what you love is relatively easy to produce, and tastes far superior to anything dried or ‘fresh’ from a grocery store.
Even if you live in a tiny space, you can do up a single pot with three or four things you fancy – and time of year doesn’t matter much for that project. If you’ve got outdoor garden space, then herbs are a must. Let alone fresh flavors, I’m here to tell you that grabbing a paring knife and heading out the door to peruse and choose is a delight for the senses – scent, sight, texture – it’s a lovely zen cooking moment.
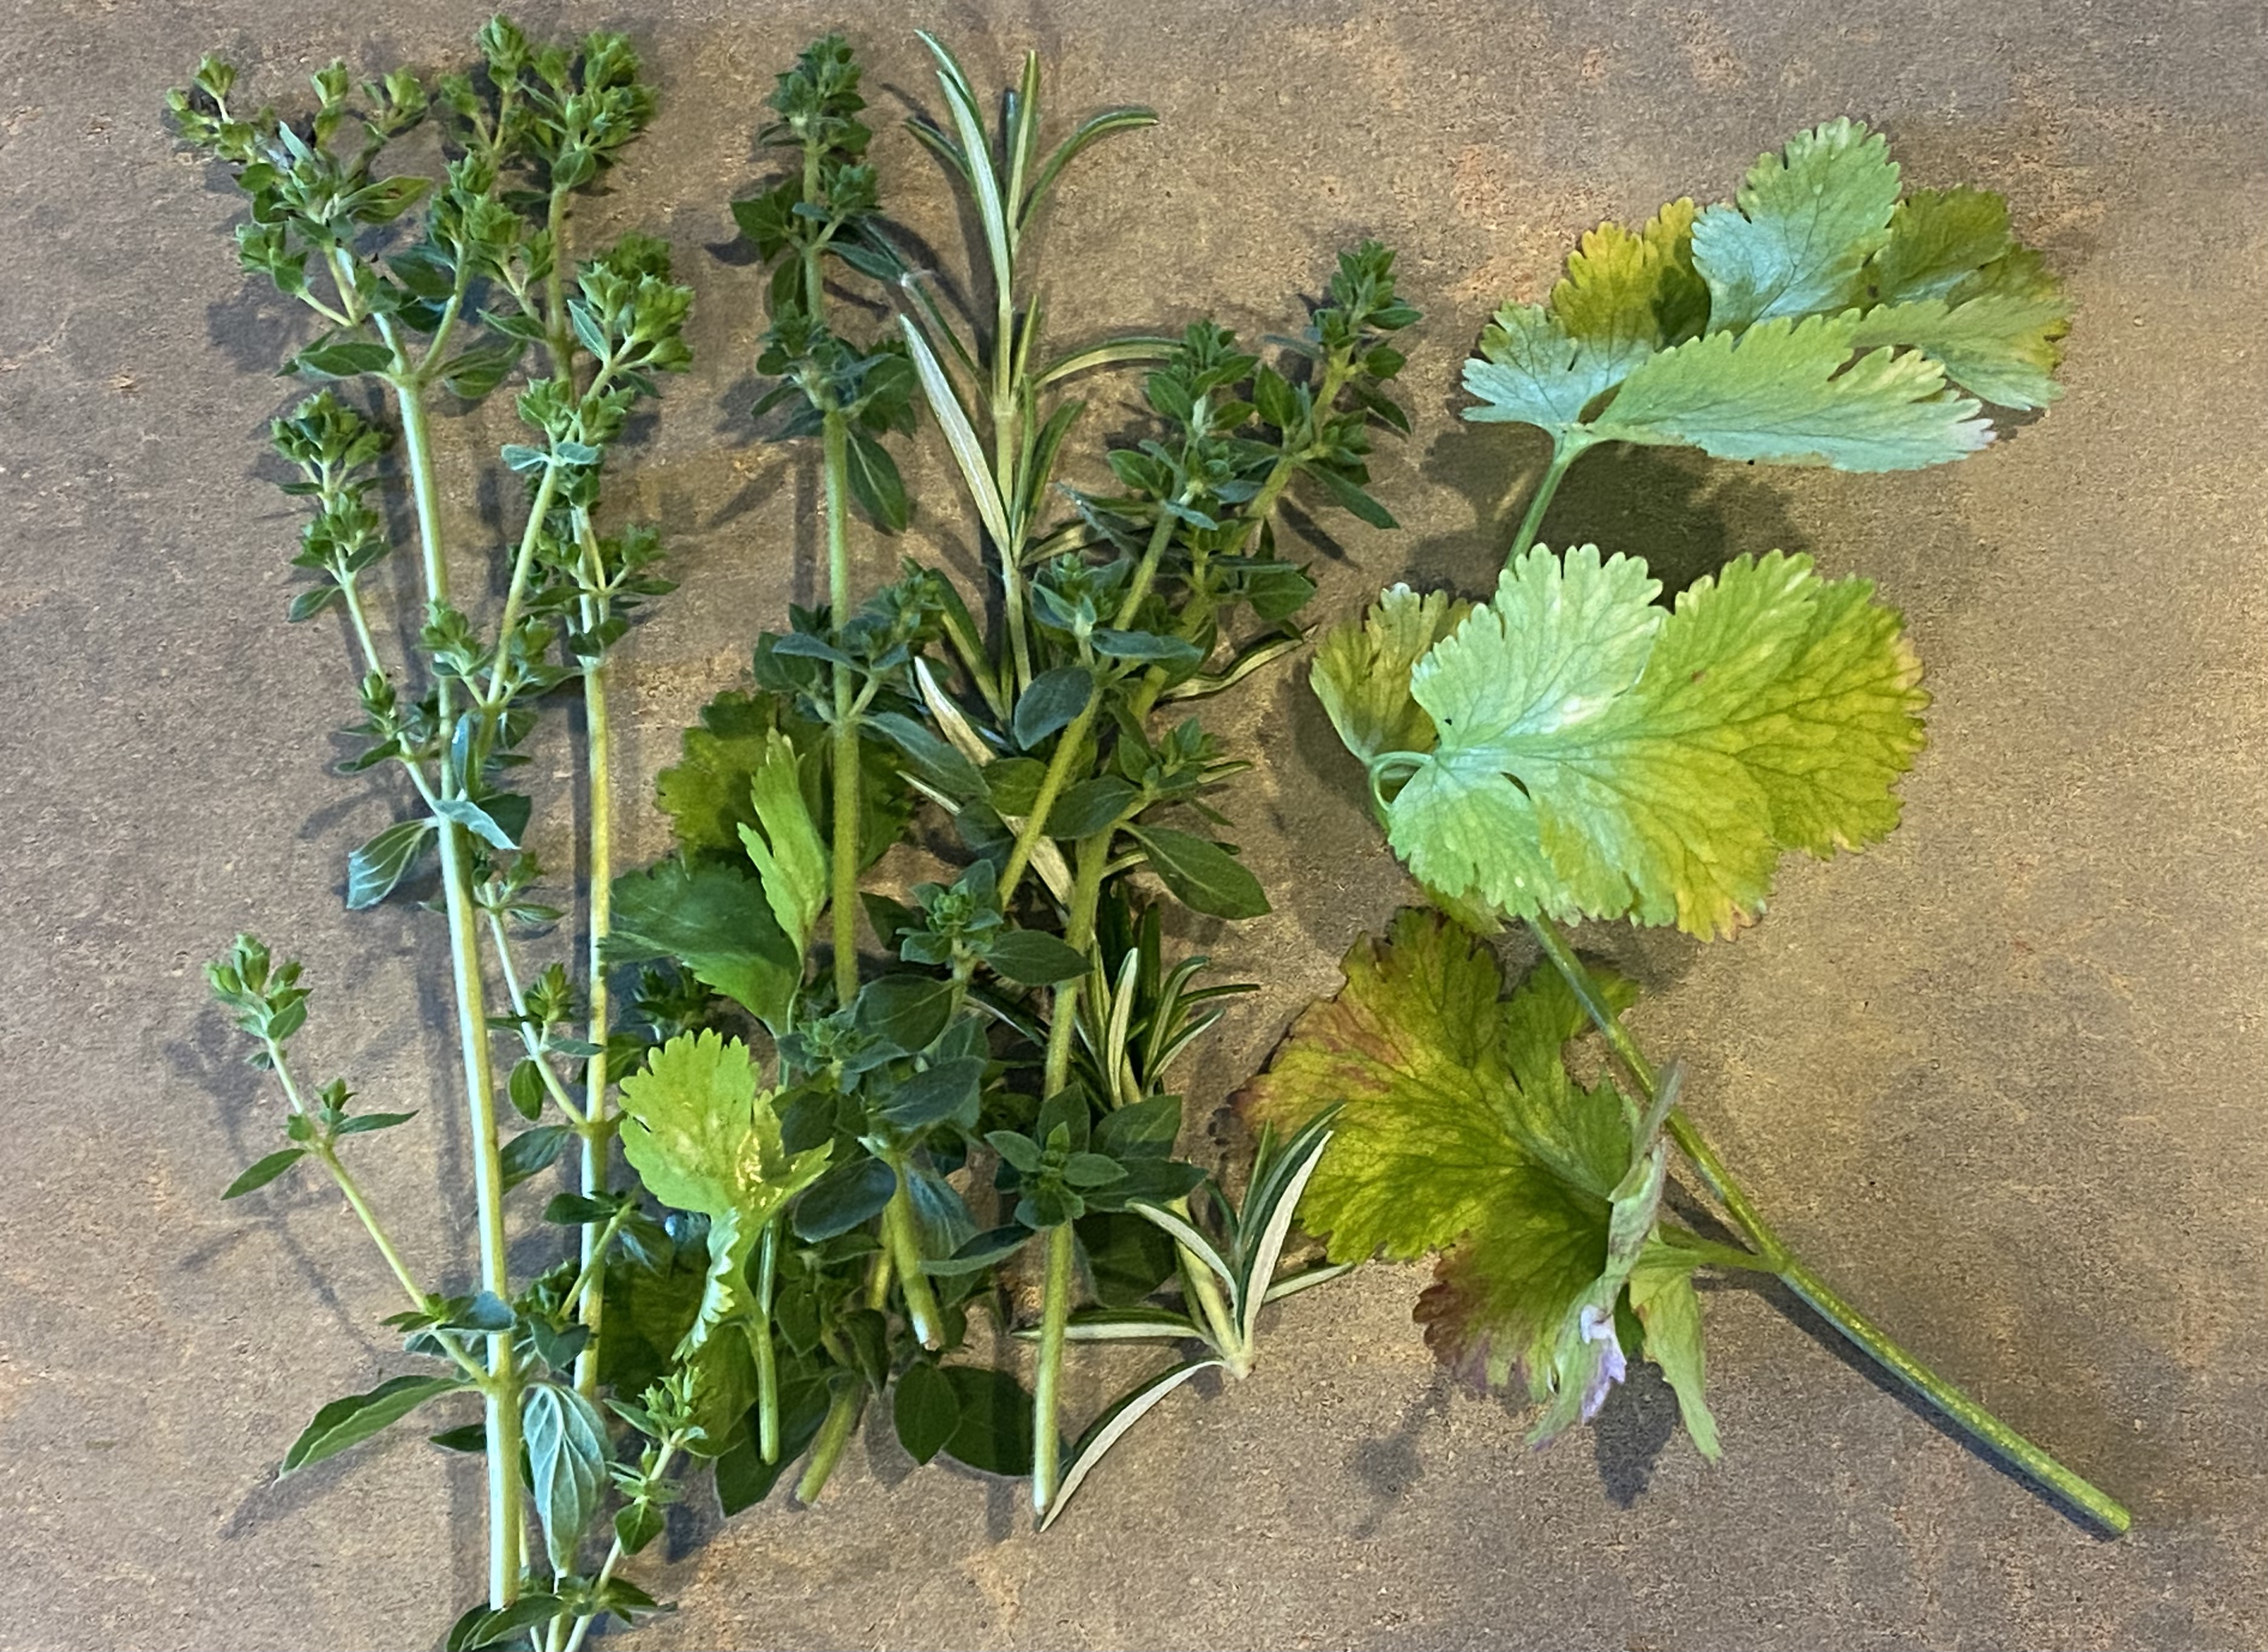
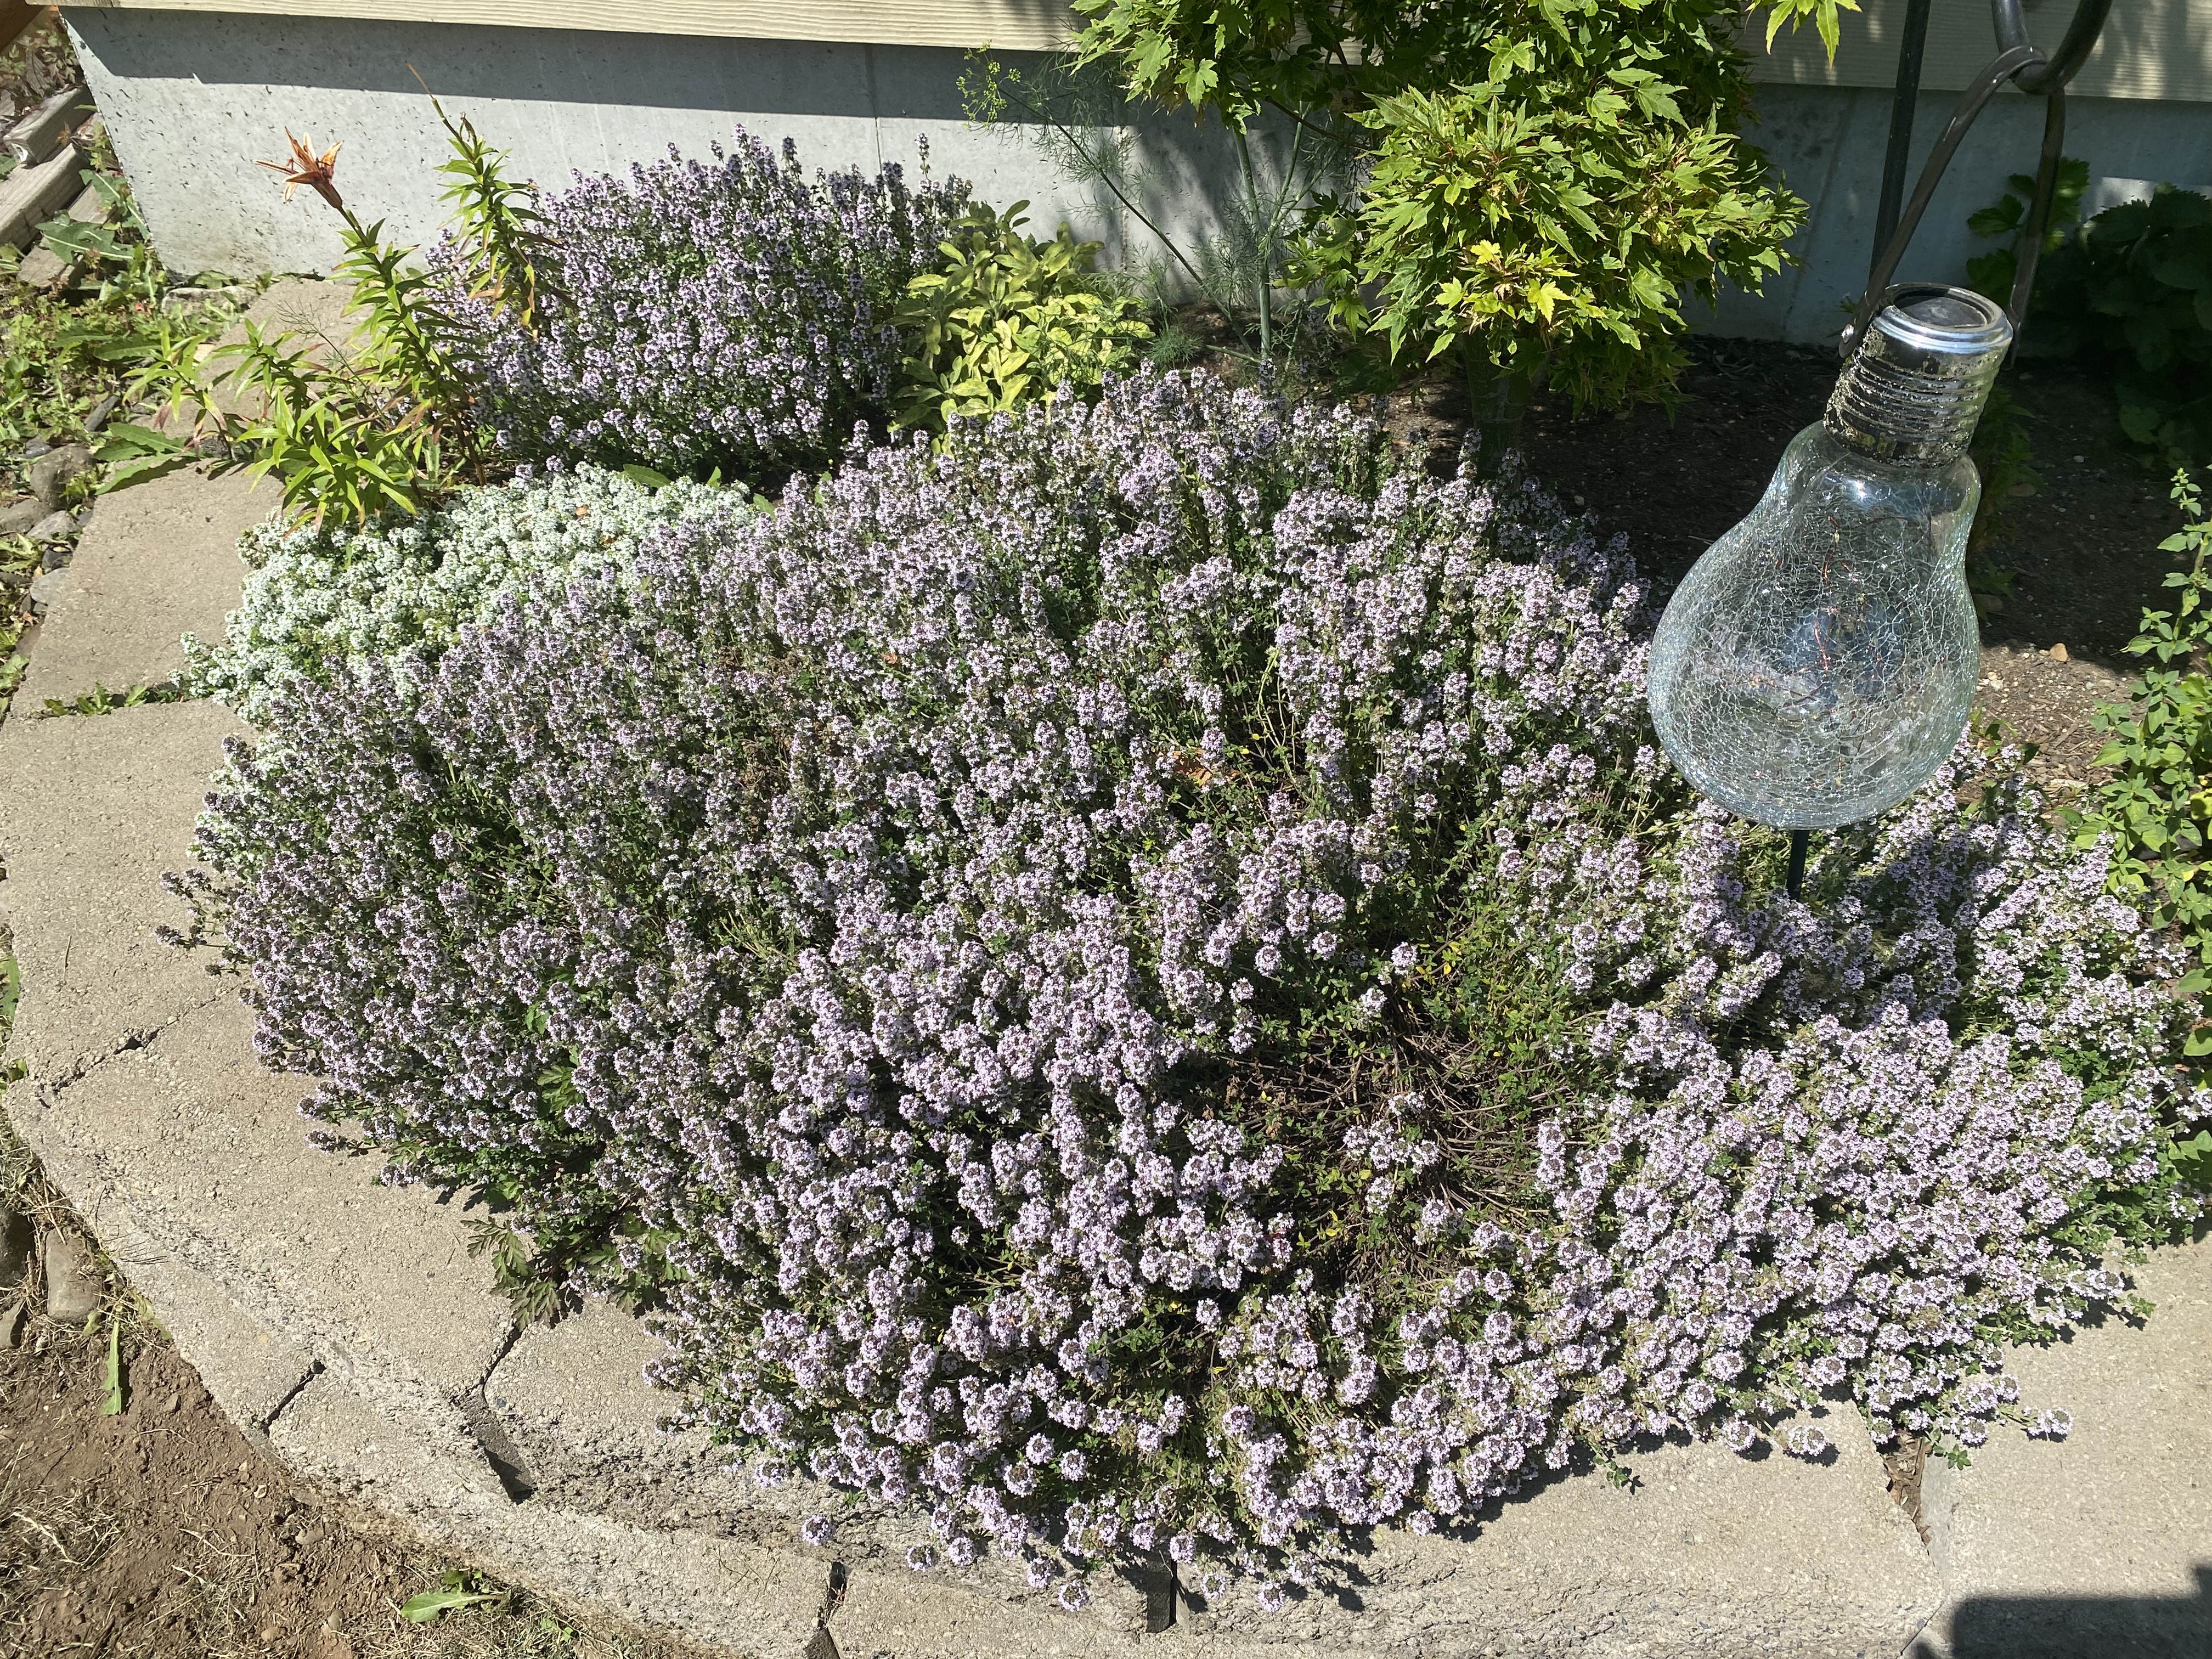
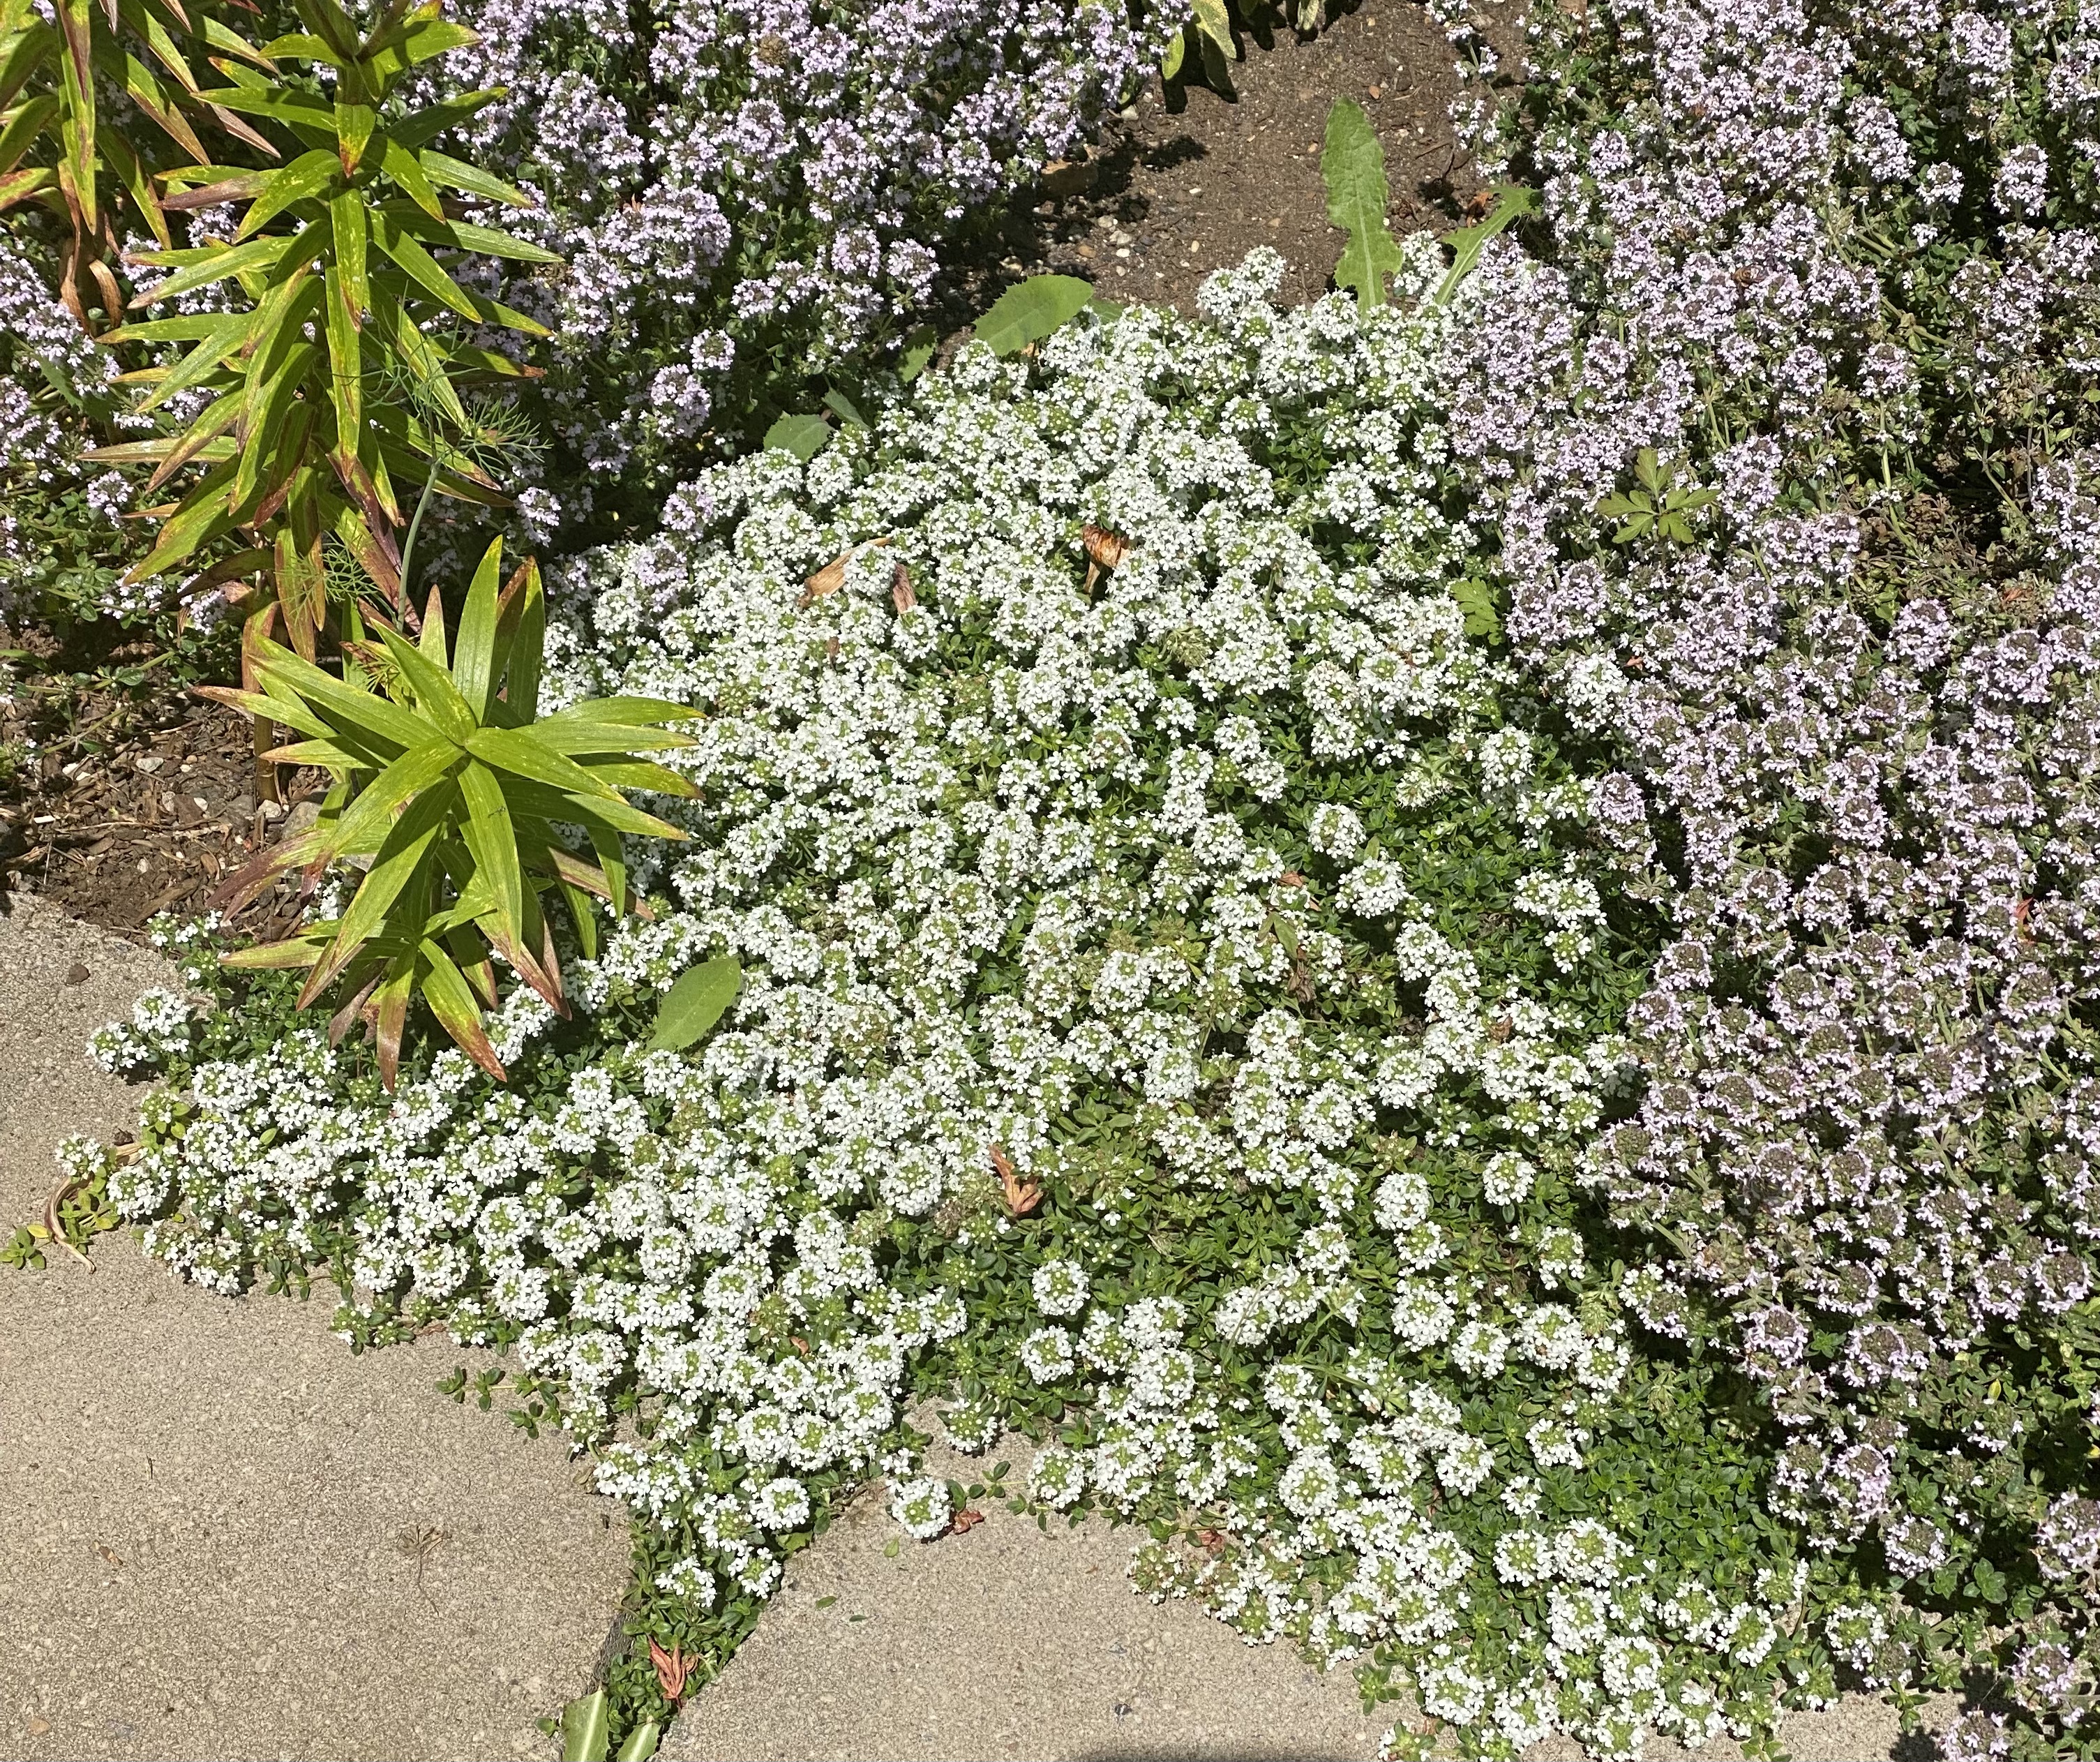
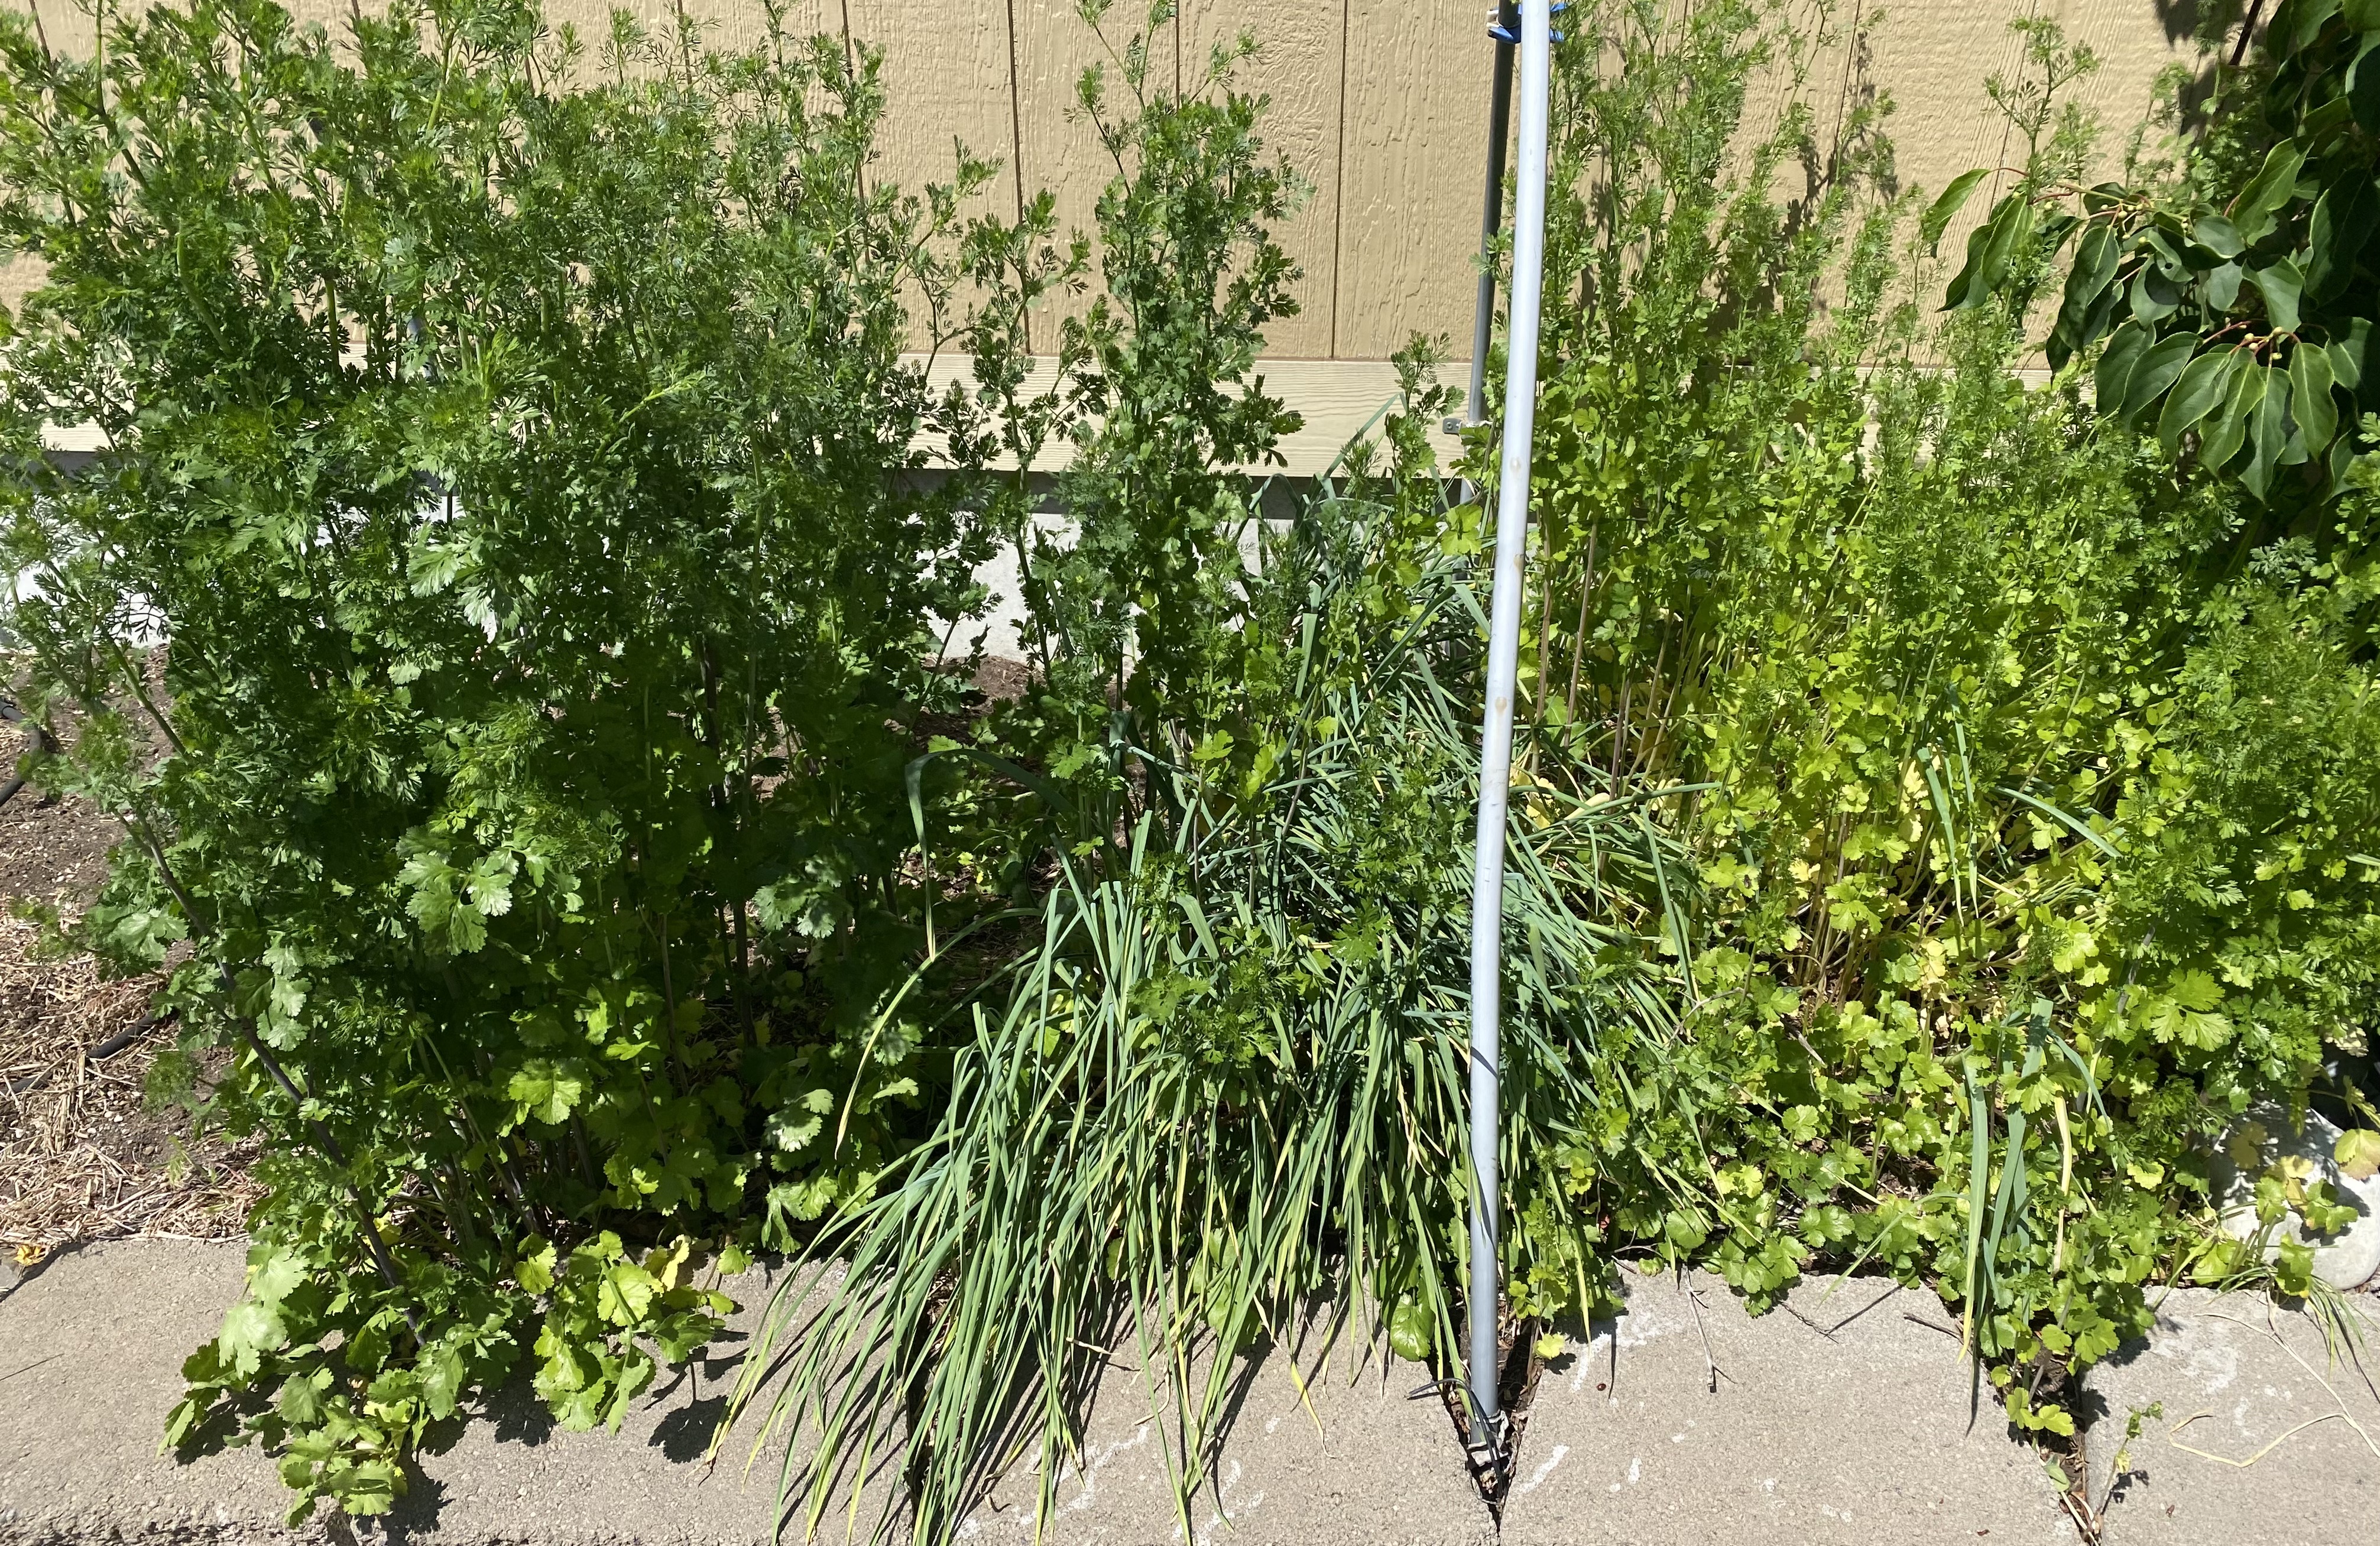
What you grow is absolutely up to you – it’s such an individual journey, I’m not going to suggest a thing. What I will suggest is that you maximize your pleasure once they’re up and growing. As you’ll see from the images here, our herbs are extremely happy, enjoying warm sunny days after cool rainy ones. It would be easy to write something like ‘they’re running late this year,’ but what the hell does that even mean in our world? Now more than ever, we just need to accept and appreciate what we get when we get it.
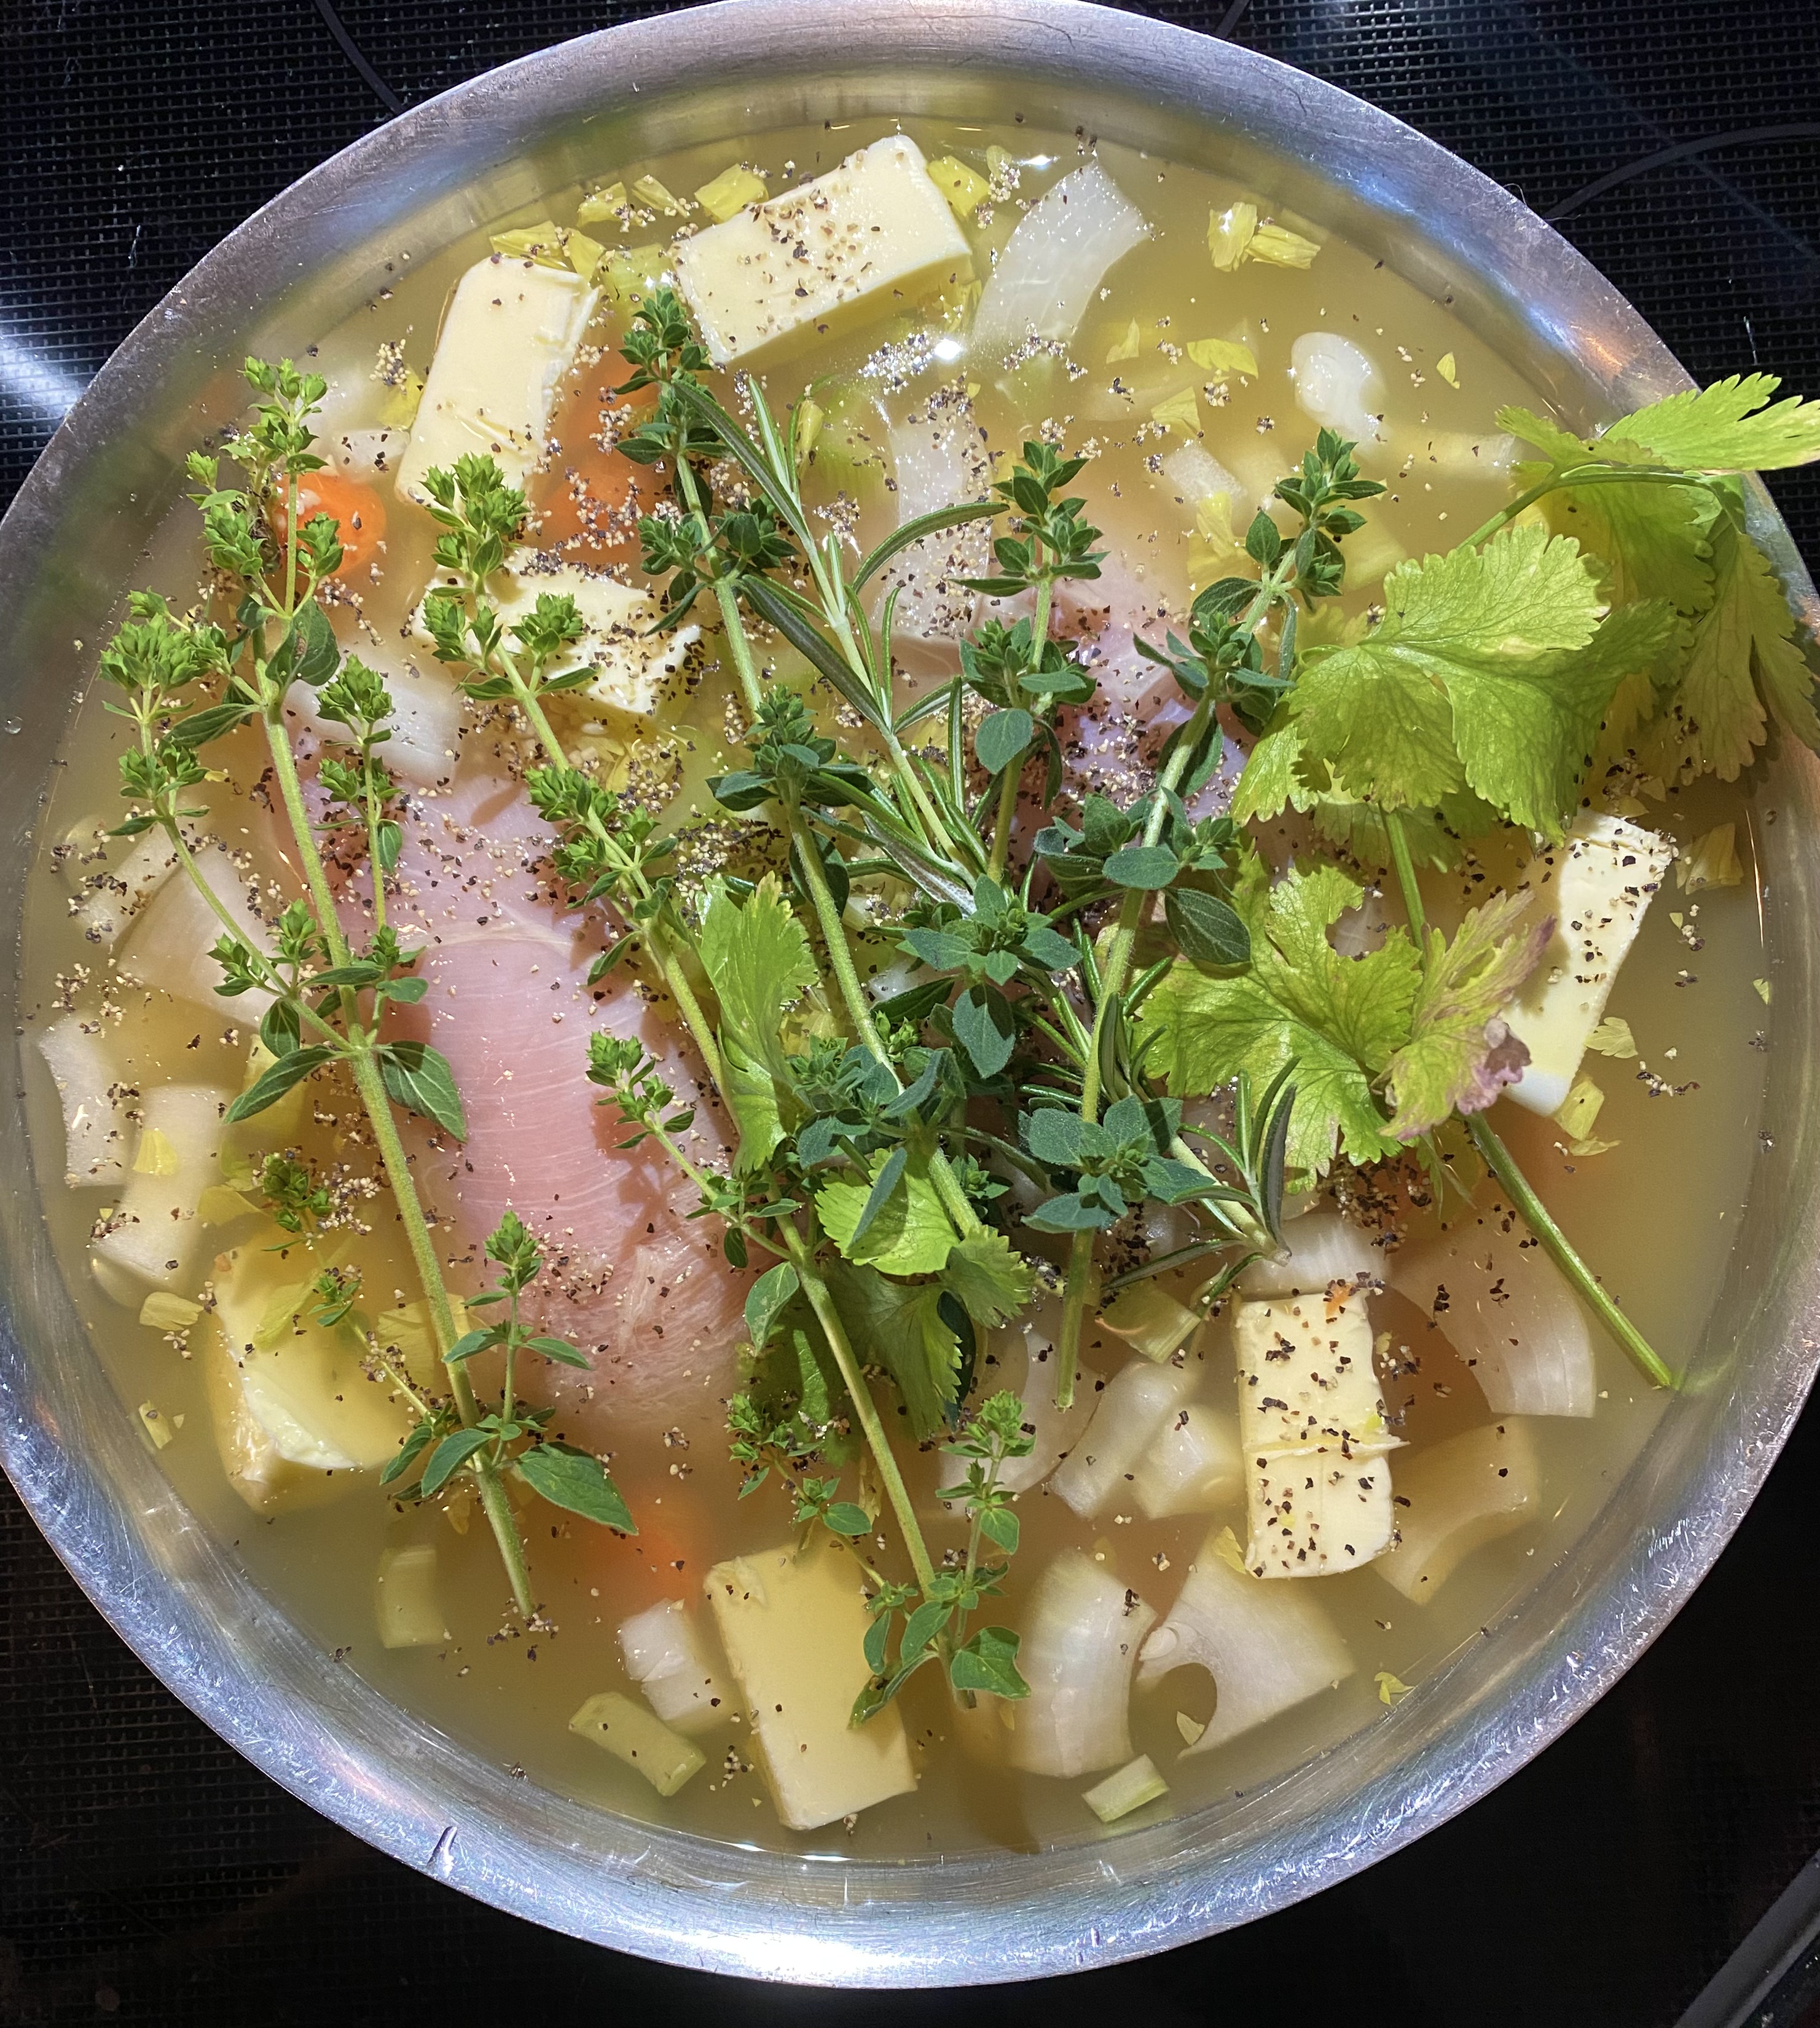
If you’re out picking, cut a couple good sized stems from the ones you realize you’ve not paid enough attention to lately. Bring those in, put them in a little jar with fresh water, and set them right by your primary prep area – let that be your reminder to include whatever it is a bit more often.
Think about using herbs where you generally don’t and expand your horizons – love hen nuts for breakfast? There’s little more delicious than fluffy scrambled eggs with fresh herbs. Add ‘em to a sandwich and make it extraordinary. Put ‘em in your salad mix and not just in dressing – your taste buds will thank you.
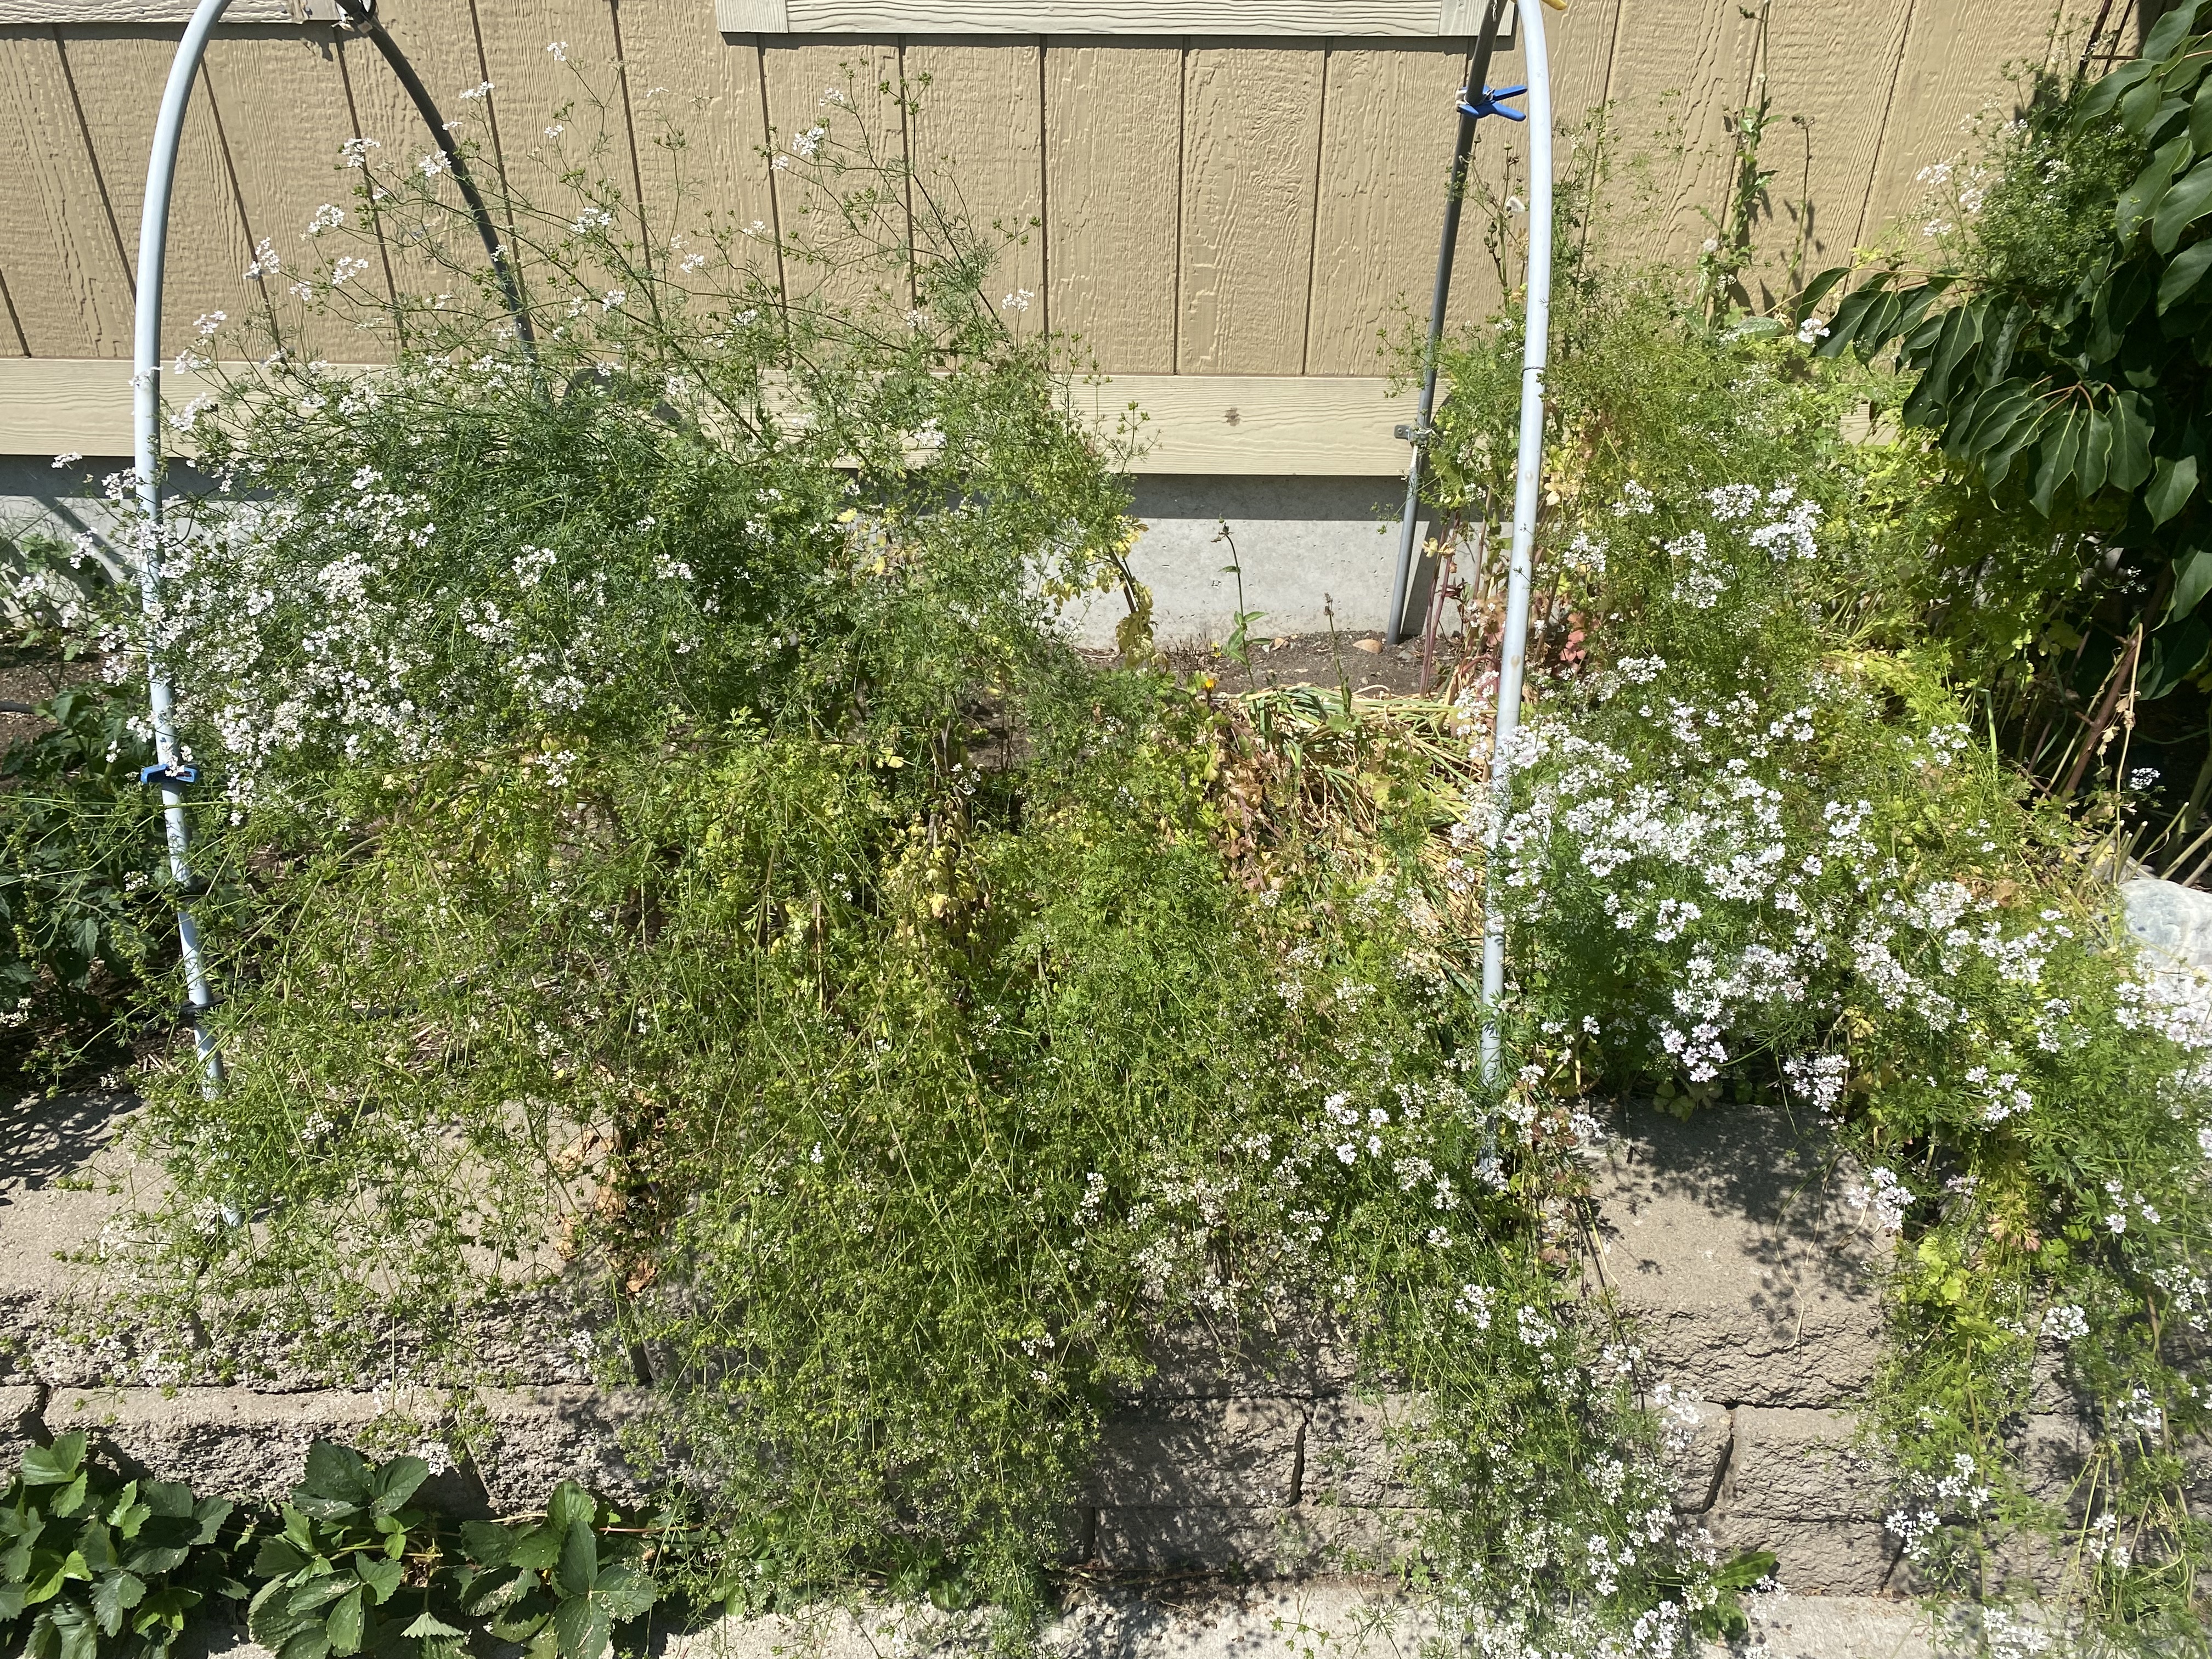
If something starts to bolt so quickly that there’s no way to keep up with it, think preserve or extend – let it go to seed, like this cilantro is doing and later, gather up fresh coriander seed. We enjoy a steady stream of volunteers in our garden beds each year, all of which stem from letting nature do its thing – the results are always a wdelight and keep things nicely diversified as well.
Harvest a bunch of whatever it is that’s going wild right at peak freshness and dry it. You don’t need to strip things down too much – take stems of rosemary, oregano, thyme, what ever you have, and let them air dry on a clean kitchen towel. Once dried, gently strip the leaves, separate out the stems, and freeze in clean, airtight glass jars. Pull out what you need when you need it, and of course keep some in your usually herb storage area as well – that stuff will overwinter just fine with very reasonable potency.
Make your own herb blends. From Herbs de Provence to Italian, Greek, and Mexican, or whatever you happen to love, pre-blended mixes save a time and are a great use during abundant growth years. Always keep in mind that whatever gets called a ‘classic’ mix is nothing more than a guideline – every Nonna and Abuela makes their own version and you should too.
Donate herbs to your local food bank. These folks are thrilled enough when they get salt and pepper, but lay some serious variety on them, and they’ll be turning cartwheels. Blends are especially appreciated here, so once again, if your place is growing like gangbusters, make the best use you can of the bounty and share the love the way it aughta be shared.
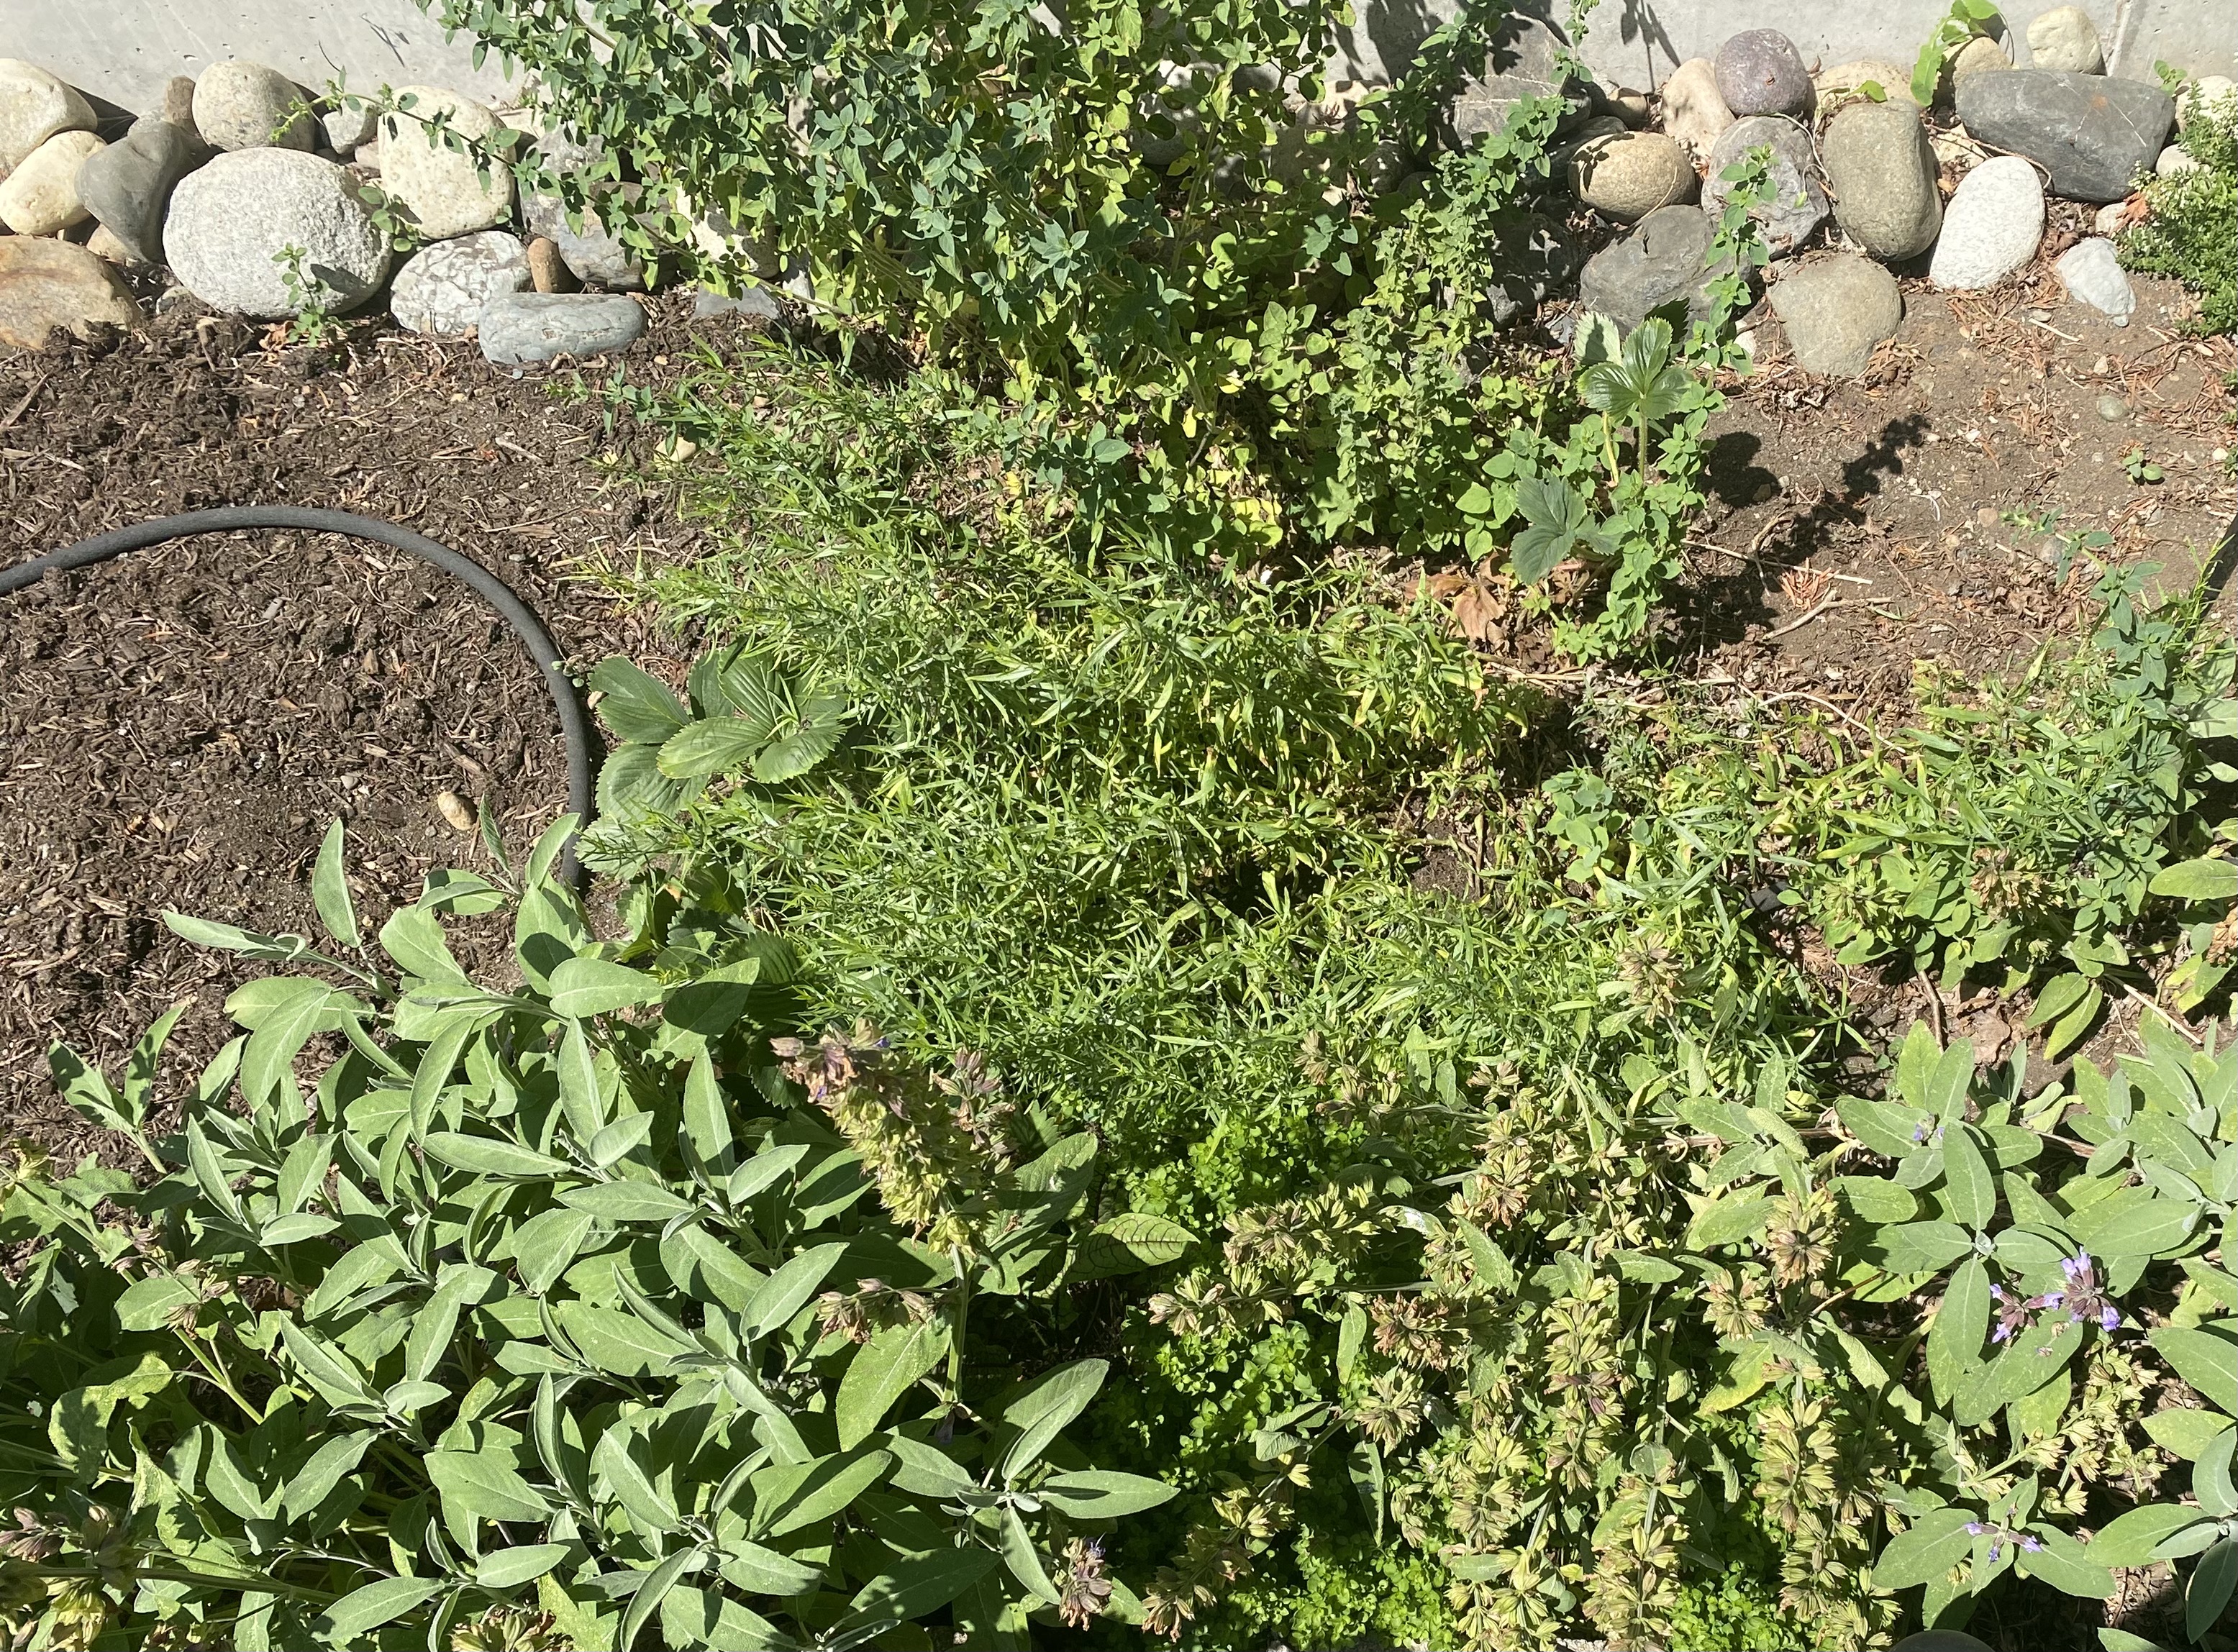
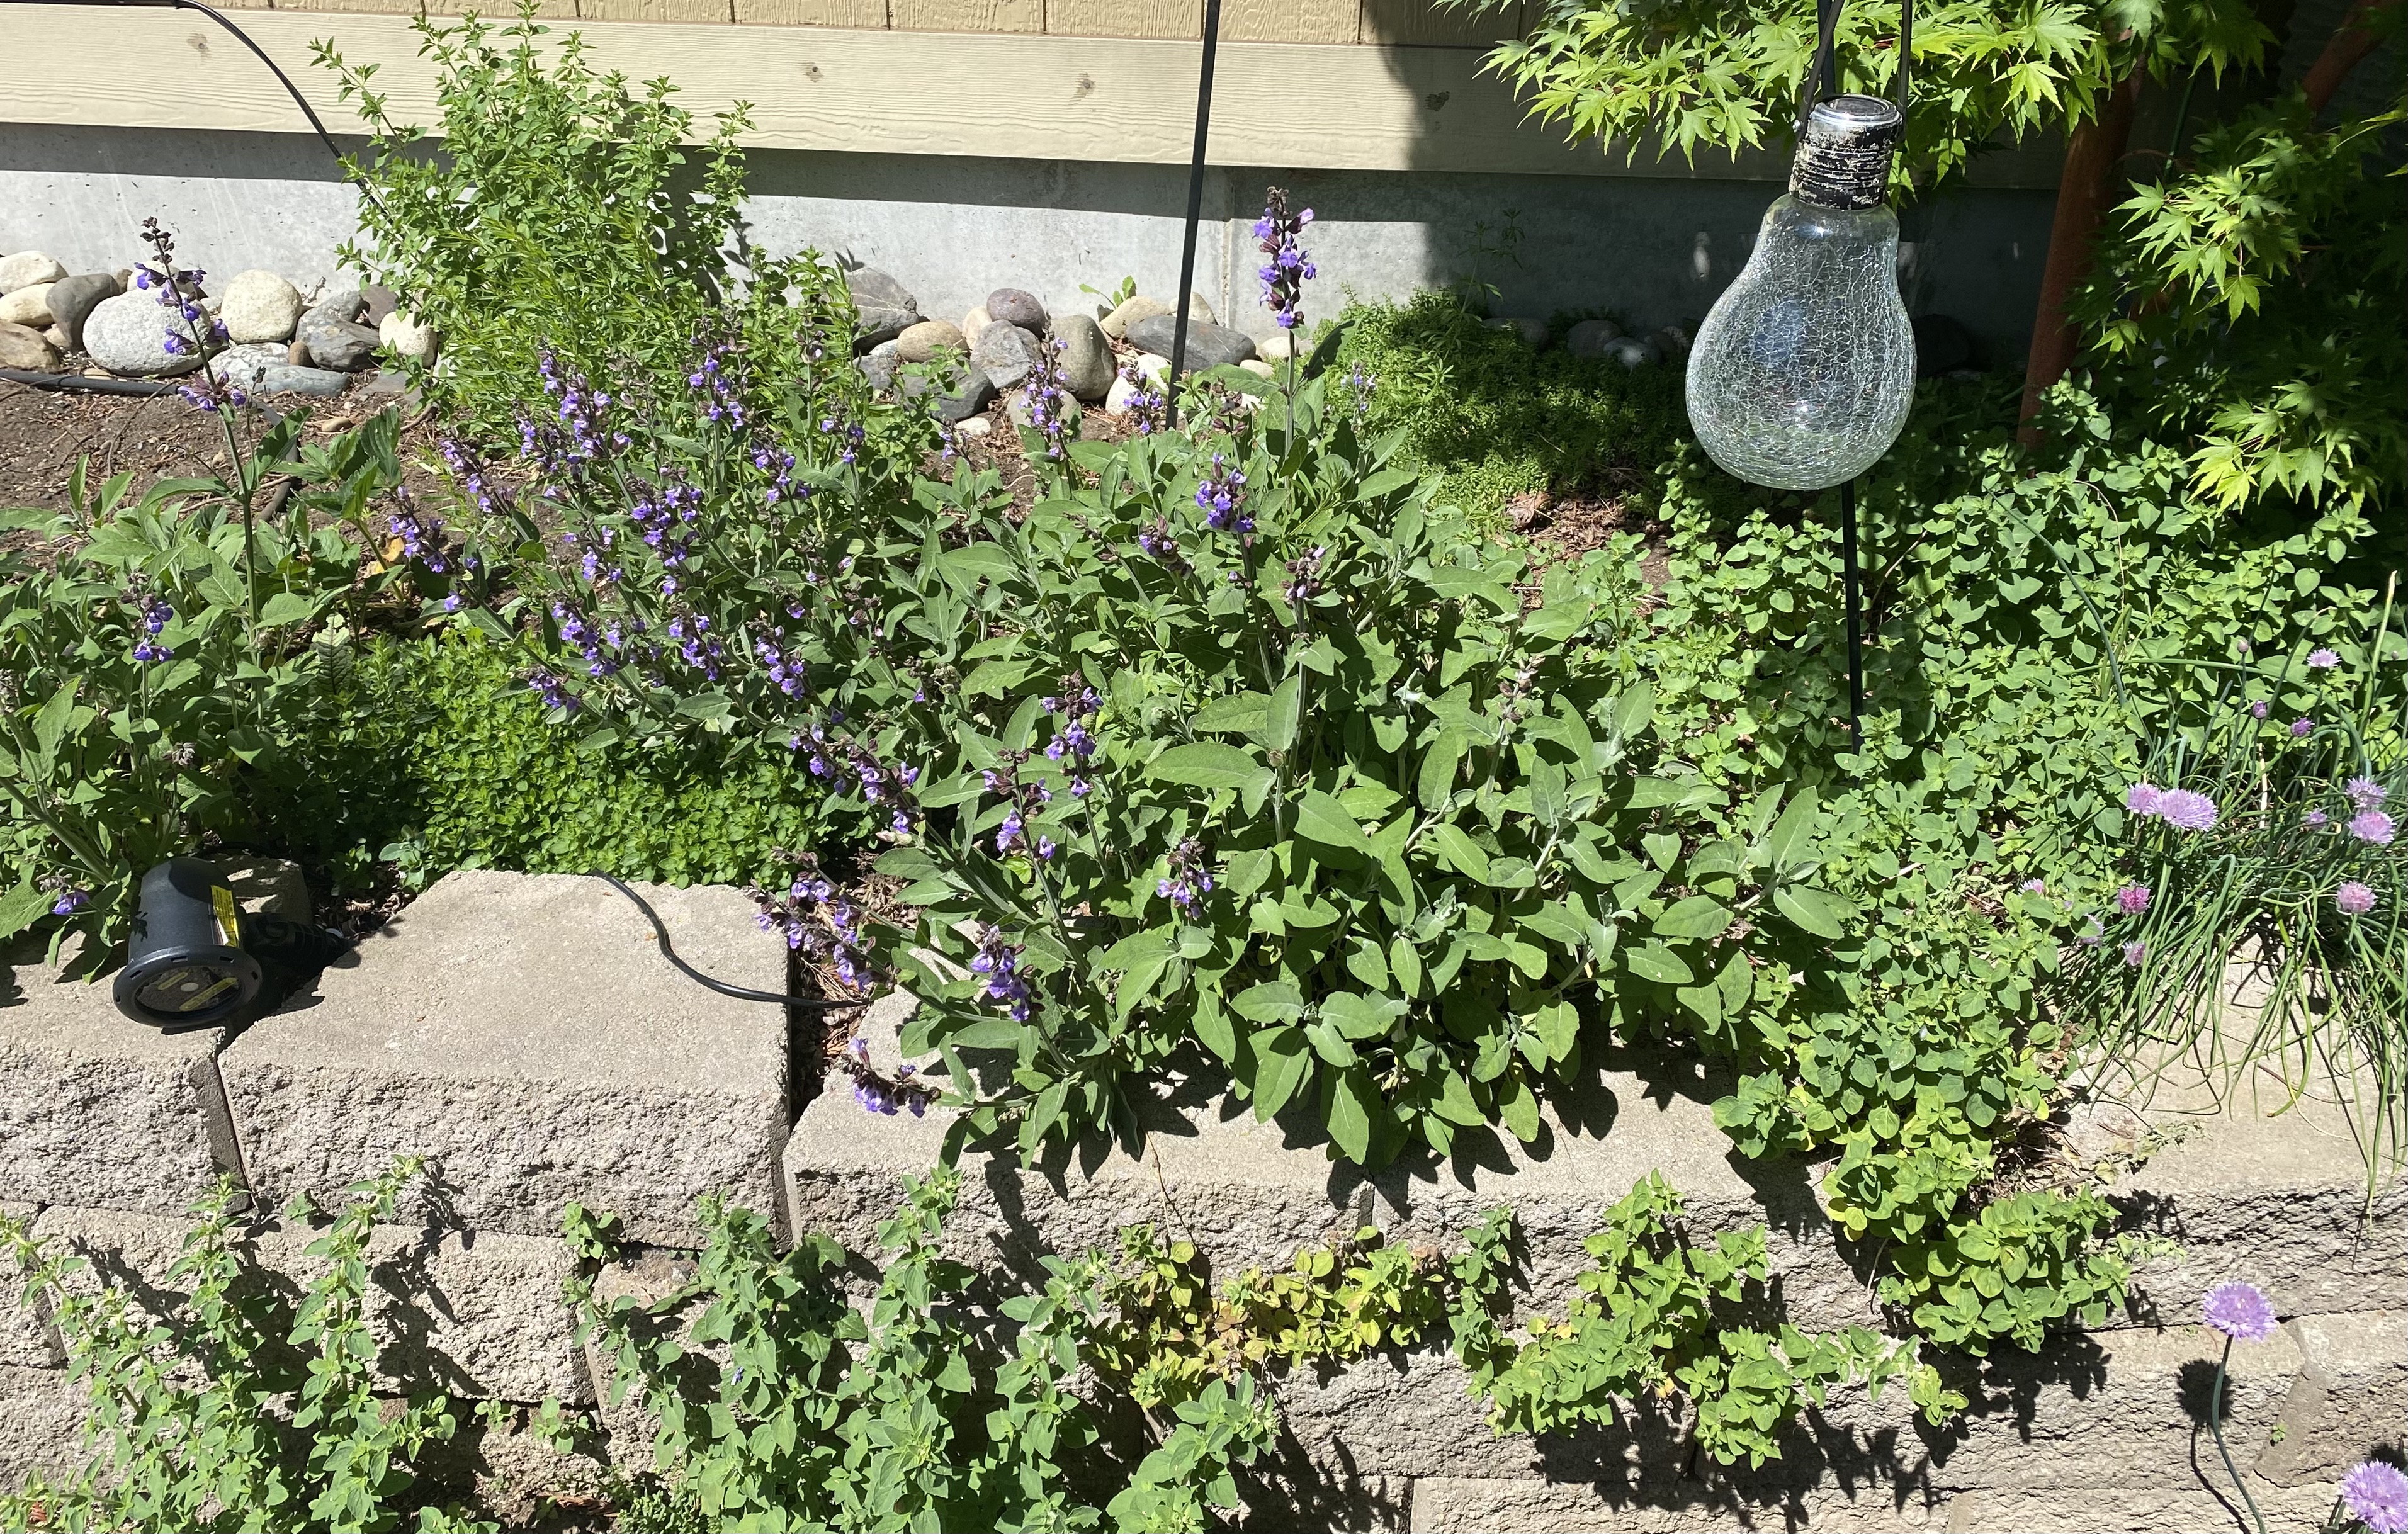
Wherever you live, you can grace your place with a garden to some degree if you want to. Our parcel is really small, but we take full advantage of what we have. There’s just about zero grass here – everything is dedicated to gardens and landscaping.
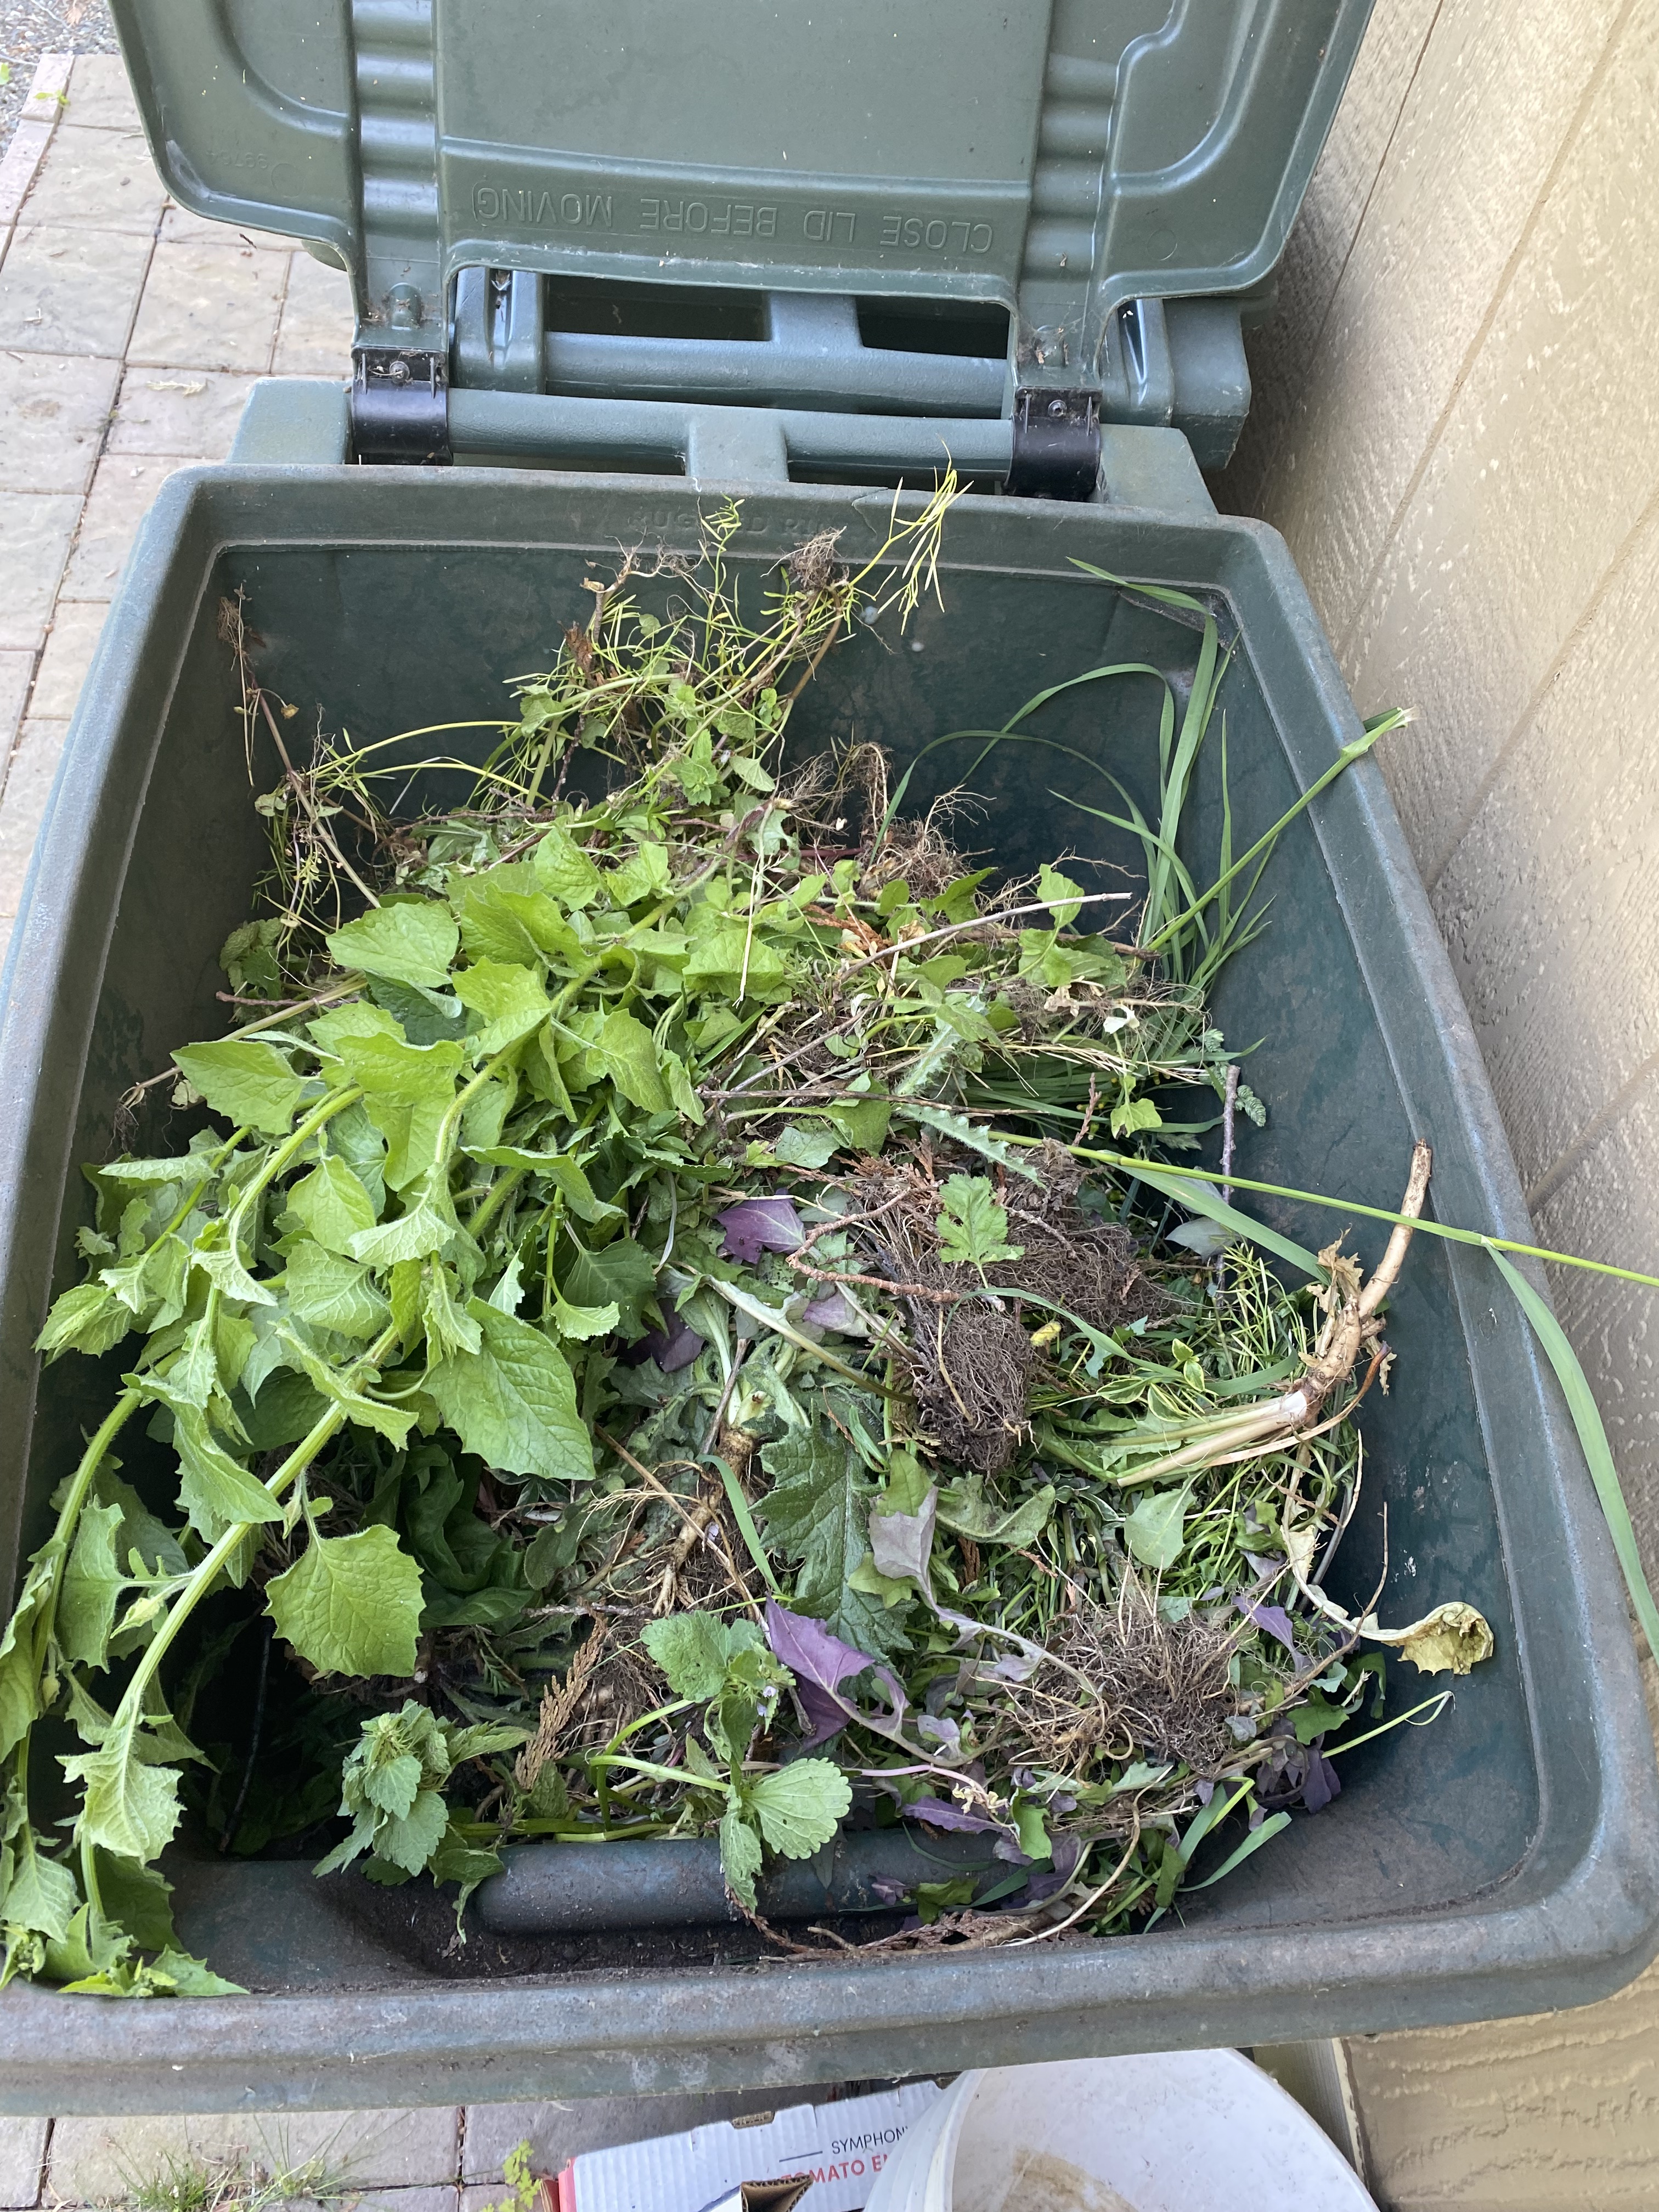
I started out front and did, ah… a little weeding. Our youngest kid recently moved out, leaving us blissful empty nesters – but that kid lions share of garden design, construction, and upkeep – so that’s now fallen to me. Weeding is very zen-like, and I love it, as you can see…
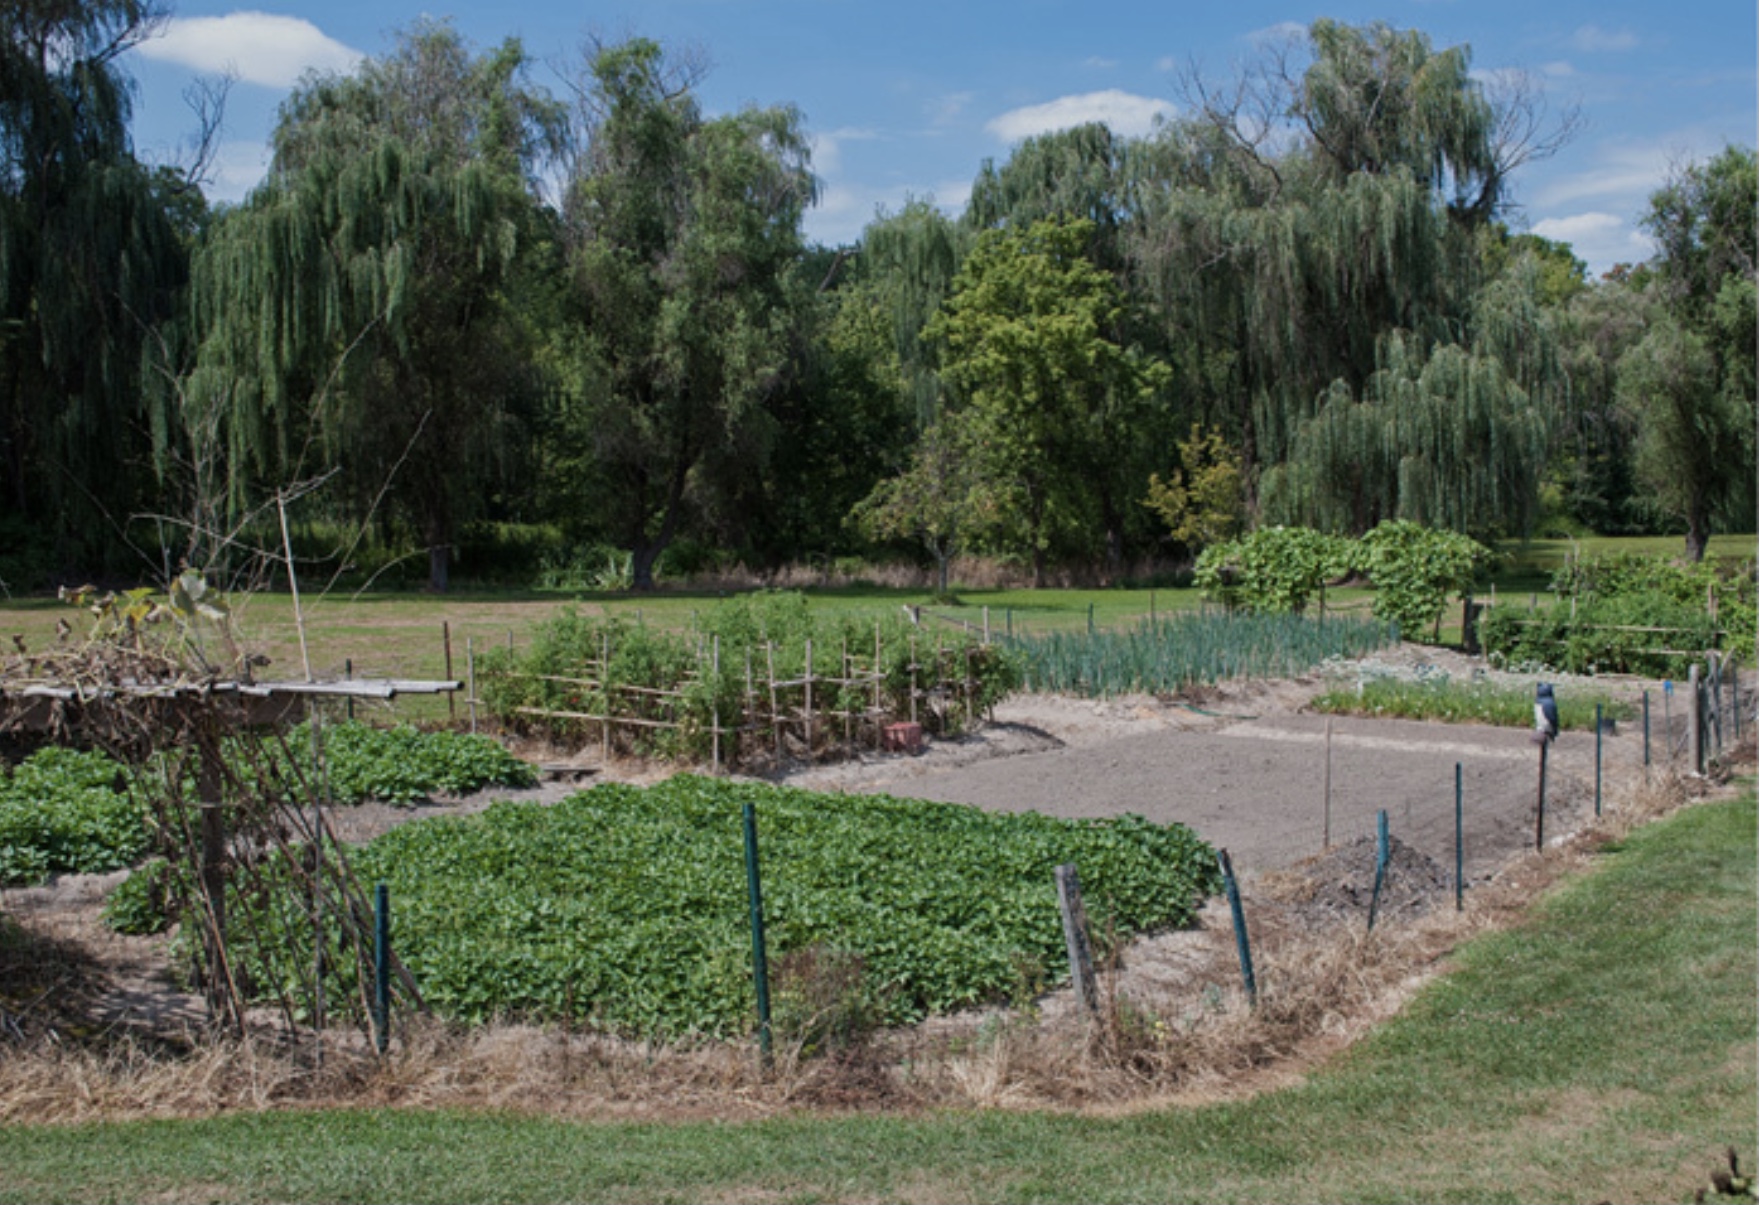
M still handles the veggies and flowers – I don’t think she quite trusts me with that yet. When I was checking things out this weekend, I found those potatoes I planted a couple weeks back looking very good indeed.
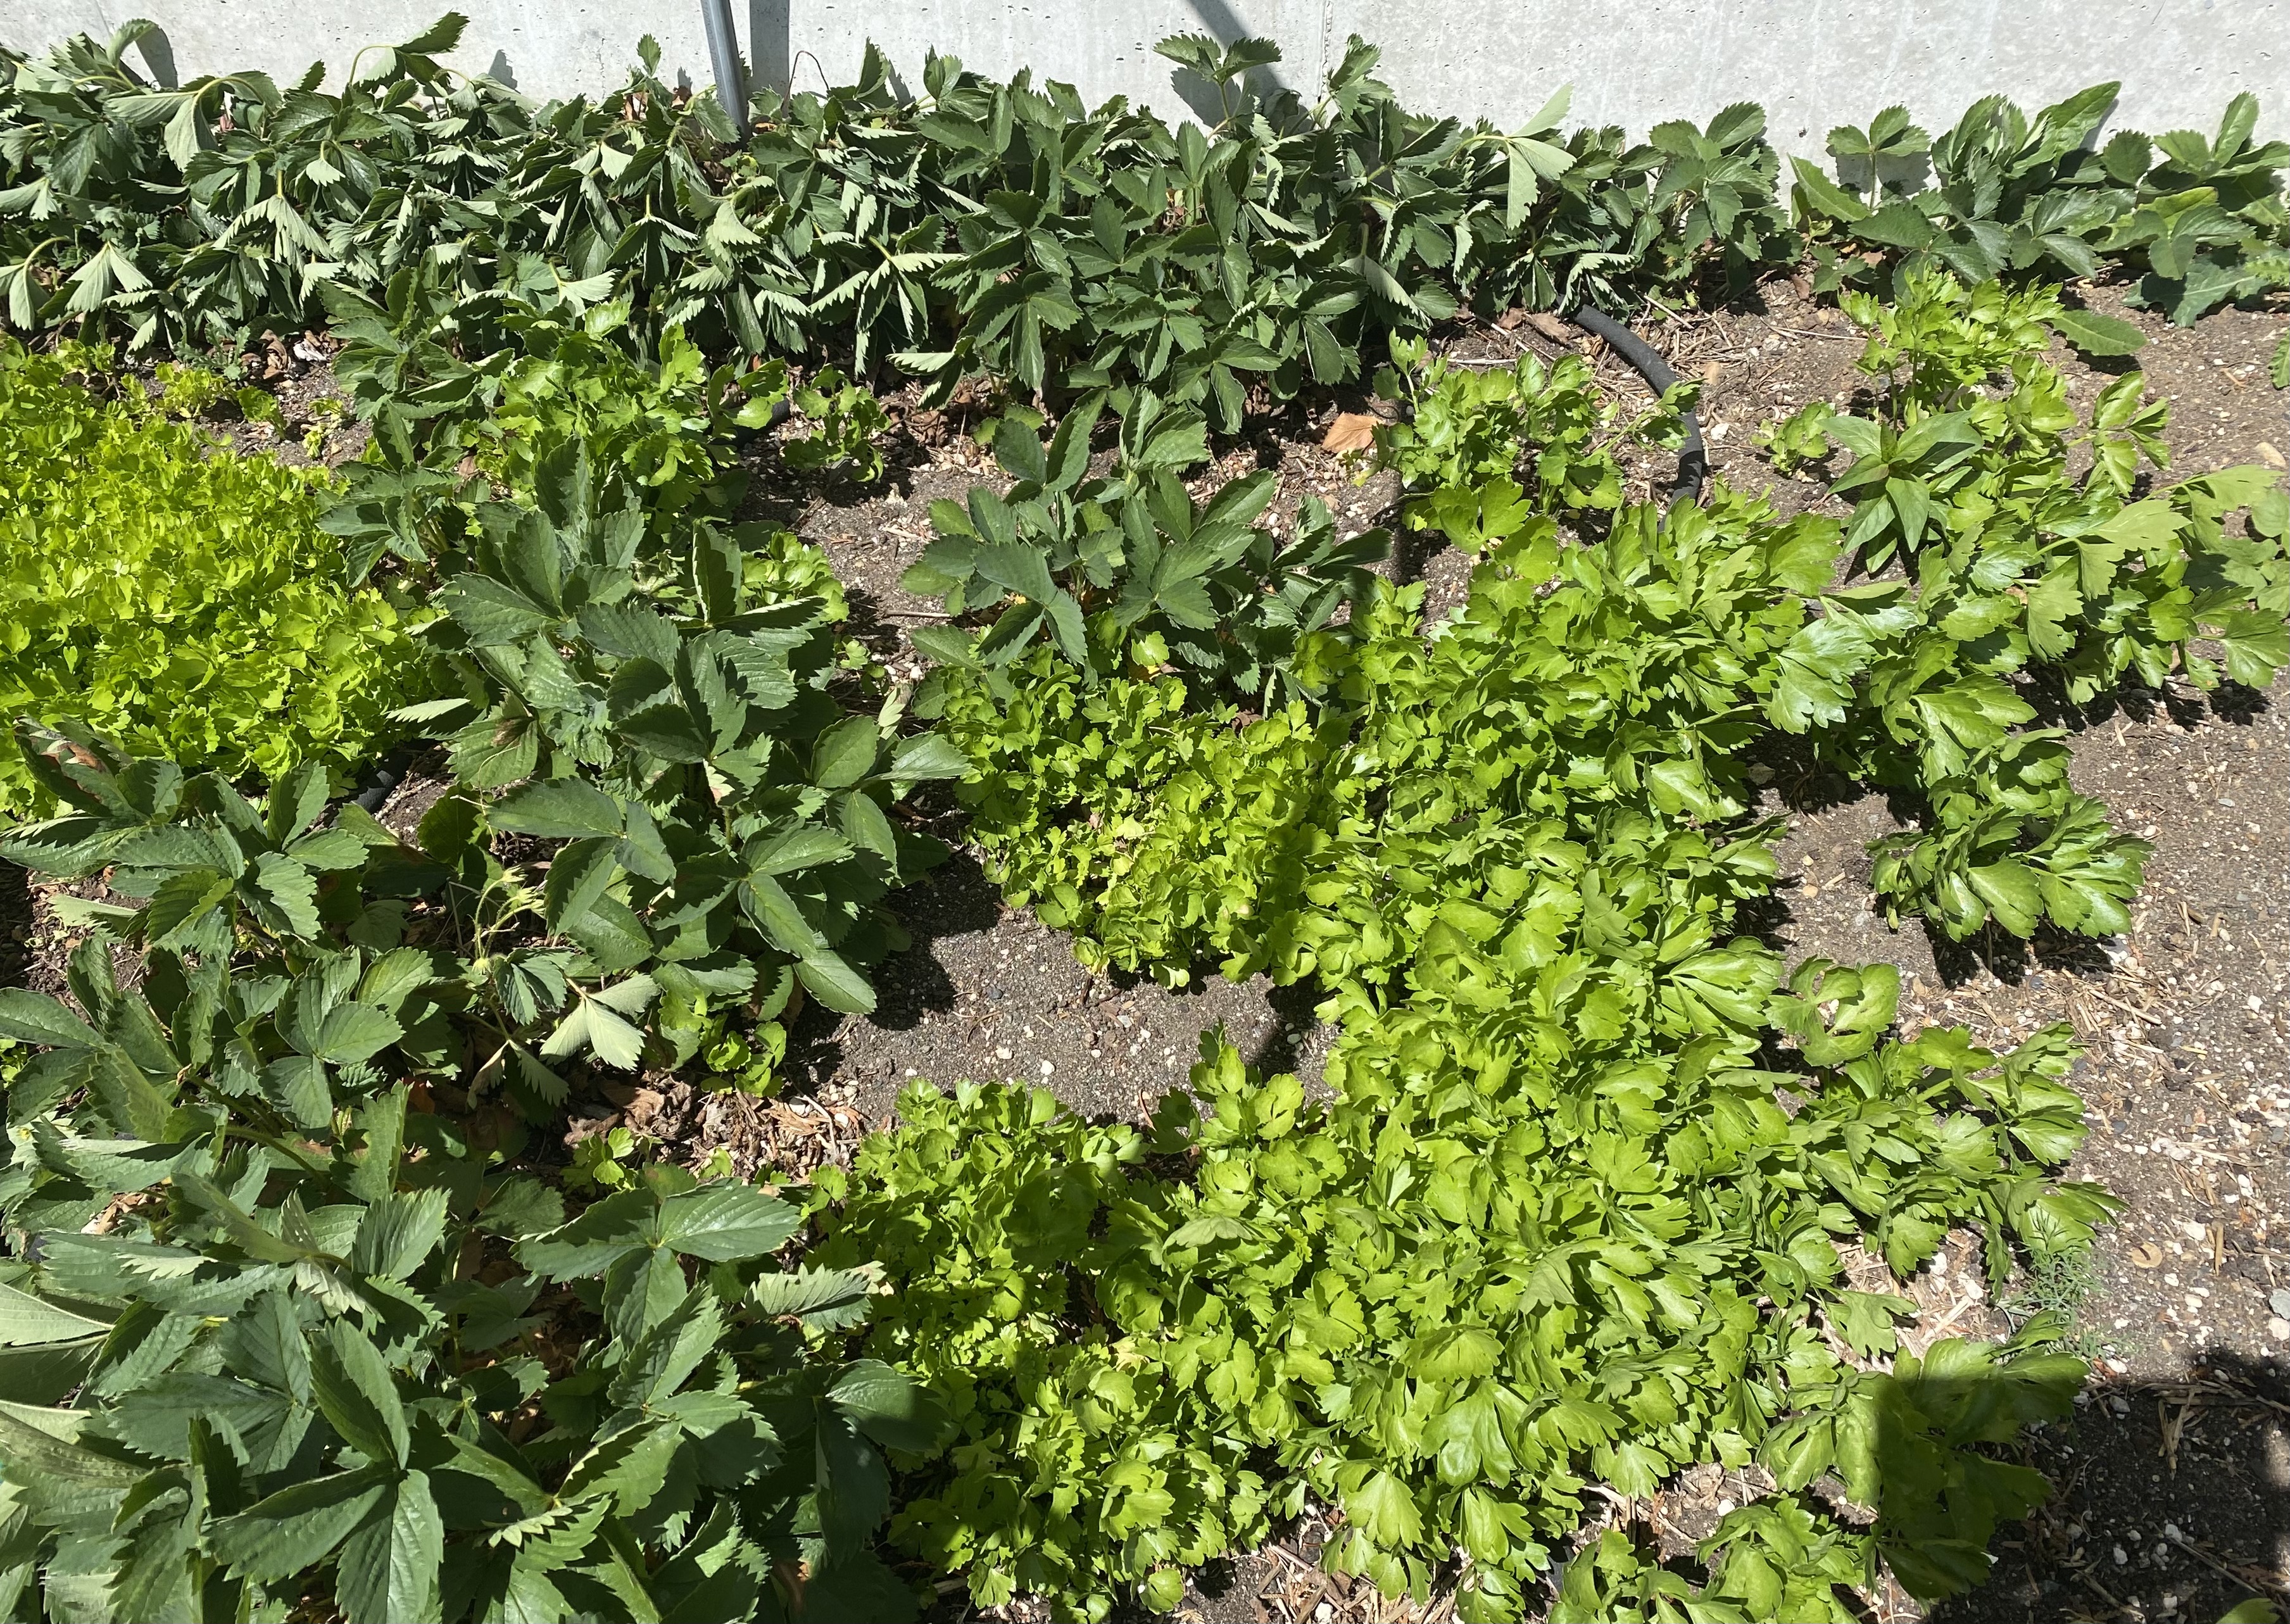
The sheer volume of volunteers we have from years past is an absolute gas as well. The strawberries, celery, cilantro, onions, garlic, and snap peas all showed up again on their own, and I couldn’t be happier.
Herbs are pretty much self regulating, albeit we do keep them trimmed back to a dull roar.
there’s nothing better than stopping your meal prep to step outside and cut what you need as fresh as fresh gets. Whether you go whole hog or just have a little pot or two, you’ll find the same joy in growing your own.
It’s been a cold, wet Spring up here in the Pacific Northwet, but it looks like the tide is turning. It’s a gorgeous, blue sky day, temp near 70°, everything budding out, birds and bees all happily going about their business. A lot of things have started late, from Tulips in the Skagit valley to stuff in our garden.
There’s a lot of joy in growing your own spuds – it’s a relatively simple process, they do well all over the place, and there are a bunch of unique and heirloom varieties that produce from early to late. Heck, they’re native to the Andes – chances are they’ll do just fine at your place. Normally, we’d see seed potatoes for sale in March, and look to plant spuds when the soil temp hangs around 40° F and frosts are pretty much done for – that time came quite a bit later this year.
So off I went off to see what seed spuds I could find. Check out co-ops, farmers markets, and choose firm, healthy looking seed spuds with a bunch of eyes on them. For a smaller garden, 4-6 each of two or three varieties will do the trick. We ended up with two purple varieties, Magic Molly and Purple Majesty, and Austrian Crescent, a lovely yellow fingerling.
Once you bring your bounty home, it’s time to chit them – in essence, this just means placing them inside, in an indirectly sunny spot to allow them to sprout. You can also just wait until a couple of days before planting and cut them into roughly 2” chunks, each with at least a couple of eyes – that’s how they’ll go into their new digs, and they’ll do their sprouting underground. Either way works fine.
Decide where you’re going to plant with an eye for good drainage and full sun (or purty near). As such, a lot of folks make potato towers or cages above ground. You can start these well ahead, filled with compost and good quality top soil, then topped with straw once your plants are established. We’ve grown this way with great success, and also in half barrels, as we opted for this year. Just make sure you leave room for hilling – adding soil throughout the growth season.
Plant your seed spud chunks about 8” apart and around 4” deep. As your plants grow, you’ll want to hill ‘em – add soil and straw two or three times during the growing season, a couple inches per add, shoveled right onto the main stems of each plant, leaving just a crown of green leaves above soil level.
Harvesting depends on what varieties you’ve chosen – there are new potatoes and storage potatoes, and the differences are pretty self explanatory. New potatoes can be harvested and enjoyed around 55 days after planting – when you see flowers on your NP plants, gently dig in and see whatcha got. Storage spuds are harvested late, after the plants have died and dried, often right up to or just past first frost.
Some folks harvest and store in the equivalent of root cellar conditions, (cool and not too moist), and others leave storage spuds in the ground and harvest when we want to enjoy them. There is something deeply satisfying about heading out in crisp, fall weather to dig a few gorgeous spuds from your garden. Once you taste what you’ve grown, you’ll be hooked – eating them fresh from the ground is a fabulous experience.
Wendy Kiang-Spray is another social media friend – I confess I don’t recall exactly how we met, but once I saw her book, The Chinese Kitchen Garden, I snagged it, devoured it, and have been enjoying it immensely ever since, and so will you.
As Wendy notes, ‘The Chinese Kitchen Garden is my first book and is an amalgamation of all my loves: family, cultural stories, gardening, heritage vegetables, and cooking. Through writing this book, I’ve also found a way to record and share with you many of my favorite recipes from my mom’s weeknight stir-fry, to her spicy Sichuan peppercorn quick pickles, to one of my favorite taro and coconut desserts.’
The recipes are delightful, and the gardening tips and strategies are priceless. This is not a coffee table book, although the images are truly lovely- This is a book you’ll use in kitchen and garden for years to come – one you’ll fill with notes, and refer back to frequently – especially as the seasons change.
What got me thinking about her work was a post of hers that you see below – the question and answer hit home, as our corner of the world finally starts to turn toward Spring. We had a delightful followup chat about growing asparagus and spring gardening, and I felt compelled to share her wonderful work with y’all.
Clearly, the answer to her question is – that gorgeous, fresh stuff on the right of the image. What that represents – our opportunity to work with and in our own gardens, is the siren song of this lovely season. May yours be bountiful and joyous.
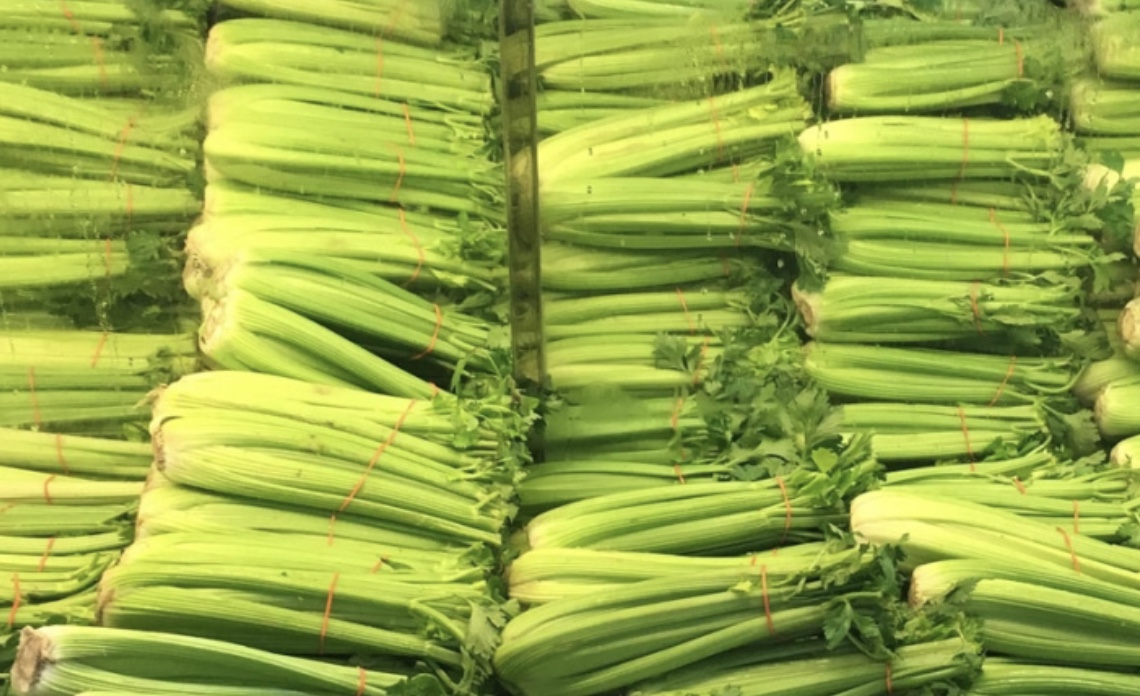
Yeah, I said celery – you got a problem with that? If so, you’re just wrong, wrong, wrong, but in all fairness, it might not be all your fault. Answer me this – is the celery you’re familiar with what you get from the supermarket? Do you actually check out what you buy before you buy it? Ever grown your own or got celery from good local CSA or framers market? If you answered YES, NO, NO, NO, then you gotta up your game. Let’s run down that list.
Just look at that stuff in the image above – it’s kind of a shitty picture, but even so, does that look good to you? Look fresh, appealing? No, it doesn’t, and again, if this is what you’re buying, no wonder you dis celery.
If you do buy supermarket celery, do you check it out first? I can’t tell you how many times somebody sees me choosing produce and asks, ‘what are you doing?’ Bloody hell – I’m making sure that what I buy is worth my money! Grab a leaf off that celery stalk, crush it and smell it – does it smell good? Greenish, sharp, a bit peppery? Bend a stalk or three- are they like rubber, or are they firm and resist being bent? If you answer NO and NO, don’t buy it.
Finally, if you’ve never grown your own or bought fresh local celery, then frankly, you got no idea what good celery is – and good celery is well worth your time and energy.
Why is celery worth your while? It’s healthy as all get out for starters – high in fiber, loaded with antioxidants, and high in phthalides which can help regulate blood pressure, and its even got extracts onboard that help cognition and memory.
Yes, good, fresh celery tastes excellent as well – it’s related to carrots and turnips, and has a light but very present flavor profile, a peppery, earthy tang with nods to onion or garlic chive. To me, the flavor is most pronounced in the leaves, which is why I use them a lot – added to hot or cold salad, soup, stew, stir fries, vegetable medleys, pan sauces and salsas, they’re delightful.
We grow celery annually, and it’s always the last to succumb to freezing weather – Our go to is Tall Utah, (what you see in the image above), a hearty and stringless variety with great taste and big leaves that lend themselves beautifully to fresh use and drying.
Giant Red is a cold hearty and gorgeous variety with arguably the strongest flavor profile you’re likely to find – it’s a fave in England, and should be here too – it’s delightful stuff.
Nan Long is a leafy, Chinese variety that produces delicate, thin stalks and pairs wonderfully with Asian cuisines. It’s a quick maturing variety that thrives in climates with a short summer growing season.
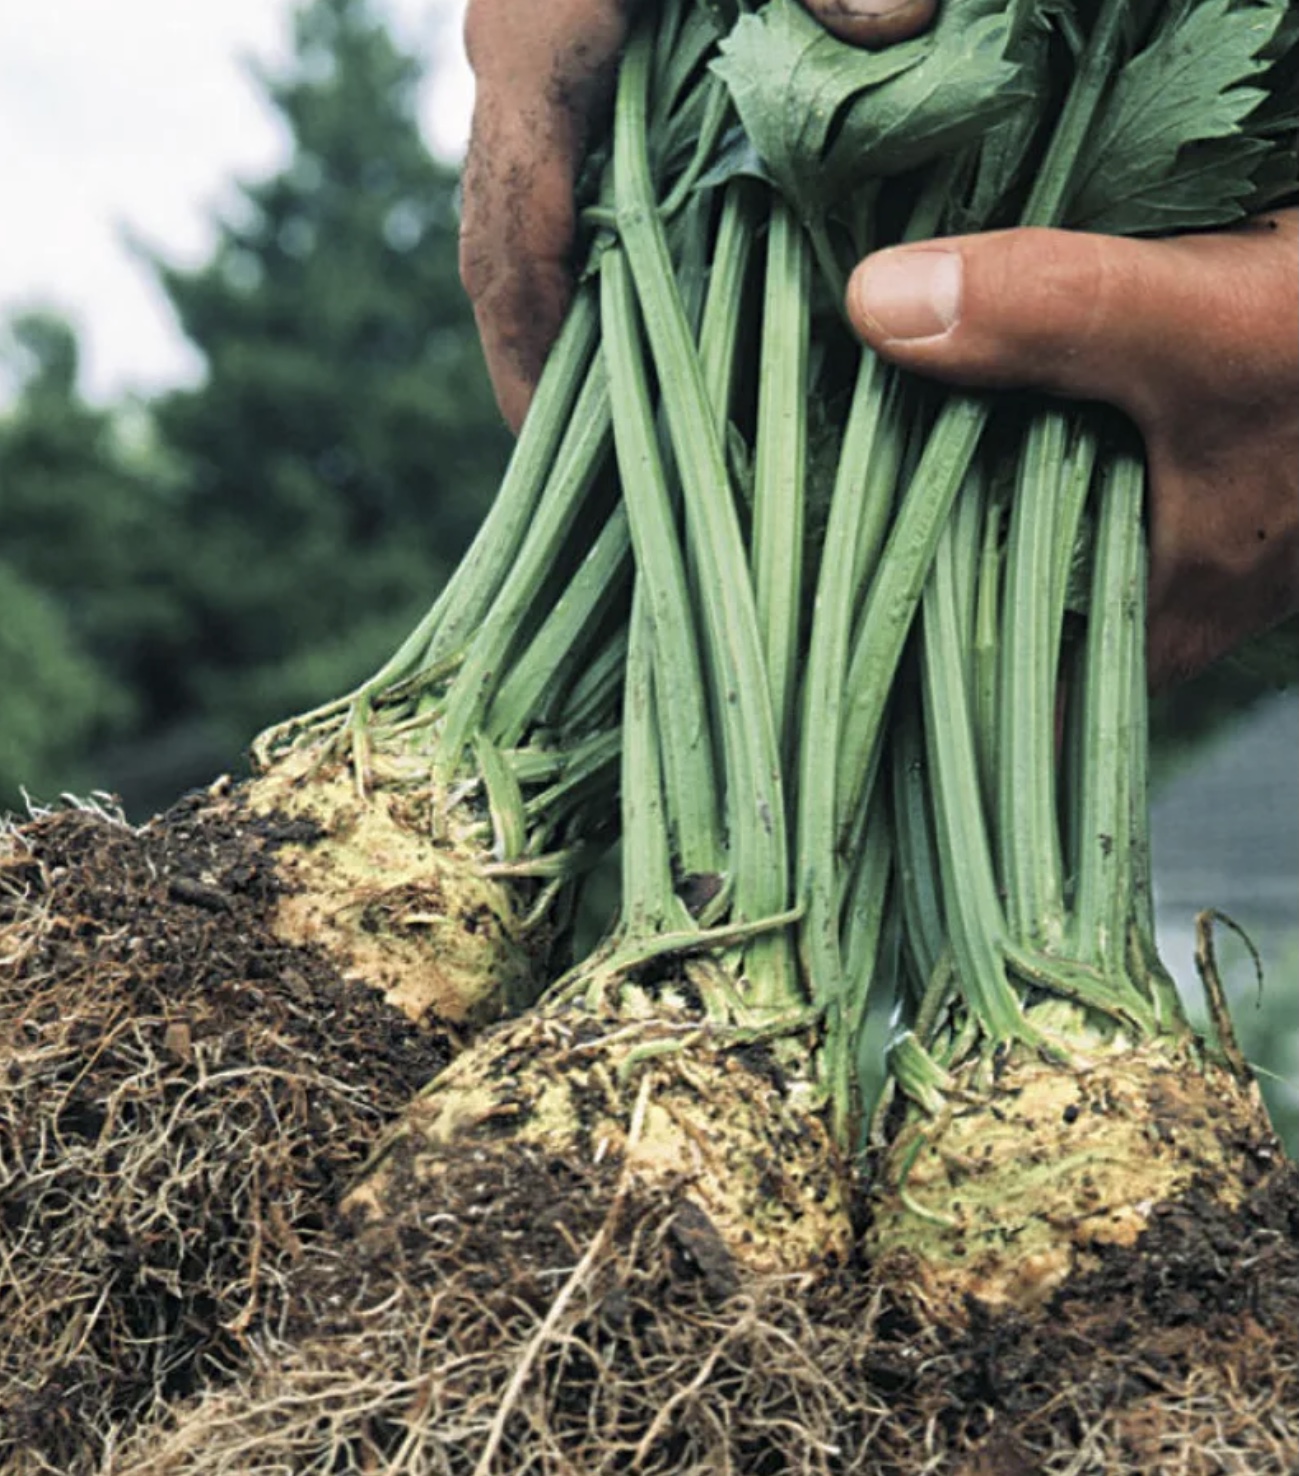
Finally there’s celeriac, a variety grown for its hypocotyl -a big, robust rootlike growth. Celeriac is far more popular in Europe than the U.S., which is a shame, because it’s delicious, hearty, and easier to grow than stalk celery. Celeriac is sewn after the last frost and harvested in fall to winter – it stores well, and can be frozen or dried as well. Celeriac tastes like, well… like celery, but with a distinctly nuttier note, stronger presence, and a fantastic crunchy texture.
Whatever you decide to grow or hunt and gather, once you’ve tasted real, fresh celery, you’ll never willingly go back to store bought tubular cardboard – You’ll find celery taking its rightful place alongside all the other veggies you love and eat regularly. As for what to make, I’ll just say this – You’ll find a myriad of things to do with it, and don’t be at all surprised if fresh, braised, sautéed, or roasted celery finds its way into your routine – it’s that good – no, honest!
When you make soup, or stew, or any number of sauces at home, you add a bay leaf or two, right? Ever wonder why you do that – I mean, really give it some thought? I’ll be honest – I hadn’t, so I guess it’s time to ask – What does bay leaf do for our cooking, anyway?
Full disclosure, a social media acquaintance sent me a link to a new-agey treatise on bay leaf. This thing claimed that, ‘recent scientific studies have proven’ that bay leaf converted triglycerides to monounsaturated fats, eliminates heartburn, acidity, and constipation, regulates bowel movements and blood sugar, makes the human body produce insulin, eliminates bad cholesterol, protects the heart from seizures and strokes, relieves insomnia, anxiety, kidney stones and cures infections – No freakin’ wonder we put them in soup!
Most if not all of those claims are, at best, gross exaggeration and distortion of facts. The real dead giveaway was this line – ‘Do you know that if you boil some bay leaves in a glass of water and taste it, it will have no flavor?’
My answer to that is, ‘do you know that this statement is complete bullshit?’ Either the author has never actually done the experiment, or did so with bad bay leaves. Had they done it properly, they’d have discovered a much more potent and nuanced result.
Before we dive into that, let’s define what exactly the bay leaf in our pantry is – it’s Sweet Bay, AKA Bay Laurel, or Lauris nobilis. It’s native to the Mediterranean, and cultivated commercially all around that region, as well as France, Spain, Mexico, and Portugal. Now for the record, the other bay we see in a lot of pantries is California Bay, and that’s a whole different beast, Umbullularia californica – it’s far more potent than sweet bay, with longer, narrower leaves.
Dried Sweet Bay leaves Dried California Bay leaves
Problem is, a lot of purveyors just call their stuff ‘Bay Leaf,’ and that can make things tough on us home cooks. Different growing areas produce leaves with subtle differences you may or may not like. In any event, it’d be nice to know from whence yours came, wouldn’t it? Good outfits like World Spice and Penzey’s will tell you that.
It’s good to keep both the sweet and California versions on hand, by the way. While California bay is intense and medicinal, the sweet, (often called Turkish), is lighter, more nuanced and savory. The latter is far and away my personal go to, for the record. California bay is nice, in moderation, in low and slow soups and stews where time and temperature can simmer out the lion’s share of the more volatile constituents that spring forth early on in the cooking process. In any event, you’d be well advised to find out what variety you have, and like best.
Sweet Bay is complex, with dozens of volatile compounds onboard each leaf. The heavy hitters are cineole, pinine, linalool, and methyl eugenol. Interestingly enough, most of those compounds are also found in basil. California Bay is a bit different, packing cineole, pinine, and sabinine – that last one is responsible for things like the spiciness of black pepper, nutmeg, and carrot oil. Cineole, linalool, and pinine are terpenes, a rather volatile chemical family that has much to do with a wide variety of powerful scents in the natural world. Their highly reactive nature makes them some of the first things we smell when bay leaves are used in cooking. Methyl eugenol is a phenolic found in over 450 plants, and plays a vital role in pollination – how about that in your spaghetti sauce? These compounds are fascinating, especially when we think about how they’ve made that journey from chemical warning sign, or pollination attractor, to our dining table.
On to that experiment then, since that’s the best way to ascertain that what you’ve got in your pantry is packin’. Set a small pan of water to boil and then reduce the heat to maintain a simmer. Toss in a couple bay leaves of your choice, let them do their thing for 3 to 5 minutes, and then stick your nose down there.
The first things you get will be those fleeting terpenes. If you’ve got California bay, those notes will be the big medicinal ones, menthol and camphor. If you’ve got sweet bay, you’ll still get some hefty initial notes, like camphor from the cineole, but as simmering time progresses, you’ll catch a sort of floral skunkiness – that’s the linalool’s influence. Piney, sagey notes come from the pinine, while the methyl eugenol might remind you of general earthy, savory notes. If you let that simmer go for 45 to 60 minutes, as you would for a soup or stew, and then taste your bay leaf tea, you’ll get hints of all these things – If you don’t, then what you’ve got is old, or old, crappy bay leaf – and that’s not at all uncommon.
Bay leaf’s contribution to your cooking is subtle – it’s a background stalwart, not a lead singer. What makes a sauce, soup, or stew great is the layering of flavors, and for that, a solid aromatic base is critical. Bay lends a raft of minor notes that, while perhaps not missed in and of themselves, certainly will be if they’re absent from the mix.
So what to do in your kitchen? Start by finding your bay leaf, opening the jar and giving it a big sniff. Do you get a nice, complex but subtle whiff of the stuff discussed herein? Do you remember where and when you bought those leaves? Does the container say anything about provenance? If the answer to those questions is, ‘no,’ then trash what you’ve got and get some fresh stuff. World Spice is a great go to for bay leaf – They carry both Turkish and California, and they’re always top notch quality.
Bay does just fine as a dried herb, by the way. If you keep them in a clean, airtight glass jar, out of direct sunlight and wide swings of temperature, they’ll be good to go for 6 months, easy. If you want more from your bay, store them in your freezer and they’ll last for years.
Fresh Sweet Bay leaves
You can use fresh bay leaves in cooking, but know that their potency is quite a bit higher than dried leaves, so adjust accordingly, and again, be sure you know what you’ve got – A freshly crushed leaf of fresh bay from our garden smells subtly savory and complex, just as described, whereas, at least to me, fresh California bay smells like a medicine cabinet – an overdose of the latter will ruin a meal really quickly.
Tej patta, or Indian bay leaf
Then there’s Tej Patta – Indian Bay leaves. Indigenous to the southern slopes of the Himalayas, Indian bay is mostly wild brown, and can be identified by the 3 distinct veins running down each leaf. Seminal to Terai cuisine from the area around the mountainous northeast of the country, and to Moghul dishes like biryani and korma, Indian bay has notes of cinnamon, clove, and cassia. It’s a must have if you’re to do those regional cuisines justice.
Finally, you can grow your own if you’re living in a USDA Plant Hardiness Zone 7 or thereabouts – We’re a 7+ here in the northwest corner of Washington State, and our little sweet bay plant is doing fine, even with a couple of hard frosts under its belt. Granted, it’s a small bush and not a tree – in its native turf, it can reach over fifteen meters in height. Here’s a very nice primer on doing so.